44
MAINTENANCE
NOTICE: The oil dipstick/fill cap must be in place before operating the engine. Failure to install the dipstick/
fill cap will result in oil contamination or oil being discharged into the engine compartment.
See RECOMMENDED LUBRICANTS AND FLUIDS on page 38 for oil capacity and grade. The use of
an incorrect grade of engine oil can damage the engine. Always use the recommended grade. Do
not mix engine oils of different grades or viscosity.
Do not overfill. Excessive oil can damage the engine. Add oil in small quantities with repeated level
checks.
11. When the level is correct, replace the dipstick.
CHANGE THE ENGINE OIL
Change the engine oil at the initial service and then intervals indicated in the SCHEDULED MAINTENANCE CHART
on page 36.
NOTICE: See RECOMMENDED LUBRICANTS AND FLUIDS on page 38 for oil capacity and grade. The use of
an incorrect grade of engine oil can damage the engine. Always use the recommended grade. Do
not mix engine oils of different grades or viscosity.
Do not overfill the oil tank. Excessive oil can damage the engine. Add oil in small quantities with
repeated level checks.
If vehicle is to be stored over winter months, it can be stored with old oil left in engine. The oil
should be changed as part of spring maintenance to remove any moisture that has accumulated
during storage.
Remove the Engine Oil
Wear protective glovestoprevent scalding fromhot engine oil.
Change the engine oil when the engine is warm and the vehicle is parked on a level surface.
1. Turn the key to OFF and engage the parking brake.
2. Wipe the top of the engine clean with a cloth to remove debris that could fall in the engine.
3. Remove the oil fill cap.
4. Place a drain pan under the oil drain plug at the rear of the engine base.
5. Remove the drain plug and allow the oil to completely
drain into the pan.
NOTICE: At the first oil change, small metal chips and lint
may be found. This is normal, resulting from the
break-in period. Inspect the filter at every oil
change. The presence of large metal chips
could indicate possible damage to the engine.
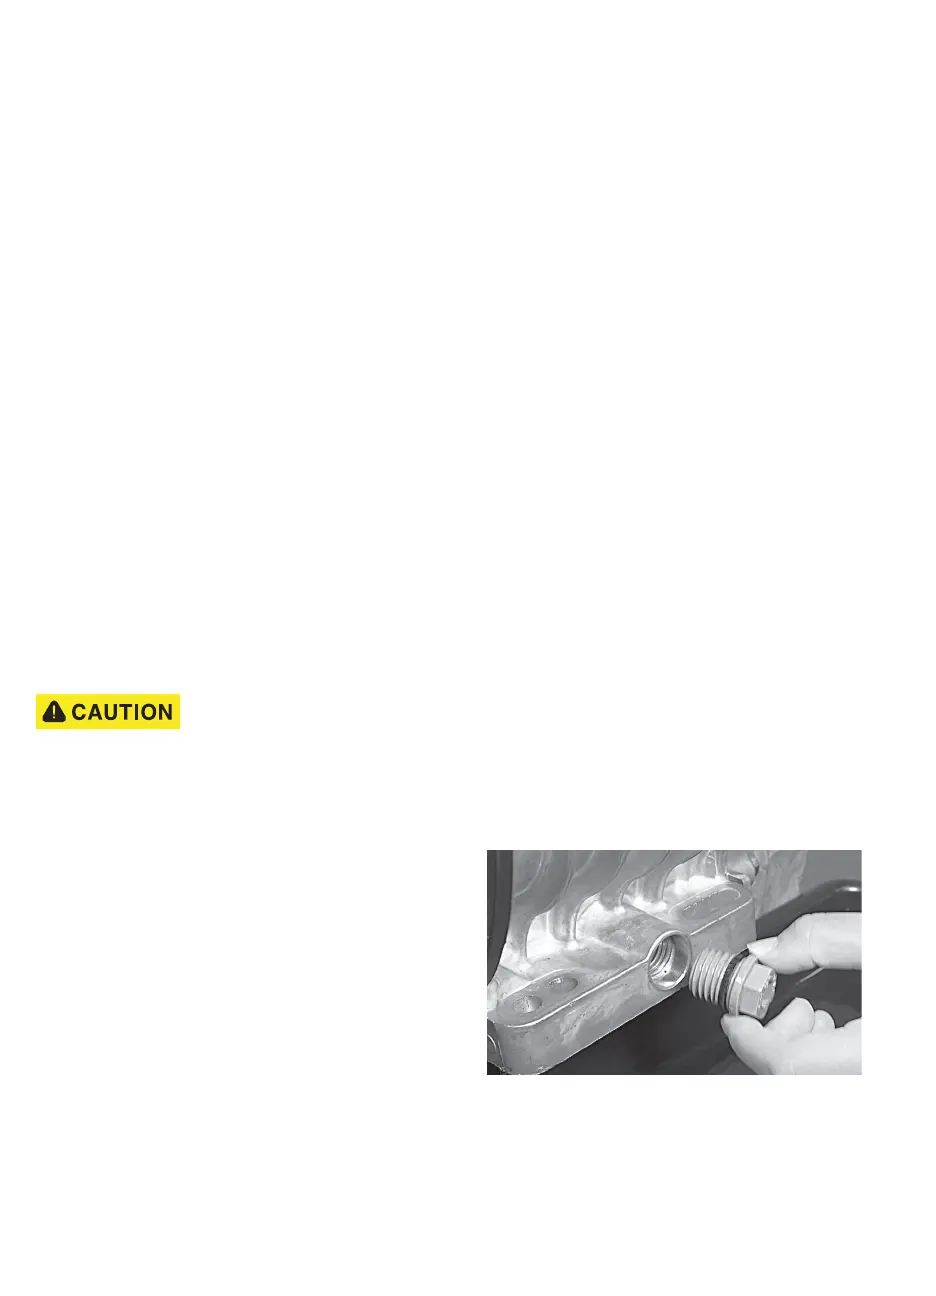
6. Before installing the drain plug, clean the area around
the drain hole with a lint free cloth
7. Inspect the drain plug and o-ring for damage; replace if
necessary.
8. Tighten the drain plug to 62 in. lbs. (7 Nm) torque.
Tools
• ratchet • universal strap wrench
• socket, 19 mm • funnel
• Extension, 8” • drain pan