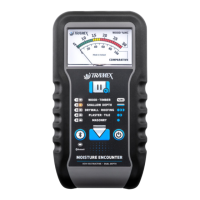
Concrete Encounter CME 4
User Guide
24/08/04
Operating Instructions
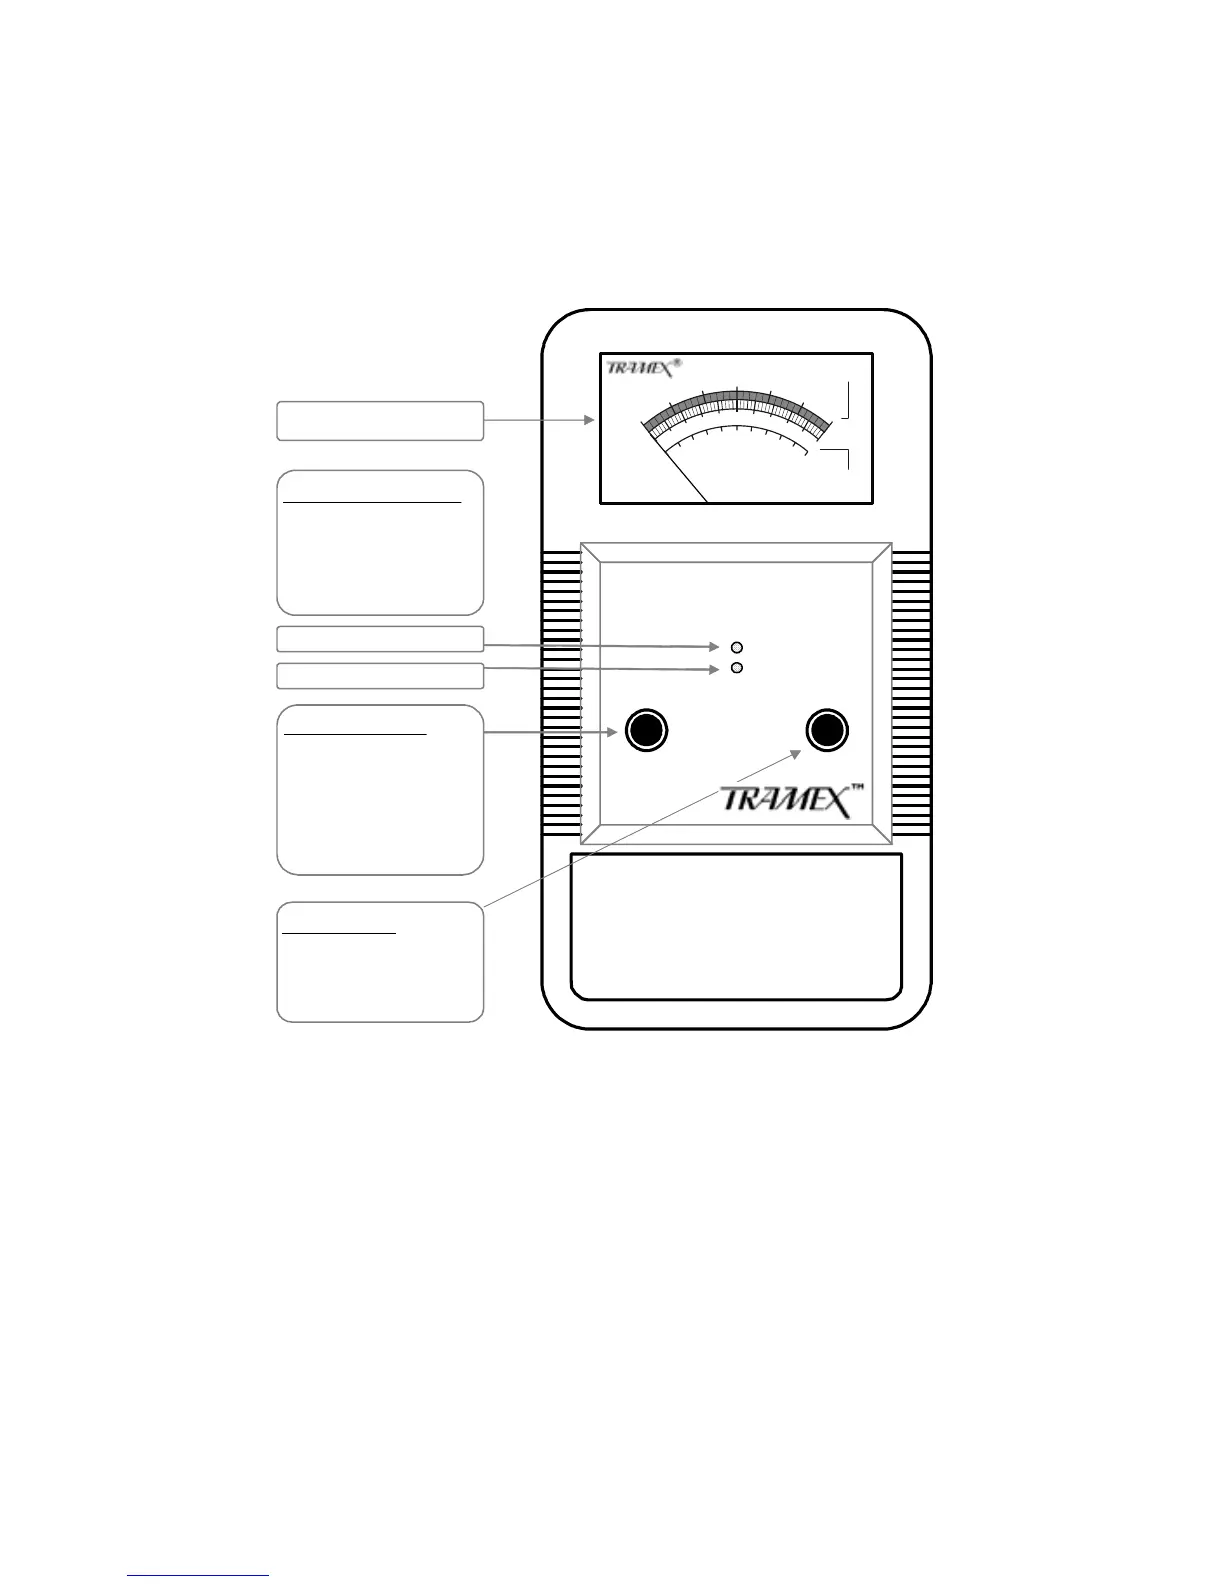
A diagram of the instrument face with brief notes on the
push button controls and LED indicators is shown below.
Power ON button.
Automatic switch off
after 4 minutes if :-
1. No button pressed.
2. No change in meter
reading.
LED indicators show:-
1. Power on.
2. Hold – flashing LED.
3. Low battery - LEDs
flash sequentially.
Moving coil meter
HOLD button
Press once for HOLD
Press again to remove
HOLD
ON
HOLD
CONCRETE ENCOUNTER
CME 4
Power On LED
Hold – flashing LED
0
1
3
5
7
9
0
6
5
4
3
2
1
GYPSUM
FLOOR
SCREED
CONCRETE
%H²O
1
0
0
8
0
6
0
4
0
2
0
0
8
6
4
2
1
0
Concrete
Encounter
1. Press the ON button to power up. The lower LED will
light. [Note – If the battery voltage is getting low, the
two LEDs will flash sequentially for a short period. The
instrument will continue to operate for some time but it
is recommended that the PP3 (9 volt) battery be
replaced as soon as convenient.]
2. Press your Concrete Encounter CME 4 directly onto
the surface of the material being tested ensuring that all
of the electrode spring loaded pins are fully compressed.
3. For concrete, read the moisture content from the top, 0%
to 6%, scale of the meter dial. Readings on a concrete
5
CME4/1005