MS-SVN052E-EN 13
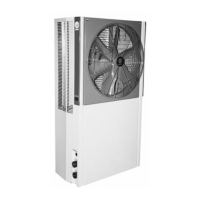
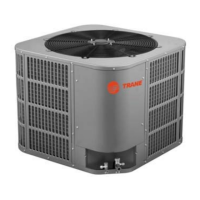
Unit Installation
4. Replace the Schraeder core once more onto the liquid and suction valves.
5. Carry out leak tests on all refrigerant line connections, including tapered valves at the service
port to ensure they are all leak-free. DO NOT OVERTIGHTEN (between 40 and 60 in.lbs
maximum).
6. Purge suction line, evaporator, and liquid line at 350 microns or less. Consult Data Sheet to learn
the appropriate sizing of liquid line.
Table 1. Recommended Size for Liquid and Suction Lines (in.)
7. Replace taps once more onto service ports. Do not remove tapered caps of service ports unless
absolutely necessary for system service tasks.
8. Release the refrigerant charge inside the system. Open both liquid and suction valves; remove
the plunger/piston cap and insert a hex wrench over the stem in order to turn it
counterclockwise until said valve stem reaches the angled retention wall.
9. Replace the plunger/piston cap once more and tighten with your fingers; give it an additional
1-1/2 turn with your fingers. The cap should be placed in order to prevent leaking.
¡WARNING!
Never try to repair soldered connections while the system is under low pressure. Such
action could provoke personal injuries. Consult “System Charging” section to verify and
register system charge values.
Interconnecting Lines
Suction and Liquid Lines
Maintain all lines duly sealed until ready for interconnection tasks.
First, carry out connections on the indoor coil.
Consult line sizing information on Tab l e 2 and Table 3 to verify the use of correct sizes and
multipliers to determine the capacity for several diameter sizes of suction line and routing lengths.
Losses due to exposure of lines under outdoor conditions are not included.
Factory refrigerant charge for outdoor unit is sufficient for 15 feet of standard size interconnecting
liquid line.
Maximum Length for Lines
Maximum length for interconnecting lines is 160 feet.
Model Líquid
Suction
24 3/8 7/8
36 3/8 7/8
48 3/8 7/8
60 3/8 7/8
 Loading...