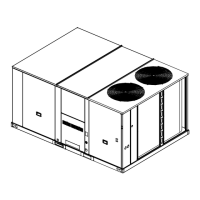
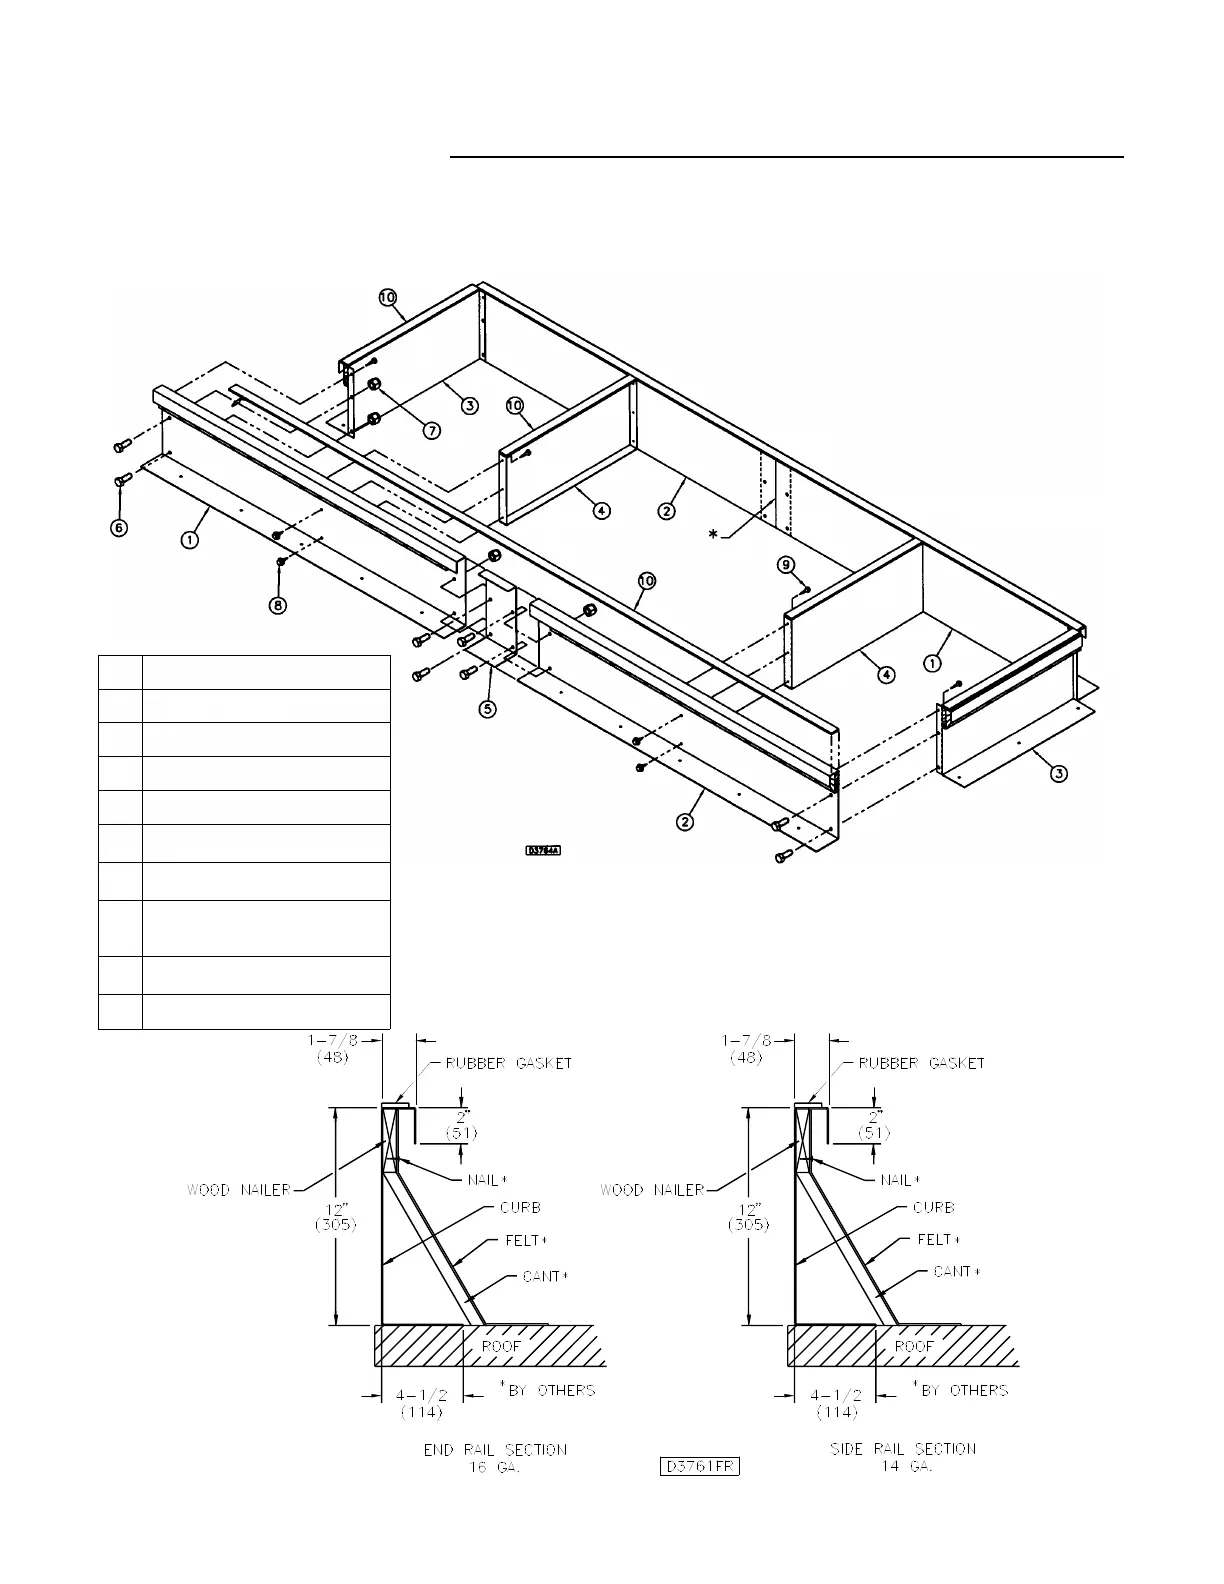
Figure 11 - Roof Curb Assembly *
* The roof curb and destined unit must be sealed completely to
prevent any water or air leakages (also see Figure 16).
Refer to Figures 17 and 18 for Ductwork Mounting Bracket
Assembly.
1 Curb Rail Assembly—Side (L.H.)
2 Curb Rail Assembly—Side (R.H.)
3 Curb Rail Assembly—End
4 Cross Brace—Curb
5 Connector—Curb
6
Bolt—3/8-16 x 1" LG. Hex Hd.
(16) Req’d.
7
3/8-16 x 1" LG. Hex Nyloc Nut
(16) Req’d.
8
1/4-14 x 5/8 LG. Hex Washer
Hd. Sheet Metal Screw Type
“AB” (8) Req’d.
9
Screw—#10 x 5/8" LG. Pan Hd.
Type “AB” (8) Req’d.
10 Gasket
GRAA-IN-1 11