3 3270 3332 C
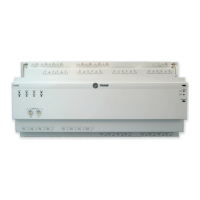
Mounting the frame-mount
I/O module
IMPORTANT
Mount the Tracer MP503 with the cover on to avoid
damaging the circuit board during installation.
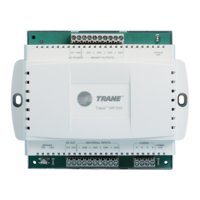
To mount the frame-mount I/O module:
1. Using the module as a template, mark the
location of the two mounting holes on the
mounting surface (Figure 3).
2. Set the module aside and drill holes for the
screws at the marked locations.
Drill holes for #10 (5 mm) screws or #10 wall
anchors. Use wall anchors if the mounting
surface is dry wall or masonry.
3. Insert wall anchors if needed.
4. Secure the module to the mounting surface with
#10 (5 mm) screws (not included).
Attach the frame-mount module securely so that it
can withstand the vibrations of associated heating,
ventilating, and air-conditioning (HVAC) equipment.
Mounting the metal-enclosure
I/O module
To mount the metal-enclosure I/O module:
1. Remove the two cover screws and then the cover.
2. Using the enclosure as a template, mark the
location of the four mounting holes on the
mounting surface (Figure 4).
3. Set the enclosure aside and drill holes for the
screws at the marked locations.
Drill holes for #10 (5 mm) screws or #10 wall
anchors. Use wall anchors if the mounting
surface is dry wall or masonry.
4. Insert wall anchors if needed.
5. Secure the enclosure to the mounting surface
with #10 (5 mm) screws (not included).
Figure 4. Mounting the metal-enclosure Tracer
MP503
Agency listings/compliance
CE marked
UL and C-UL listed:
Energy Management Equipment—PAZX (UL 916)
UL 94-5V (UL flammability rating for plenum use)
FCC Part 15, Subpart B, Class B
Figure 3. Mounting the Tracer MP503
 Loading...