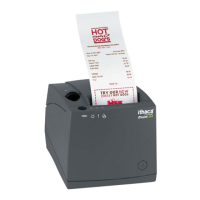
1. Un-rack and open the printer’s top cover as shown above
2. Hold the FEED button while applying power to the printer
3. Verify status LED panel - READY > Flashing & FAULT > ON
Note: The printer will reset and print a test ticket when download completes if you rack-in, close top cover
with tickets loaded.
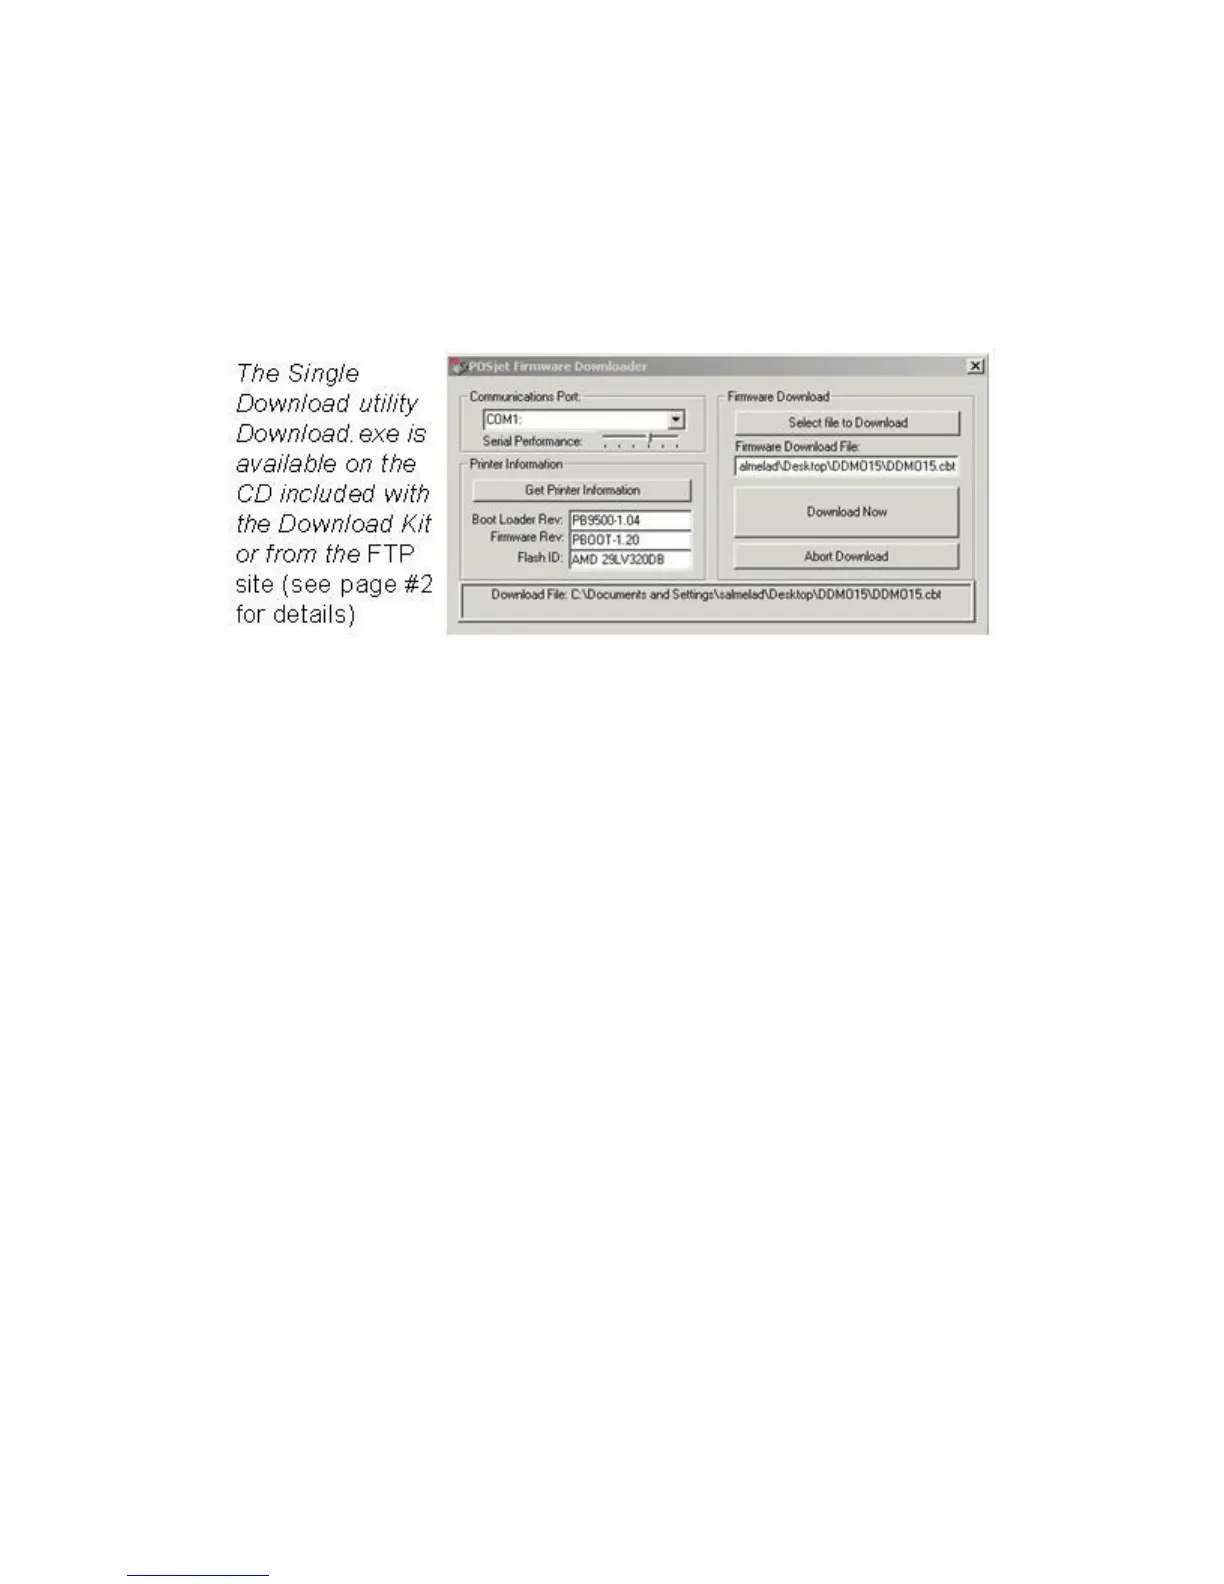
Utility one-time setup:
1. Select the assigned COMM Port number from the pull down
2. Right click on the utility’s title bar and checkmark XON/XOFF
3. Slide the “Serial Performance” slider to 115,200 bps
Flashing printer firmware:
1. Click “Get Printer Info” button. The boxes below the button should populate. Also verifies bidirectional
communications
2. Click “Select file to Download” button and choose a firmware
3. Click “Download Now” button to begin downloading
4. Wait until 100% Flash Update DONE is displayed Caution: watch the LEDS on the printer ... when
the firmware download operation is completed only the READY LED will be flashing a short blink once
every second.
5. Close the cover and chassis and power cycle the printer