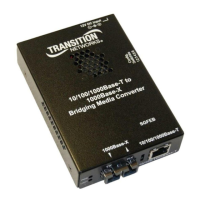
Transition Networks SGFEB 10/100/1000 Bridging Media Converter User Guide
33601 Rev. D www.transition.com Page 5 of 25
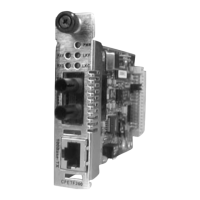
Installation
Warning: Before installing the SGFEB, make sure that proper electrical grounding procedures have been
followed.
To install the SGFEB, perform the following steps:
1. Determine your Model number and related DIP Switch layout. See “Configuration” below.
2. Set the DIPs / Jumpers on the PCB. See either “Two DIP Switch Layouts” on page 7 or “One DIP
Switch Layouts” on page 6.
3. Make the Power Connection. See “Power Connection” on page 8 below.
4. Determine your port connection types. See “Port Locations“ on page 9 below.
5. Install and connect the copper cable as required. See “Installing the RJ-45 Copper Cable“ on page 10
below.
6. Install and connect the fiber cable as required. See “Installing the Fiber Cable“ on page 10.
7. Continue to the “Operation” section on page 11.
Configuration
SGFEB models include one of two DIP switch layouts; either a single DIP switch or two DIP switches
accessible through a cutout in the right side of the enclosure. Both DIP switch layouts are described in the
following sections.
• Some SFP versions (SGFEB1040-230 and SGFEB1040-330) have two DIP switches.
• Other SFP versions and the Fixed optic version (models SGFEB1040-130, SGFEB1013-130,
SGFEB1014-130, SGFEB1019-130, SGFEB1029-130, SGFEB1029-131, and SGFEB1039-130.)
have one DIP switch.
The DIP Switch settings for both layouts are described and illustrated in the following sections.
 Loading...