Study the previous section on Edge
Rebating. Make two identical rebates
from opposite faces of the workpiece,
leaving you with a central tongue.
Complete the tongue with the wood
lying down flat as shown in ,Page 17.
To make a matching groove, move the
fence outwards (by one blade width
from the tongue setting) and make two
cuts from the opposite faces.
Raise the blade 0.5mm before cutting the groove, to allow for glue and to ensure a tight joint.
Page 18
Always make the first two cuts into the narrower edge of the workpiece , and the two final cuts
with the workpiece lying down flat (as in on Page 17). Otherwise, your workpiece could be left
balancing unsafely on the narrow tongue after the final cuts.
To set the blade to a desired depth of cut,
mark it on a piece of wood. Lay the wood
beside the blade, leaving both hands free for
adjusting the saw. Or use the 2mm &
10mm calibration marks on the face of the rip
fence for setting blade height.
In the blade is set to 30mm, the third deep
groove up from the table. (These calibrations
are approximate only and should be verified by
a test cut on some scrap.)
Test fence and blade height settings on short off-cuts of the wood you’ll be using. If joining long
pieces (which might not be dead straight), make the test pieces a slightly loose fit. Otherwise you could
have problems cramping the job up tightly.
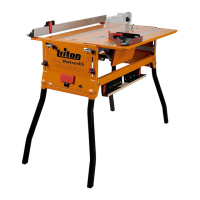
You cannot use the overhead guard so be very
careful with your hand positions.
50
40
10
20
30
60
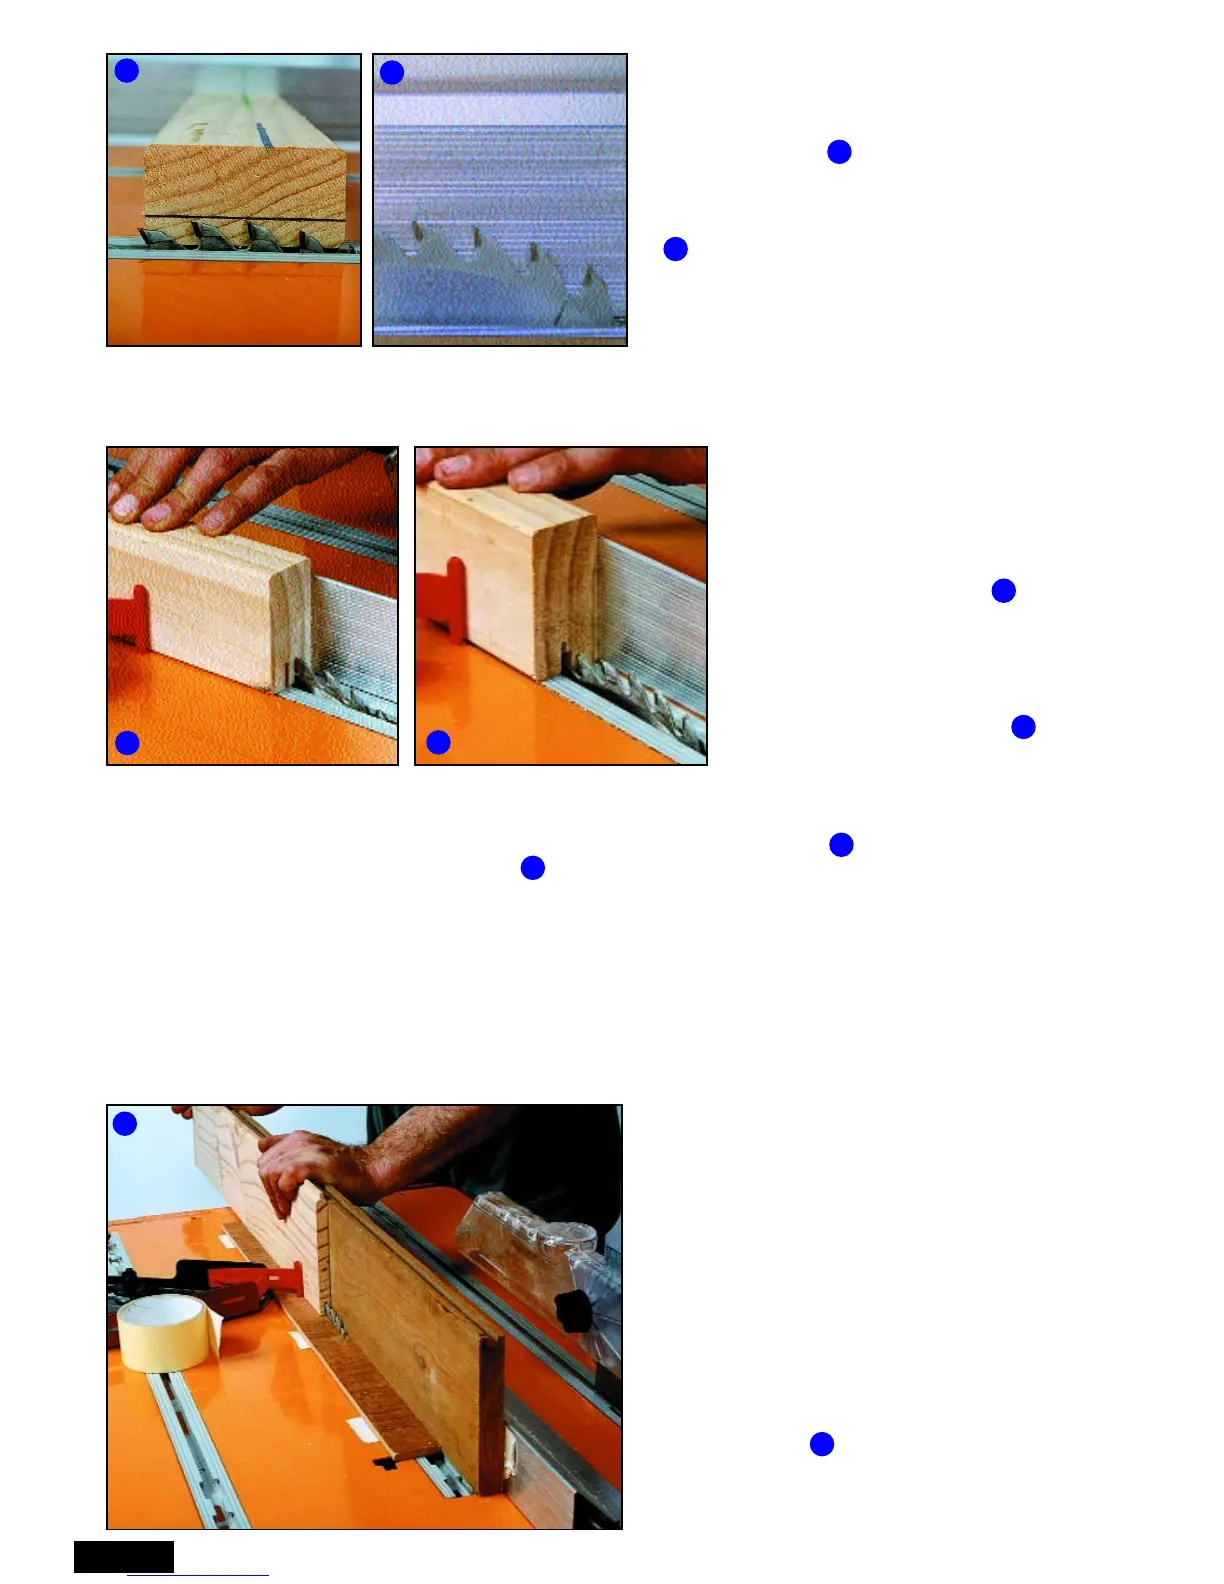
If rebating or tongue & grooving very thin
boards, the workpiece could be unstable
standing on it’s narrow edge.
Attach a suitable height sub-fence to the rip
fence for extra vertical support. (Use strong
double-sided tape - 50mm carpetlaying tape is
ideal - or countersunk bolts and nuts by
removing the fence end caps.) If necessary
use a piece of ply or hardboard with a thin slot
in it for the blade. Securely tape it to the table
as a mask, and have the blade protruding as
little as possible.
1
2
3
4
5
1
2
4
4
3
5
TONGUE & GROOVING
EDGE WORK ON THIN MATERIAL
4