10 EN
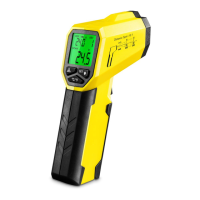
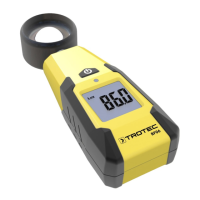
pyrometer BP21
Upper alarm threshold
Activating/deactivating the upper alarm threshold
1. Press the MODEbutton(5) repeatedly until you reach the
desired function.
2. Use the Laser/Up(6) and Light/Down(7) buttons to select
whether the upper alarm threshold is to be activated or
deactivated.
ð If the upper alarm threshold is activated, Upper alarm
threshold(21) is indicated on the display.
ð If the upper alarm threshold is exceeded during a
measurement, an acoustic signal will be emitted.
3. Press the Measurementbutton(3) to confirm the selected
settings and return to the measuring mode.
Setting upper alarm value
1. Press the MODEbutton(5) repeatedly until you reach the
desired function.
2. Set the value of the upper alarm threshold using the
Laser/Up(6) and Light/Down(7) buttons.
3. Press the Measurementbutton(3) to confirm the selected
settings and return to the measuring mode.
Lower alarm threshold
Activating/deactivating the lower alarm threshold
1. Press the MODEbutton(5) repeatedly until you reach the
desired function.
2. Use the Laser/Up(6) and Light/Down(7) buttons to select
whether the lower alarm threshold is to be activated or
deactivated.
ð If the lower alarm threshold is activated, Lower alarm
threshold(9) is indicated on the display.
ð If a measured value falls below the lower alarm
threshold during a measurement, an acoustic signal will
be emitted.
3. Press the Measurementbutton(3) to confirm the selected
settings and return to the measuring mode.
Setting lower alarm value
1. Press the MODEbutton(5) repeatedly until you reach the
desired function.
2. Set the value of the lower alarm threshold using the
Laser/Up(6) and Light/Down(7) buttons.
3. Press the Measurementbutton(3) to confirm the selected
settings and return to the measuring mode.
Switching the device off
The device comes with an automatic switch-off function:
• The device switches off automatically after 10seconds if it
has been inactive and no button has been actuated during
this time.
• The automatic switch-off function does not respond during
continuous measurement.
Maintenance and repair
Battery change
It is required to change the battery when the Battery status
indication(11) lights up on the display(8) of the device or when
the device can no longer be switched on (see Operation chapter).
Cleaning
Clean the device with a soft, damp and lint-free cloth. Make
sure that no moisture enters the housing. Do not use any
sprays, solvents, alcohol-based cleaning agents or abrasive
cleaners, but only clean water to moisten the cloth.
Repair
Do not modify the device or install any spare parts. For repairs
or device testing, contact the manufacturer.
Errors and faults
The device has been checked for proper functioning several
times during production.
In the event of malfunctions, for repairs or device testing,
contact the manufacturer.