1.2,
STEP 5 – TAKE MEASUREMENTS
Always begin with handle in SAFE position. Ensure
that the handle is in the SAFE position by firmly
tapping down on the handle without engaging the
trigger.
We recommend 2 minutes for measurement time and
1 minute for background time. (Setup menu)
The gauge can be set to receive moisture values from
an outside device or by keypad entry. You can also
choose to perform the moisture measurement before
or after the density measurement. Press Setup, choose
4. Moisture Input, then choose your method /
order desired.
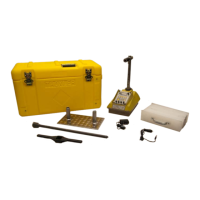
Prepare the test site as described in step 3. If using
the moisture probe, drive the drill rod to at least 15
cm (6 in).
PERFORMING DENSITY MEASUREMENTS
1
1
.
.
Place the gauge on the test site with the
handle in the Safe position and press
〈ENTER/START〉. Follow the prompts on
the screen to either lower the handle into
the prepared hole to the desired measure
depth or to wait for the 15-second
initialization phase to complete (this will
occur approx. every 10 min. or as
programmed). Then lower handle and press
〈ENTER/START〉.
2
2
.
.
After count time, (when prompted) select
the Active background count or choose to
take a New background count. If taking a
new background count, lower the source
rod to background position and press
〈ENTER/START〉. A new Background count
should be performed at a new jobsite and
when the soil material properties change.
3
3
.
.
After the measurement, raise the handle.
The gauge displays the measurement
results. To store the reading, press
〈STORE〉.
After taking readings, lift the gauge from the test site
by the source rod handle. This returns the source rod
to the SAFE position. When not taking readings,
always keep the source rod in the SAFE position.
PERFORMING MOISTURE MEASUREMENTS
1.
Press <Enter/Start> to begin.
2.
When prompted by the 4590 gauge, insert
moisture probe into the hole until the base
plate contacts soil surface.
The probe should
fit tightly in the hole, some resistance should
be felt when lowering it.
3.
Power the probe ON (green light illuminates).
The blue light will remain solid when the
BlueTooth connection is established.
4.
Press Enter on gauge keypad to perform
moisture reading. Wait a few seconds then
press Enter on the keypad again to accept the
moisture reading. See the Guide for the Model
6760 Moisture Probe for more details on
operation.
5.
Carefully remove the probe and set aside.
USING THE OFFSET FUNCTION
The gauge readings can be adjusted using an offset.
The gauge applies the offset to measurements until
the offset is disabled or the gauge is turned off. The
gauge provides both density and trench offsets.
Press 〈OFFSET〉 to access the Offset menu.
MORE INFORMATION
The user manual provides more information about the
gauge’s functions and use.
Model 4590 Quick Reference Guide PN 128500
Edition 1.2, May 2021
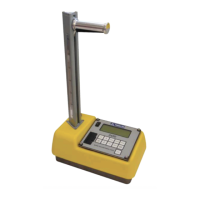
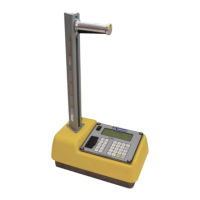
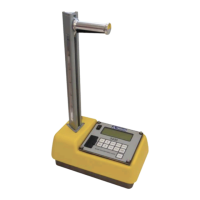
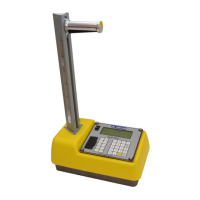
Model 4590
Surface Density Gauge
E
Gauge
QUICK
REFERENCE
GUIDE
Troxler Electronic Laboratories, Inc.
3008 E. Cornwallis Rd. • P.O. Box 12057
Research Triangle Park, NC 27709
Phone: 1.877.TROXLER
Outside the USA: +1.919.549.8661
Fax: +1.919.549.0761
www.troxlerlabs.com