MODEL SERIES truemfg.com
TEC_TM_181 | REV. A | ENP#20551303/23/2023 Page 12 of 32
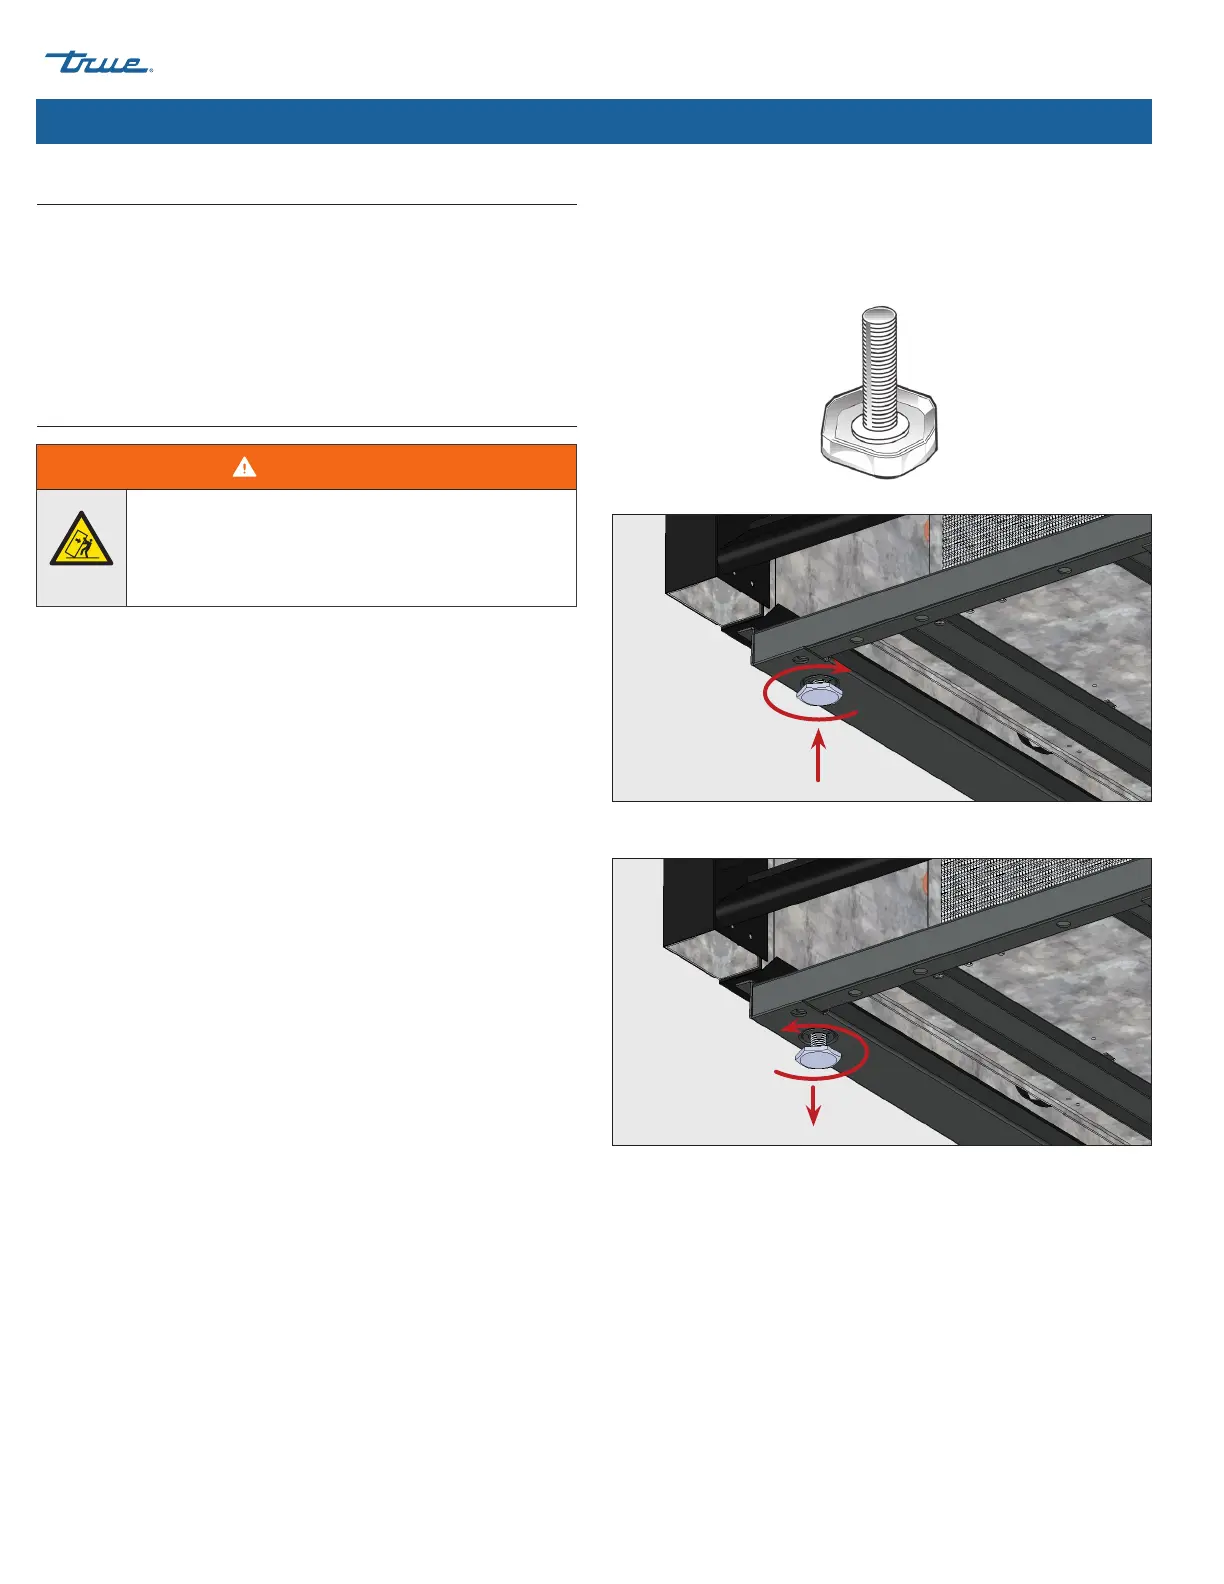
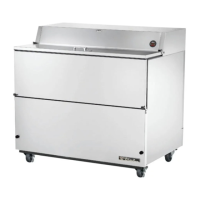
Leveling screws (fig. 1-3) are provided to assist with leveling the
appliance.
Required Tools
Required tools include (but may not be limited to) the following:
• Adjustable Wrench
Appliance Location
• Ensure that the drain hose or hoses are positioned in the pan.
• Free the plug and cord from inside the lower rear of the
appliance (DO NOT plug it in yet).
• Place the appliance close enough to the electrical supply so
that extension cords are never used.
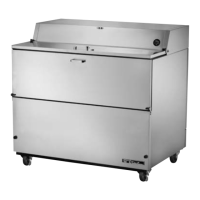
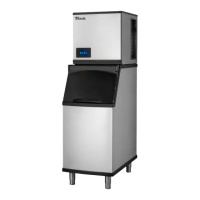
Leveling Screw Installation
Installation & Setup (cont.)
WARNING!
Tipping hazard! ALWAYS verify center leveling screws
fully contact the floor after leveling the appliance.
Fig. 1. Leveling screw.
Fig. 2. Turn the leveling screws clockwise to lower the appliance.
Fig. 3. Turn the leveling screws counterclockwise to raise the appliance.
Procedure – Leveling Screws
If leveling screws are not factory installed, then, with access to the
appliance bottom, install the leveling screws into the threaded
holes in the frame rail or appliance bottom. See figs. 1–3.