20
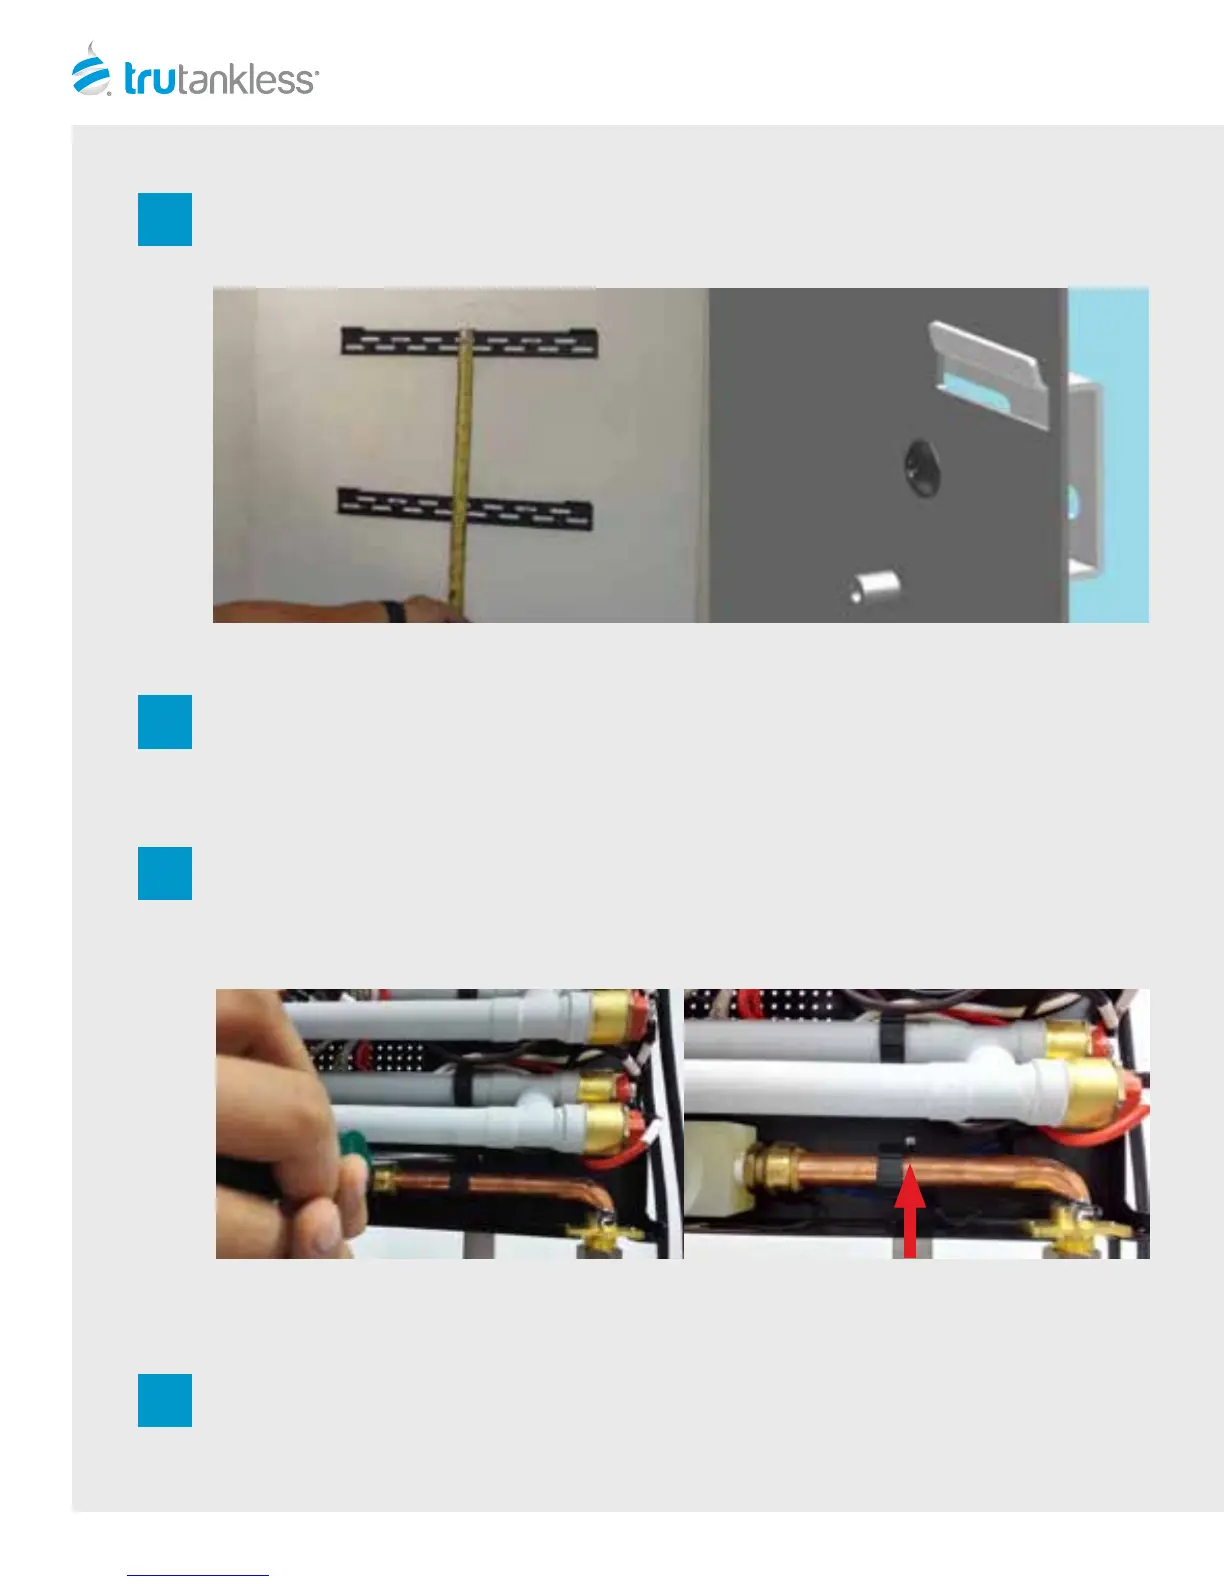
Aix the mounting brackets to the wall, using the dimensions in figure 1 to help position the system. Brackets
must be mounted to wall studs or with wall anchors appropriate for the type of wall surface if there no
convenient wood stud behind the surface.
Remove the cover from the unit and set it aside. The trutankless unit has four (4) slots on the back panel that fit
over corresponding hooks located on the the top edge of each wall bracket. One of the two brackets supplied
with the trutankless unit has two (2) truss head Philips machine screws lightly threaded into it. Remove these
two screws and carefully set aside.
Li the unit and center it over the brackets. Align the slots on the back above the top line of the brackets, flush
with the wall, and lower the unit until the arcs of the hooks are fully resting in the slots. (See Figure 1.) Ensure
that all 4 hooks are in place. Line up the bottom screw holes with the corresponding holes on the lower bracket
by sliding the unit le or right on the brackets if necessary to center it, and then install the two (2) truss head
screws — tightening with a Philips head screwdriver.
The trutankless unit is now securely aixed to the wall.
1
2
3
4
Figure 2. Mounting Brackets
Figure 3. Tightening the Mounting Screws