Part Two
Flow Station Pressure Transducer Zero
1. Disconnect tubing between pressure transducer and flow station.
2. Select FLO STA PRESS ZERO menu item.
3. Press the ENTER ( ) soft key. Flow zero procedure, which takes 10 seconds, is
automatic. During the 10 second flow zero procedure, the display will indicate the current
flow station pressure transducer voltage.
4. Connect tubing between pressure transducer and flow station.
Low Flow Calibration
1. Set FLO STA FS V to match the voltage output (0 to 10V or 0 to 5V) of the pressure
transducer used.
2. Close the sash.
3. Select FLO STA LO CAL to enter a submenu with the following items:
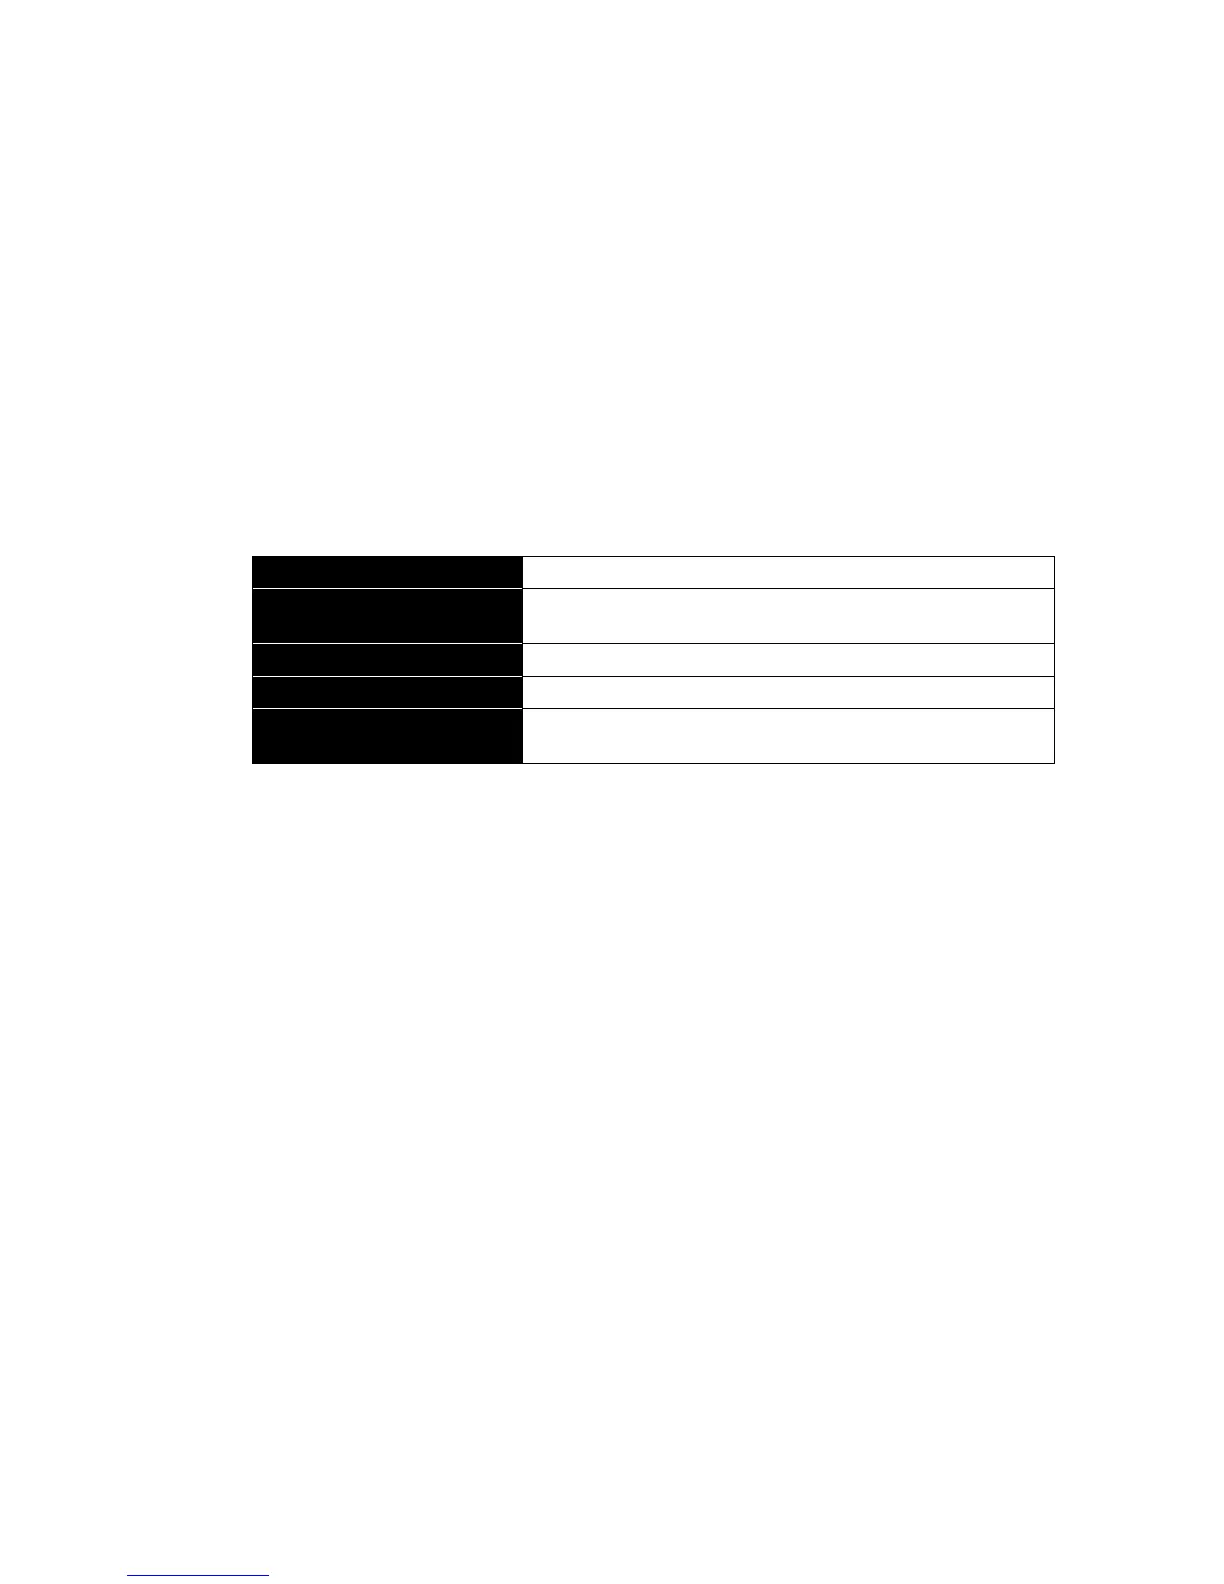
Damper position for low flow calibration
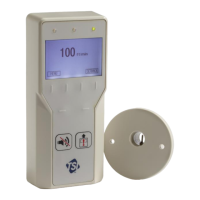
Voltage from pressure transducer during Flow Station
Pressure Transducer Zero
Current voltage from pressure transducer
Input actual flow as measured with reference instrument
here
5. With the FLO STA LO SETPT at 0% (default), observe the PRESSURE VOLTAGE
displayed on the screen, or use a voltmeter to read the voltage at the pressure input
terminals 7-8 on the back of the controller.
6. Slowly increase the FLO STA LO SETPT percentage value to adjust the damper position
until the PRESSURE VOLTAGE (pressure transducer output) shows the first noticeable
increase in voltage from the 0% position. A general rule of thumb is that the voltage
change should occur with the damper between approximately 10 to 30% open.
NOTE: Adjusting the FLO STA LO SETPT with the quick keys allows the
PRESSURE VOLTAGE to be displayed in real time.
7. For reference only, the MEASURED FLOW item will display the default measured flow
based on the current settings of the flow station (duct area, etc.).
8. Determine the actual flow with a duct traverse.
9. Enter the actual flow measurement under the ENTER ACTUAL FLOW menu item.
10. Press the ENTER ( ) soft key to save the flow data.
11. The low flow calibration is complete. Exit the menu with the ESC key.