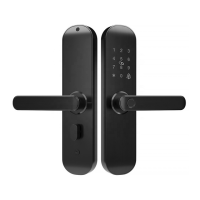
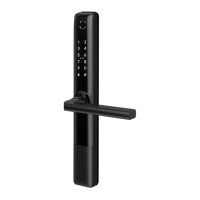
LOCK INSTALLATION STEP
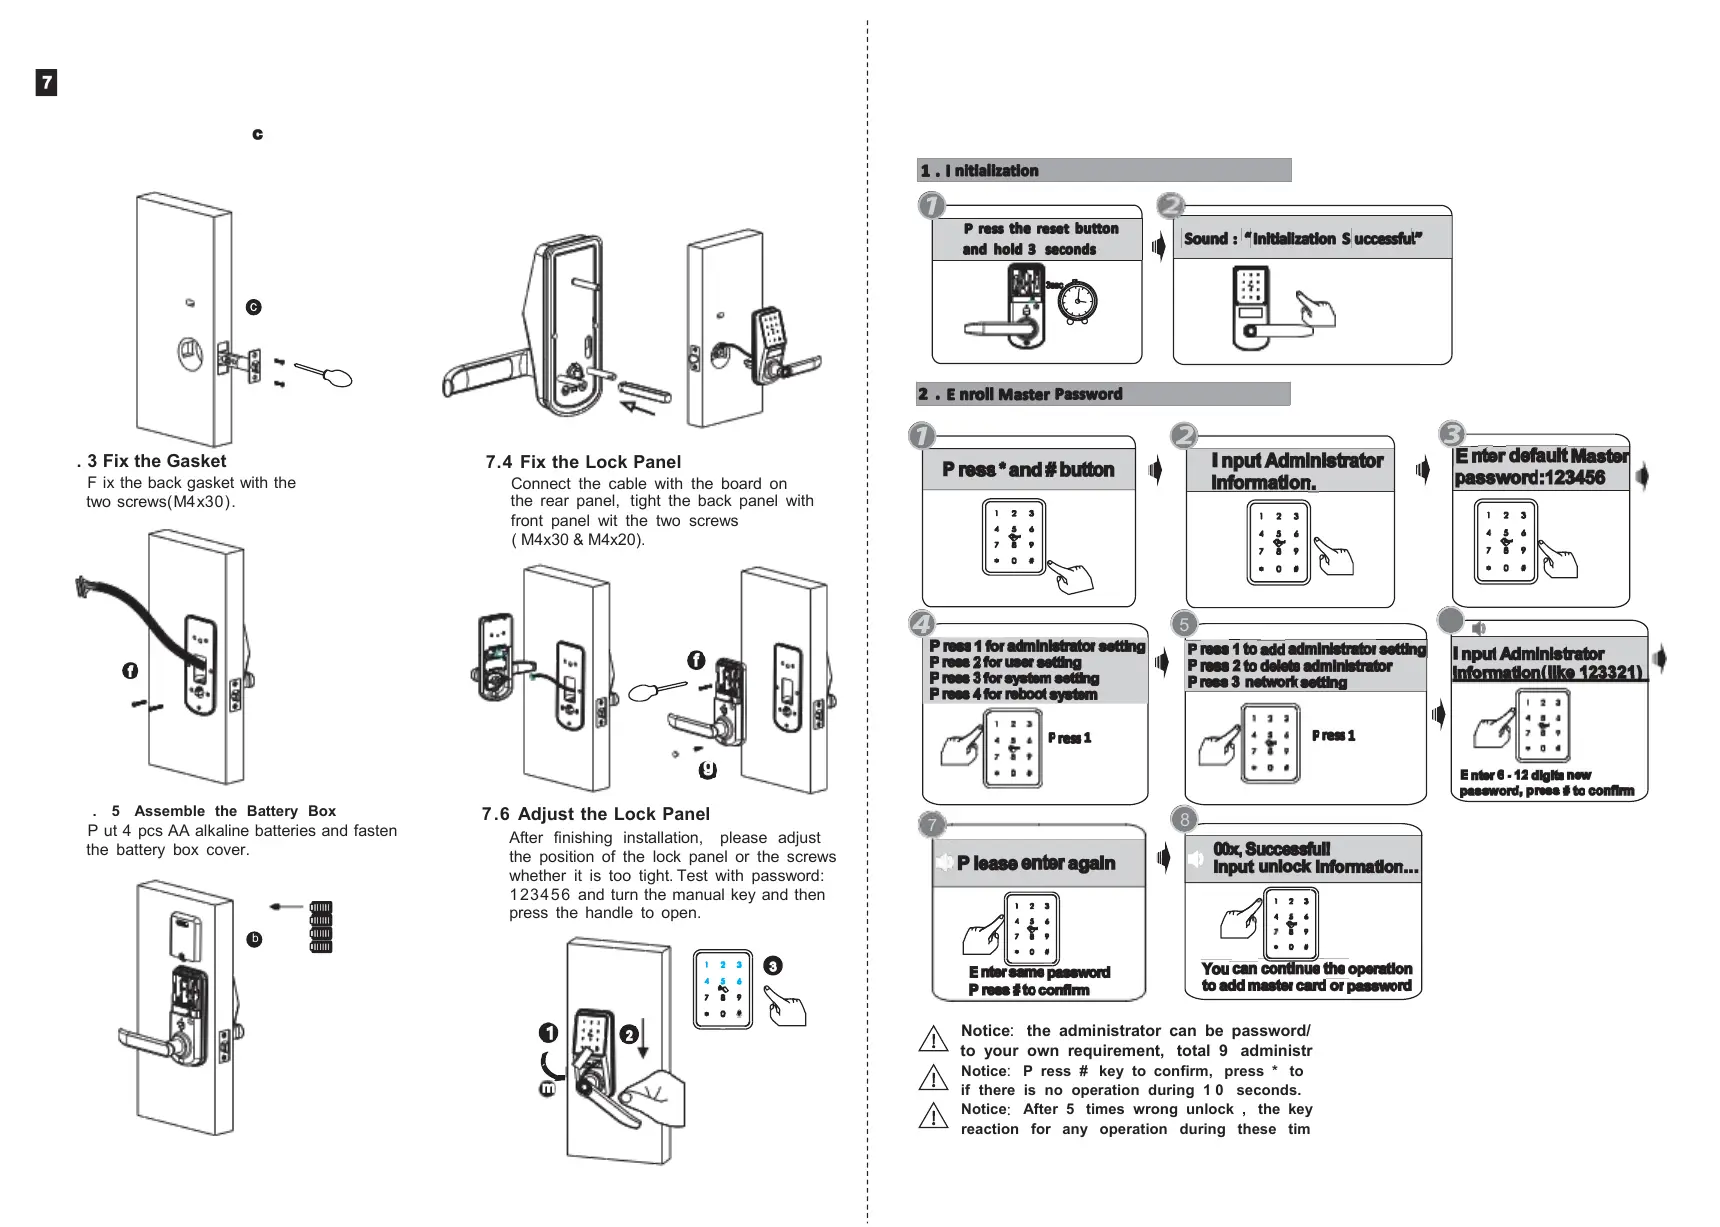
7.1 Assemble the Mortise
Assemble the mortise( ) into the slot
which is drilled according to the template
( 60/70 adjustable mortise).
7.4 Fix the Lock Panel
Connect the cable with the board on
the rear panel, tight the back panel with
front panel wit the two screws
( M4x30 & M4x20).
7 . 5 Assemble the Battery Box
5
Notice: the administrator can be password/ fingerprint or IC card, you can set according
to your own requirement, total 9 administrators.
Notice: P ress # key to confirm, press * to back to previous step, lock will exit the setting
if there is no operation during 1 0 seconds.
Notice
:
After 5 times wrong unlock , the keypad will be locked for 3 0 seconds, there is no
reaction for any operation during these time.
6
7.6 Adjust the Lock Panel
After finishing installation, please adjust
the position of the lock panel or the screws
whether it is too tight. Test with password:
123456 and turn the manual key and then
press the handle to open.
7.2 Assemble the F ront Panel
7.2. 1 P ress hard the spindle (h) into the
handle hole.
7.2.2 F ix the front panel(a) on the door and
cross the cable through the hole.
Please notice: it is a must to enroll the new administrator before you start to use this lock .
if not you can not configure the lock with Wi - Fi, you can follow the operation steps as below:
7. 3 Fix the Gasket
F ix the back gasket with the
two screws(M4x30).
P ut 4 pcs AA alkaline batteries and fasten
the battery box cover.