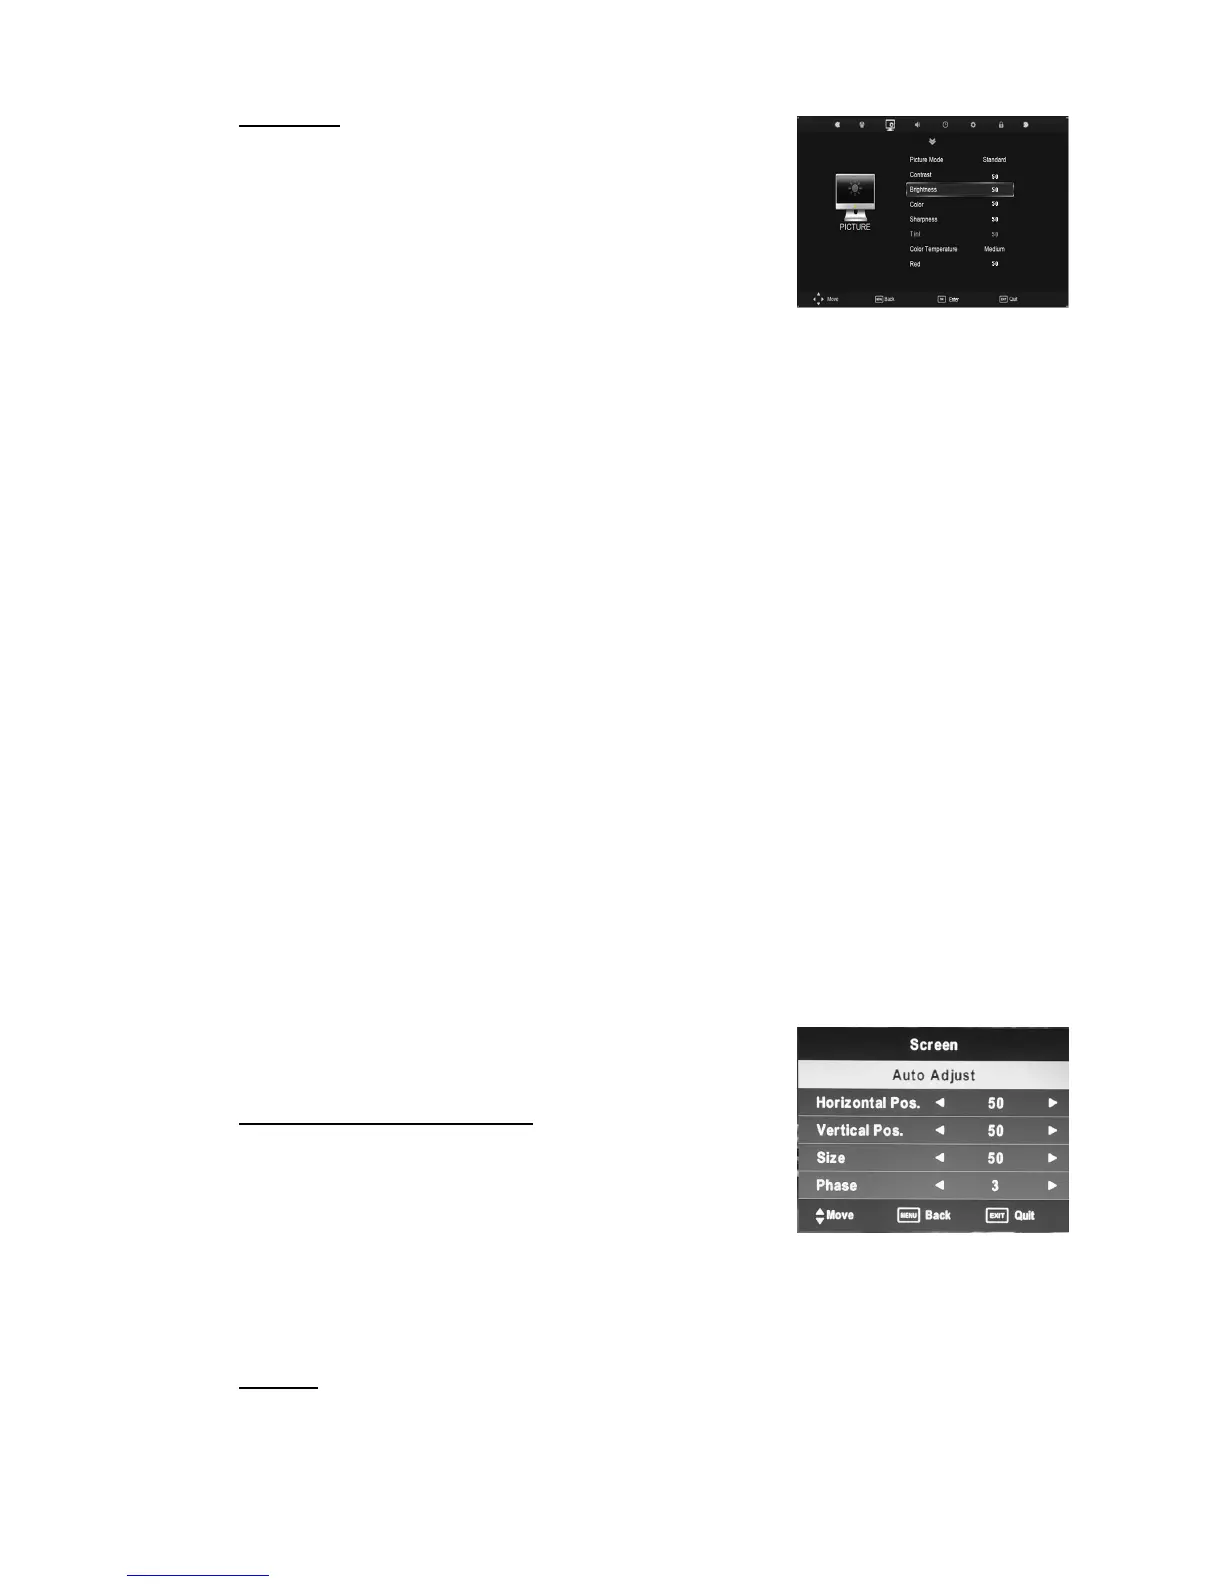
PICTURE
You can select the type of picture, which best corresponds
to your viewing.
1. Press the “MENU” button to enter the OSD menu.
Then press “/” button to select the “PICTURE”
menu.
2. Press “/” button to select “Picture Mode” and press
the “ENTER” button to enter sub-menu. Press “/”
button to select. (Available Picture mode: User, Dynamic, Standard, mild)
3. Press “/” button to select “Contrast” and press the “/” button to enter contrast
adjustment menu to adjust contrast.
4. Press “/” button to select “Brightness” and press the “/” button to enter
brightness adjustment menu to adjust brightness.
5. Press “/” button to select “Color” and press the “/” button to enter color
adjustment menu to adjust color.
6. Press “/” button to select “Sharpness” and press the “/” button to enter
sharpness adjustment menu to adjust sharpness.
7. Press “/” button to select “Tint” and press the “/” button to enter hue adjustment
menu to adjust tint.
Note: The 'Tint' item is used in NTSC mode only.
8. Press “/” button to select “Color Temperature” and press the “ENTER” button to
enter sub-menu. Press “/” button to select. (Available Color Temperature: Medium,
Cool, Warm User).
9. Red /Green /Blue is used in USER mode only
10. Press “/” button to select “Aspect Ratio” and press the “/” button to enter
Aspect Ratio adjustment menu to adjust Aspect Ratio(Auto 4:3 16:9 Zoom1
Zoom2 just Scan Panorama( .
11. Press “/” button to select “Noise Reduction” and press the “ENTER” button to enter
sub-menu. Press “/” button to select. (Available Noise Reduction: Off, Low, Middle,
High)
12. Press “/” button to select “screen” and press the “ENTER” button to enter sub-menu.
Press “/” button to select. (Only in the "PC"
state )
PC (When signal source is PC)
1. Press “/” button to select “Auto Adjust” menu and
press the “ENTER” button to do auto adjustment.
2. Press “/” button to select “Horizontal Pos.” and
press the “/” button to adjust.
3. Press “/” button to select “Vertical Pos.” and press the “/” button to adjust.
4. Press “/” button to select “Size” and press the “/” button to adjust.
5. Press “/” button to select “Phase” and press the “/” button to adjust.
SOUND
You can select the type of sound, which best corresponds to your listening.
 Loading...