TYGER LanderX
Driver/Left side Installation Pictured
Driver/Left side Installation Pictured
4/5
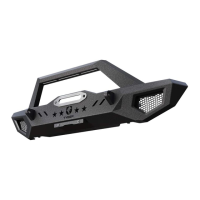
Carefully unwrap the TYGER LanderX. Select the Driver/Left
TYGER LanderX. Note “D” on back of tube. Carefully position the
TYGER LanderX up to the (4) Brackets. IMPORTANT: DO NOT
slide, (front to back or rotate), the TYGER LanderX against the
Brackets or damage to the finish may result. Attach the TYGER
LanderX to the Brackets with (8) 8mm x 25mm Combo Hex Bolt
assemblies (Fig 9-14). DO NOT fully tighten hardware.
STEP 6
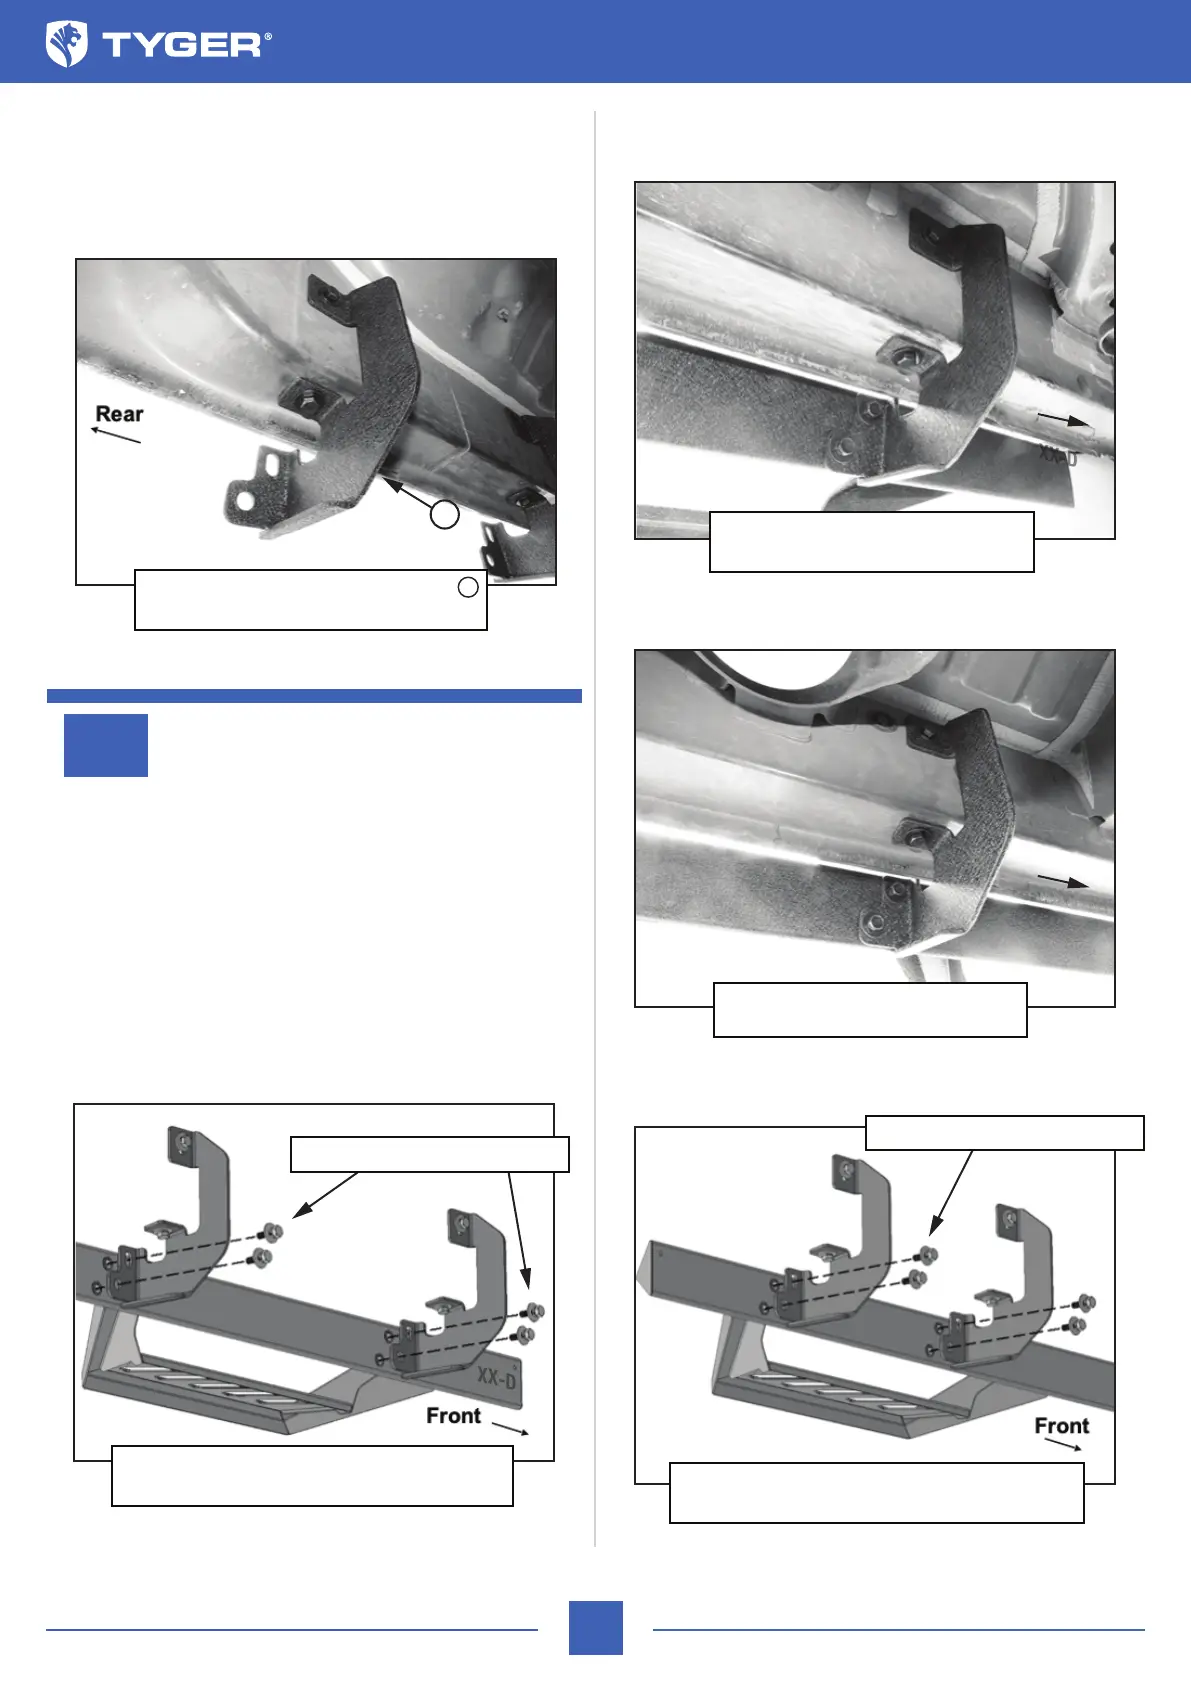
(Fig 8) Driver/Left Mounting Bracket
installed in rear mounting location
A
A
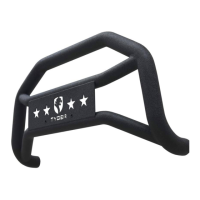
(Fig 9) Attach the Driver/Left TYGER LanderX
to the Front and Second Mounting Brackets
(2) 8mm x 25mm Combo Bolts
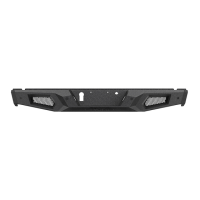
(Fig 10) Driver/Left TYGER LanderX
attached to front Mounting Bracket
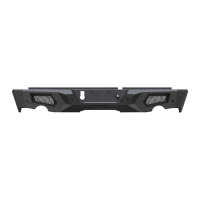
(Fig 11) Driver/Left TYGER LanderX
attached to Second Bracket
Front
Front
(Fig 12) Attach the Driver/Left TYGER LanderX
to the Third and Rear Mounting Brackets
(2) 8mm x 25mm Combo Bolts