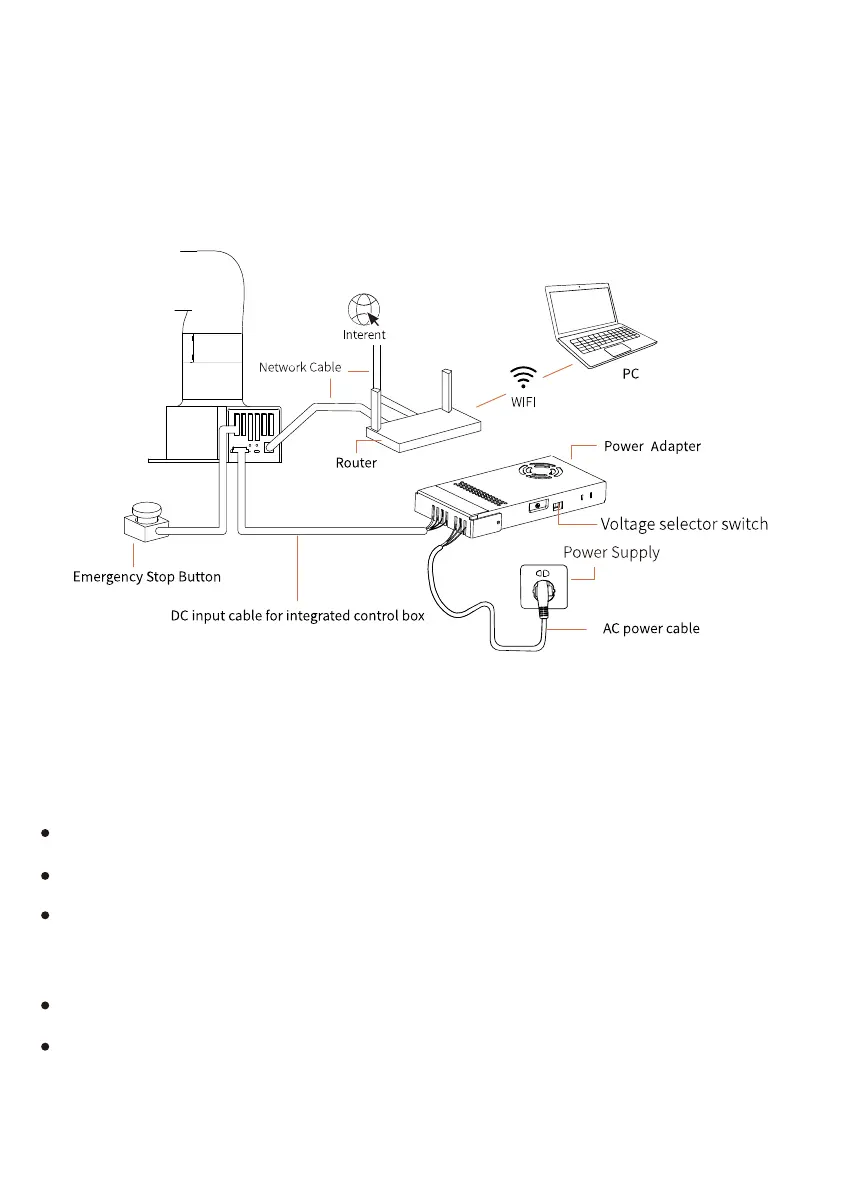
Hardware connection:
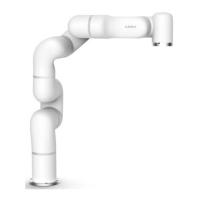
When you have connected all the parts, it should look like Figure 1:
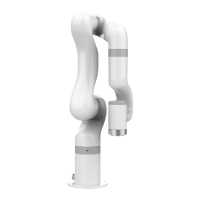
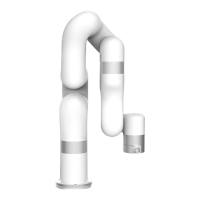
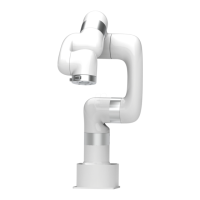
Lite 6 Quick Start Guide
Figure 1
Lite 6 Robotic Arm connection:
Make sure there is no obstacle in the Lite 6 robotic arm’s working space.
Fix the Lite 6 robotic arm on the base using 4 M5 screws.
Connect the DC input cable to the integrated control box of Lite 6 robotic arm, The con-
nector is error proof, please do not unplug and plug it violently.Adjust the voltage selec-
tor switch according to local voltage, connect the AC power cable to power supply.
Connect the Emergency Stop Switch and LAN cable to the Lite 6 robotic arm.
Check the power and motion status indicator, as shown in Figure 3.
01
 Loading...