S9600-72XC Hardware Installation Guide | 20
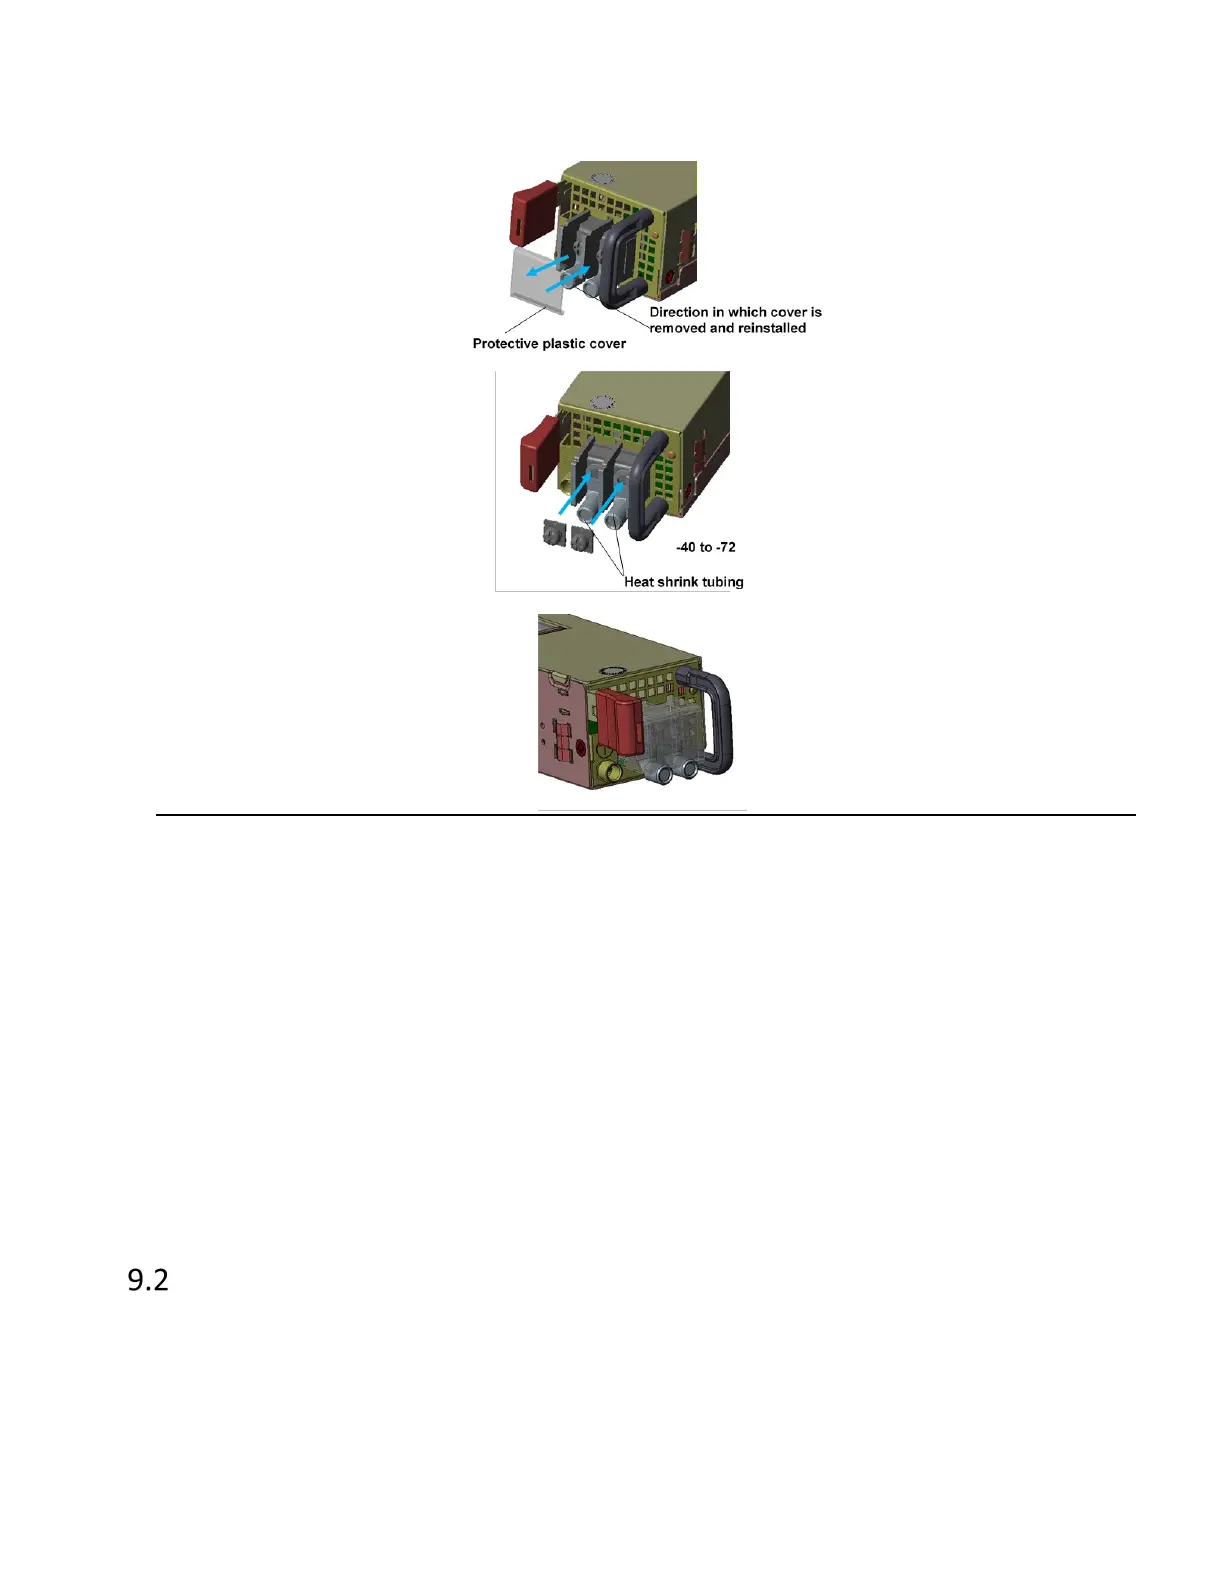
to guard against contact with terminals (Bottom picture).
Figure 25.
4. Tighten the screws to the specified torque.
Tighten the screws to a torque value of 14.0+/-0.5kgf.cm. If the torque is not enough, the lug
will not be secure and may cause malfunctions. If the torque is too much, the terminal block or
lug may be damaged. The previous picture depicts how it should look once the lug is attached
and the protective plastic cover reinstalled.
5. Feed DC power into the system.
The PSU will immediately output 12V and 5VSB to the system with a -48V DC power source.
The PSU has a built in 60A, fast acting fuse based on the PSU maximum capacity, which will act
as a second tier system protection in case the power distribution unit’s fuse is not functioning.
6. Verify that the power supply is operating.
If connected correctly, when turned on, the LED on the PSU will light up with a Green color
designating normal operation.
AC Version
1. Ensure there is enough power to supply the system.
The maximum system power consumption is 548 watts. It is recommended to ensure that
enough power is reserved from the power distribution system before installation. Also, please
ensure that both PSUs have been properly installed before powering up the equipment, as
the S9600-72XC is designed to support 1 + 1 power redundancy.
 Loading...