15
Chapter 4 Menu Operation
are available. Otherwise, they are in gray and not
available.
Scan: Select Wireless settings > Scan, then press
OK/►, the TV will scan all access points within
range. The access points found by the TV will be
displayed. Select an available access point, then
press OK to connect the TV to it.
Notes:
-
If you select a protected access point, you will
have
to enter the corresponding password. Press
OK
on
the remote control to display virtual
keyboard to enable you to enter it.
- This set has a memory function of available access
points, which enables your set to be connected to the
network even if you switch on TV after power off.
Manual:
Select Wireless settings > Manual, then
press
OK/►
, you will be prompted to enter the correct
SSID of an available wireless router to set up the
connection.
Wi-Fi Direct:
Select Wireless settings >
Wi-Fi Direct,
then press
OK/►
to enter, you can do Wi-Fi direct
password setting and change the password here.
Information:
Select Wireless settings >
Information
,
then press
OK/►
to enter, you will the information
about WiFi status, etc.
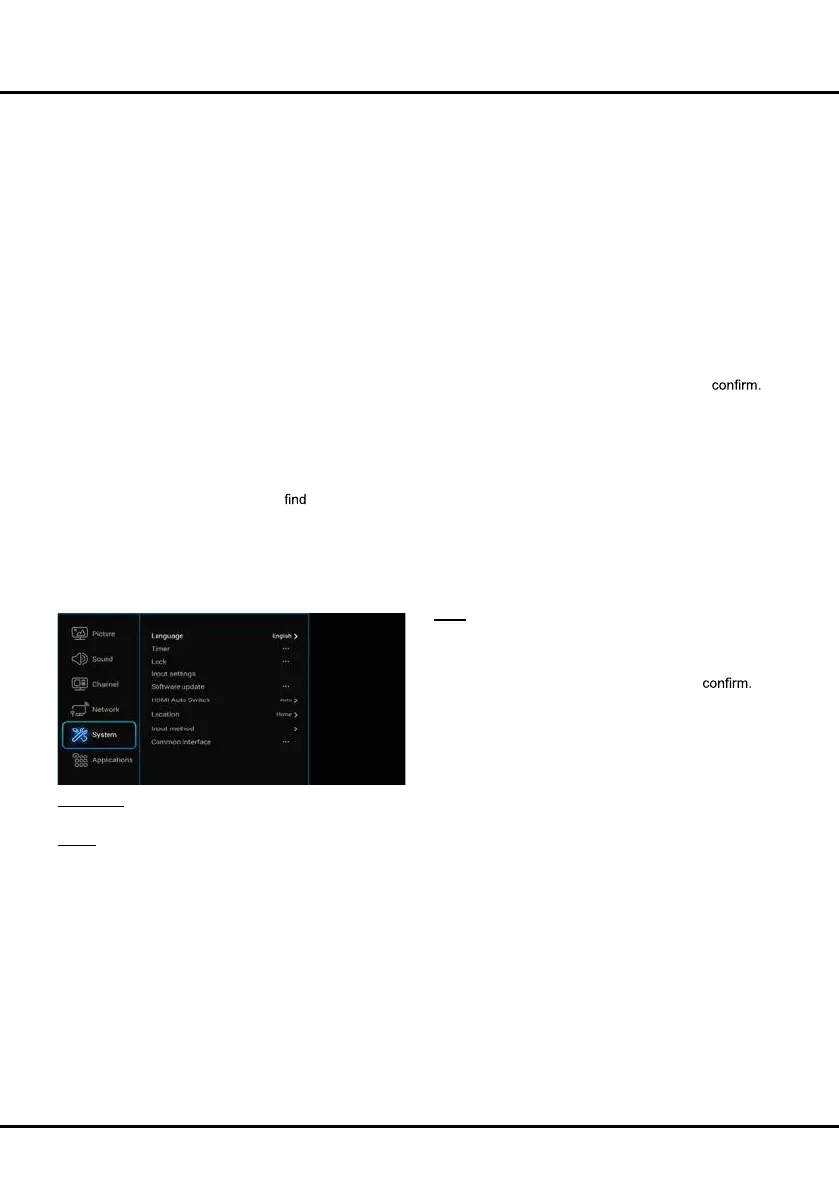
System
Select Settings > System, then the System menu
appears on the right with the following options. Press
OK/► to enter and use ▲/▼ to choose an option.
Language: Press OK/► to display the language list
and use ▲/▼ to select a language.
Timer: The Timer menu allows you to set the time zone
on your TV set, to program an automatic turn-off or
wake-up timer and to view the calendar.
Select System > Timer and press OK/► to confirm.
The Timer options are as below:
Time zone: Use ▲/▼ to select the local time zone.
Clock: Press OK/► to display its options:
- synchronization: Use ▲/▼ to select Auto or
Manual. If Auto is selected, the TV will get the
time automatically from DTV signals, and the Time
item cannot be adjusted. If you select Manual, you
should set date and time at Date and Time item.
Highlight
Date or Time, press
OK
to enter and then
use
▲/▼/◄/► and OK buttons to change
the date
or time
.
Note: If Manual is selected, the time set in Time
option will not be memorized when turning on the
TV next time, and the TV 's time will start from the
default.
- Power on timer: Use ▲/▼ to select Once, Daily
or Off. If you select Once or Daily, you should set a
time period after which the TV automatically switches
to on at Time below this item. Highlight Time,
press
OK
to enter and then use
▲/▼/◄/► and OK buttons
to change
the time
.
- Power on Channel: Press OK/► to display its
submenu. Highlight Select mode, use ► to select
Last status, the power on channel will be the last
channel you watched before power-off. Or you can
select User select, then press ▲/▼ to select the
channel you want to watch when the TV is turned on
automatically next time, and press OK to
- Power off timer: Use ▲/▼ to select Once, Daily
or Off. If you select Once or Daily, you should set a
time period after which the TV automatically switches
to off at Time below this item. Highlight Time,
press
OK
to enter and then use
▲/▼/◄/► and OK buttons
to change
the time
.
Sleep timer:
Auto standby:TV will enter standby model if there
haven’t any operation during the time you set.
Sets a period of time after which the
TV set goes into standby mode. Use ▲/▼ to set
the period (120 minutes maximum). To disable this
function, select Off.
Lock:
This menu can control the special function for TV
channels.
Note: You must enter your personal code before
entering the Lock menu.
Select System > Lock and press OK/► to
Then press the number buttons to enter the password to
enter the Lock menu. The factory default code is 1234
.
And the super password is 0423. If you forget your
code, enter it to override any existing codes.
The Lock options are as below:
- Channel lock: This option allows you to lock a
certain Channel. Use ▲/▼ to select a certain TV
channel you want to lock, then press OK to lock. To
unlock, use the same operation.
- Parental rating: This option allows you to set a
rating to a program. Highlight Parental rating, press
OK/► to display Parental rating menu. Then use
▲/▼ to adjust.
- Input lock: This option allows you to lock a certain
external source you want to lock. Press OK/► to
display Input lock menu, then press ▲/▼ to select
a certain external source you want to lock, and press
OK to lock. To unlock, use the same operation.
Note: when the current input is locked, you can press
OK and enter the password to enter.
- Front panel lock: Press ▲/▼ to select On to lock
the set's buttons.
- Installation lock: Press ▲/▼ to select On to
prevent access to the Installation menu to prevent
any channels from being set up without your consent.