19 20
Web Client—Binding & Settings
Step 1: Add Device
① Please ensure that the NAS device and computer are on the same local area network (LAN),
then visit the URL: find.ugnas.com.
② The system will automatically search the devices in your current LAN.
③ Select the device you want to add and click "Connect".
Phones/Tablets & Other Devices—Binding & Settings
1. Application Download
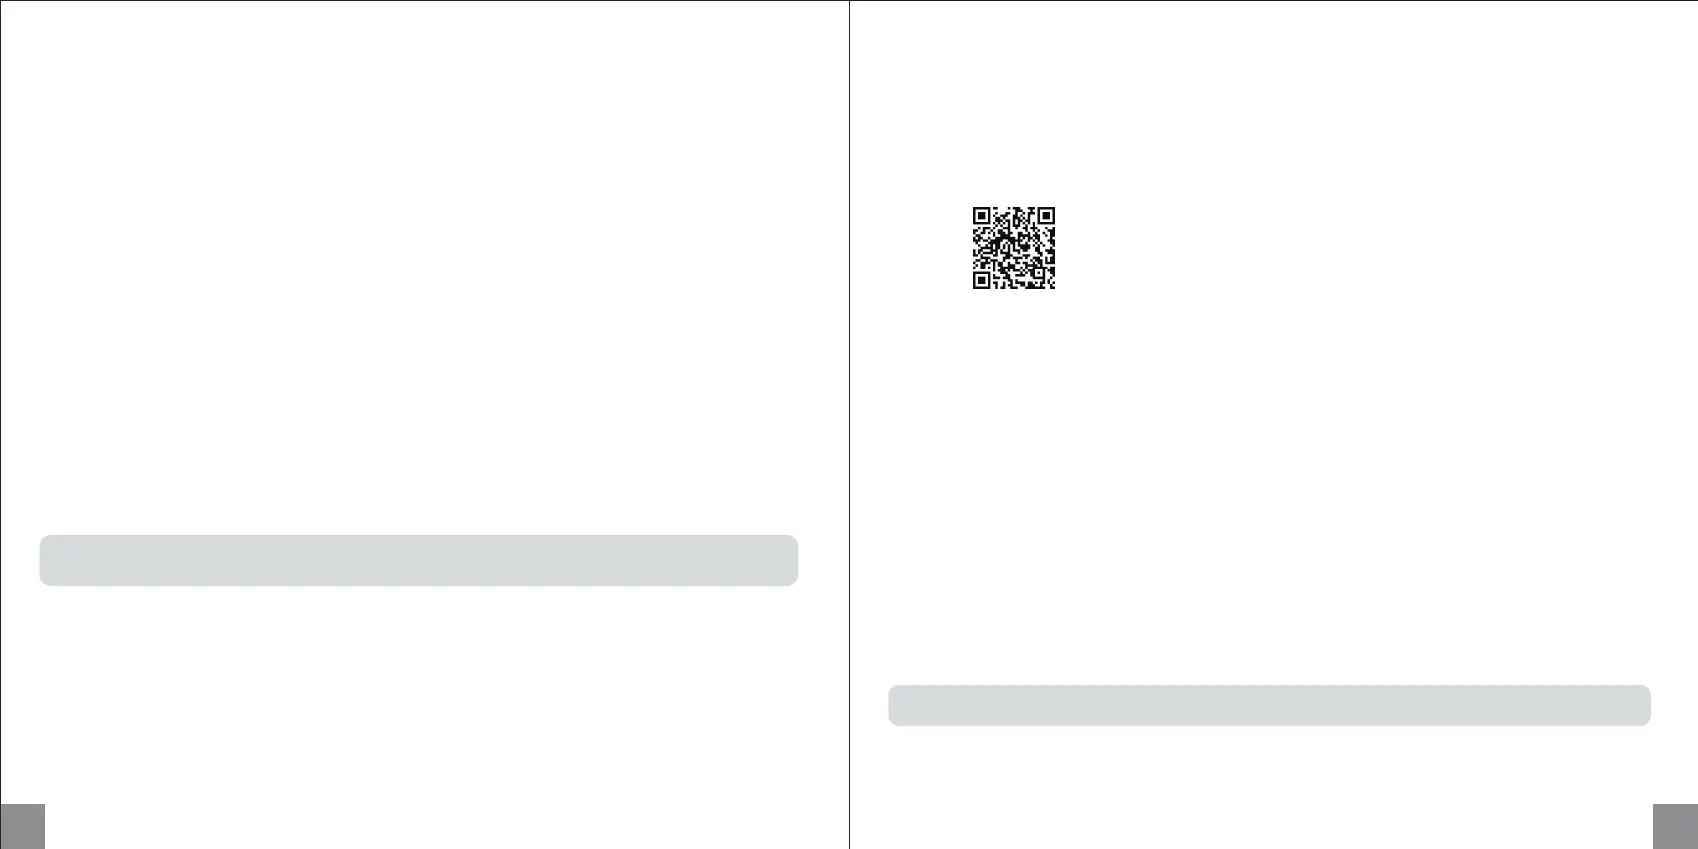
Option 1: Scan the QR code below or the QR code on the device using your phone to install the
"UGREEN NAS" app.
Option 2: Go to UGREEN's official website (https://nas.ugreen.com/download), download and
install the corresponding application.
2. Binding & Settings
Step 1: Add Device
① Please ensure that the NAS device and your phone or computer are on the same LAN.
② Open "UGREEN NAS". The system will automatically search for devices. You can also add a
device by scanning the QR code on the bottom of the device.
③ Select the device you want to add and click "Connect".
Scan to install
Step 2: Initialize the Device
① After adding the device, you will enter the initialization settings interface.
② In this interface, please complete the following operations:
· Name the device: Name your device to ensure it's easy to identify and manage.
· Create a local administrator account: Register a local administrator account for the device to
manage the device.
· Register and bind UGREEN Cloud account (optional): If you want to use additional functions,
such as UGREENlink and Quick Login, you can choose to register a UGREEN Cloud account
and bind your device. If not, you can choose to skip this step and use only the local account
to log in to the device.
③ After completing the above operations, please check the update system option (required) and
the device analysis improvement plan option (not required), then you can start using the device.
Note: If the device does not undergo the initialization process, its status will be displayed as
"Not Initialized".
Step 3: Set up Storage Mode
Enter the "UGREEN NAS" > "Storage Manager", then you can set up storage mode and
configure storage space.
Step 2: Initialize the Device
① After adding the device, you will enter the initialization settings interface.
② In this interface, please complete the following operations:
· Name the device: Name your device to ensure it's easy to identify and manage.
· Create a local administrator account: Register a local administrator account for the device to
manage the device.
· Register and bind UGREEN Cloud account (optional): If you want to use additional functions,
such as UGREENlink and Quick Login, you can choose to register a UGREEN Cloud account
and bind your device. If not, you can choose to skip this step and use only the local account to
log in to the device.
③ After completing the above operations, please check the update system option (required)
and the device analysis improvement plan option (not required), then you can start using the
device.
Note: If the device does not undergo the initialization process, its status will be displayed as
"Not Initialized".
Step 3: Set up Storage Mode
Enter the "UGREEN NAS" > "Storage Manager", then you can set up storage mode and configure
storage space.
 Loading...