7
1.6 Installation- Check all Connections
Recheck all connections before reconnecting the negative(-) battery cable.
Insert the correct value fuse in the fuse holder at the battery before
attempting to turn on the system.
2. Operation
2.1 Operation- Input Level adjustments
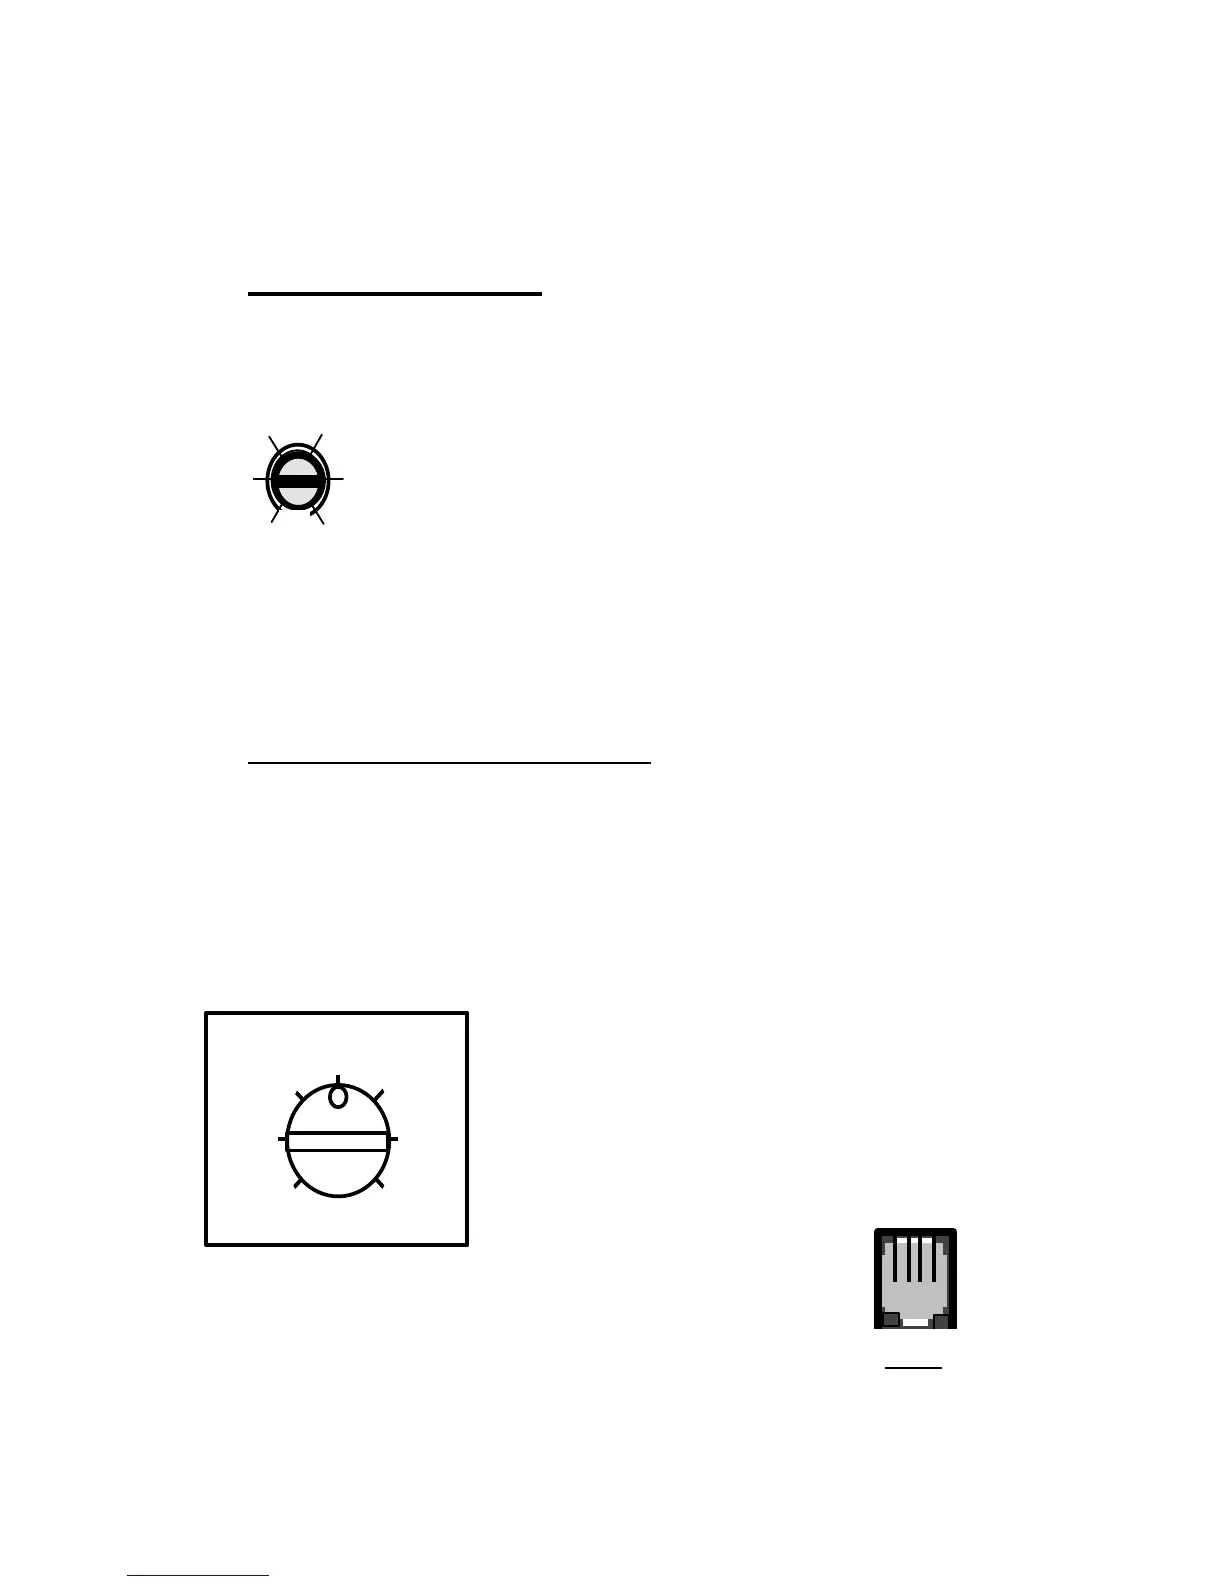
Adjust the input level for the marked channel(s) with a small
screwdriver through the opening marked “LEVEL”. Turn
CW(clockwise) to increase the level, CCW(counterclockwise)
to decrease. Amplifiers will run cooler and produce less
system noise at lower level settings.
Consult an experienced installation specialist for assistance in balancing
the levels in multi-amplifier systems, or systems with signal processing
accessories.
UHC5UHC5-- SUBWOOFER CHANNELS
The subwoofer channels have frequency adjustment and level controls but
no separate RCA input jacks. Use a small screwdriver to adjust the low
pass level through the opening marked “SUBWOOFER, LEVEL".
2.2 Operation- Optional Remote Subwoofer
Level Control
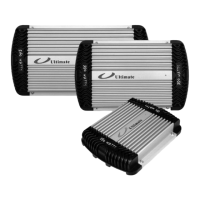
Mount the optional accessory remote level control
in an accessible location and run the connecting
cable back to the UHC5. Connect the subwoofer
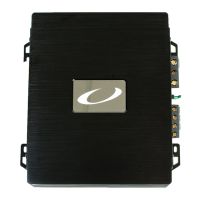
remote level control by plugging the telephone
plug at the end of the accessory
cable into the RJ-11 telephone
jack on the UHC5. Set the "Low-
Pass" output level to the
maximum level possible (full CW). Adjust the remote
level control CW to increase the subwoofer level, CCW
to decrease the subwoofer level.
LEVEL
VOLTS
5.0-0.15
REMOTE SUBWOOFER
VOLUME
MIN MAX
REMOTE
BASS