© UPLIFT Desk • 1-800-349-3839 • 1-512-614-3152 • info@upliftdesk.com • upliftdesk.com
7
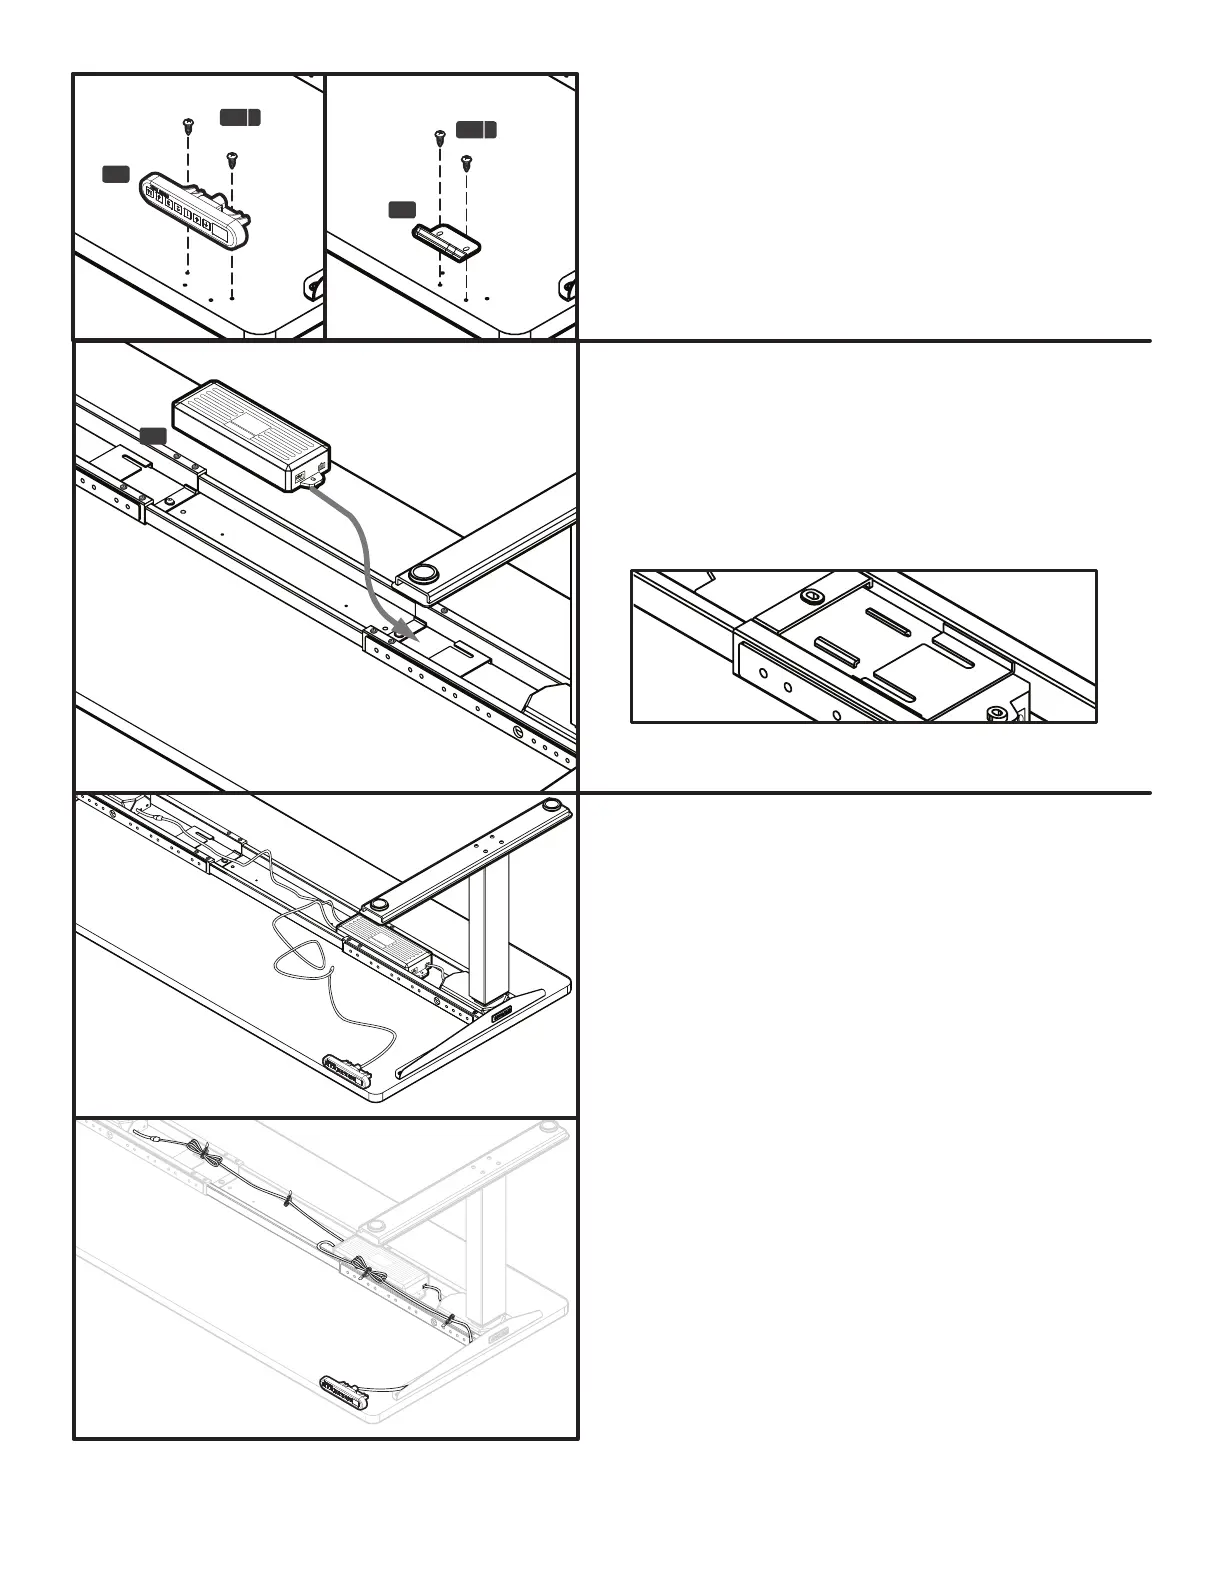
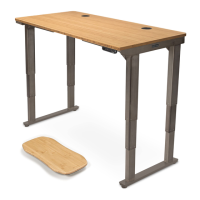
Step 8
Line up your Keypad (C7) up with the pre-drilled
holes, and attach it to desktop with two (2) #10x3/4’’
Wood screws (H4a).
If you’re using your own desktop and have no pre-
drilled holes, the Keypad can be placed anywhere
along the front edge of the desk. We recommend
placing it near the side so it doesn’t interfere with your
chair or legs when seated.
H4 a
H4 a
C7
C7
Step 10
Plug the cord of the closer Leg into the Control box.
This cord has enough slack to reach the white port on
the box.
For the other Leg, you’ll need the leg cable (C8) to
be able to plug the remaining leg assembly into the
Control box. Again, look for the white port.
Now, plug the Keypad into the port marked “HS”.
Use the Cable mounts (H8) to organize, bundle, and
secure your cords to the underside of your desktop
so they don’t get tangled or snagged on objects when
adjusting.
You can stick the mounts to the desktop or frame. The
adhesive often sticks better to the metal of the frame.
If you have purchased casters, or other accessories
like Keyboard Trays or CPU holders or the included
Wire management tray, now is a good time to add
them. Refer to the instructions that came with your
accessories, and refer to page 8 of this guide for the
Wire management tray.
Step 9
Slide the tabs of the Control box (C6) into the slots
on the Frame end. Refer to the diagram for how the
Control box interlocks with the frame end. It can be
placed on either frame end. We advise positioning the
power cord end pointing toward the Leg, and on the
side where the keypad is mounted.
C6
Control box tab & Frame end slot - Top View (Desktop not shown)