7
INSTALLATION
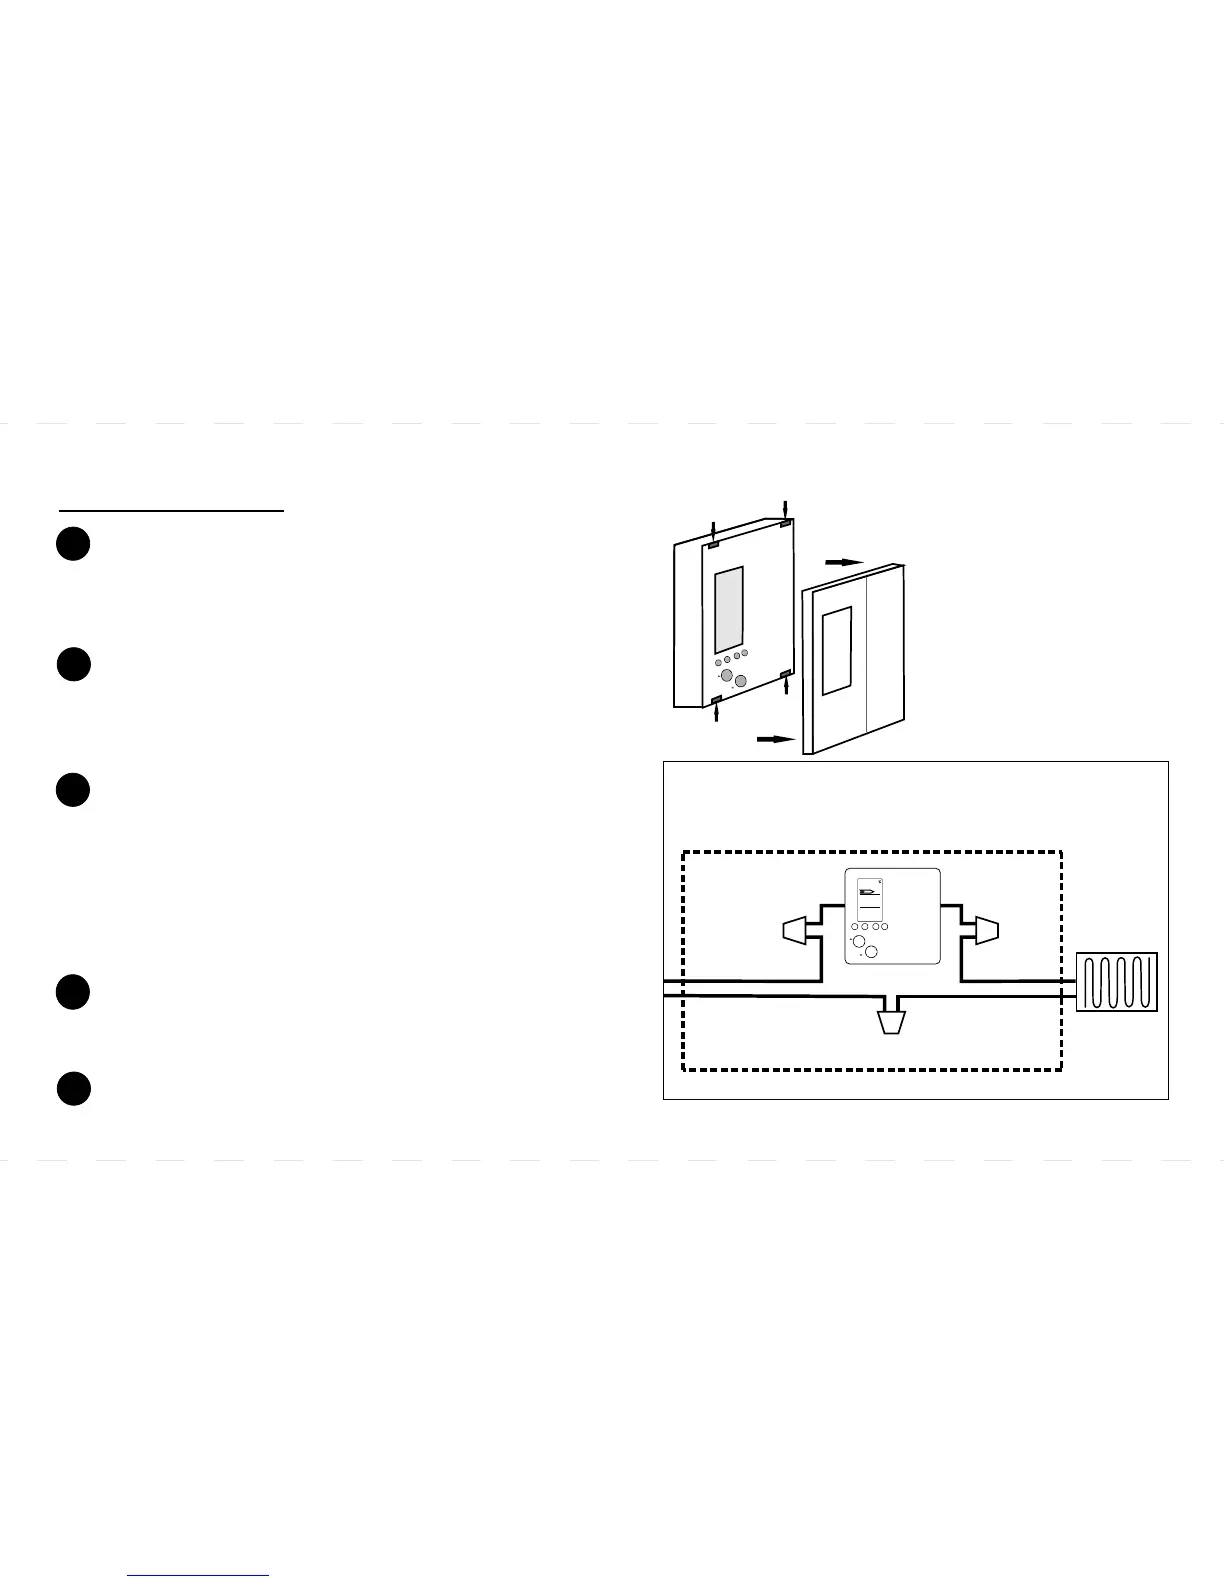
Mount the thermostat into the wall box, using two
screws through the mounting holes, then replace the
faceplate. (Place screws in the 2 right or 2 left holes)
Using the wire nuts provided, securely fasten each
wire from the new thermostat to the live wires in the
wall box. Refer to the diagram.
NOTE: ENSURE NO BARE WIRE IS EXPOSED.
Remove the old thermostat carefully and identify the
two wires from the wall box.
Reconnect power supply.
1
2
3
4
4-WIRE INSTALLATION:
Metal Wall Box
Electric
Heater
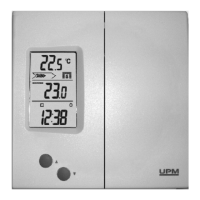
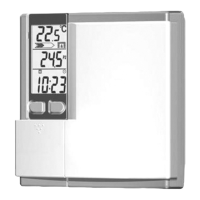
25.8
23.0
8:15
PM
UP
DOWN
*120-240V AC Lines
Wire Nut Wire Nut
Wire Nut
The wiring designation is generally:
BYPASS / CONNECT
Bypass
Connect
Gently remove the faceplate from the new thermostat
but DO NOT remove the screws from the back of the
unit because these screws hold the thermostat
together.
5
* Remove Faceplate
To remove the
thermostat faceplate,
very gently apply
pressure to the crease
of the thermostat to
detach the four
notches, then pull the
faceplate forward.
U
P
O
WN
D
*Note: If there are 4 wires connected to the old thermostat,
the 2 extra wires should be connected together a wire nut.
(not supplied)
Final Size: 5” x 3” / 12.5cm x 7.5cm