6
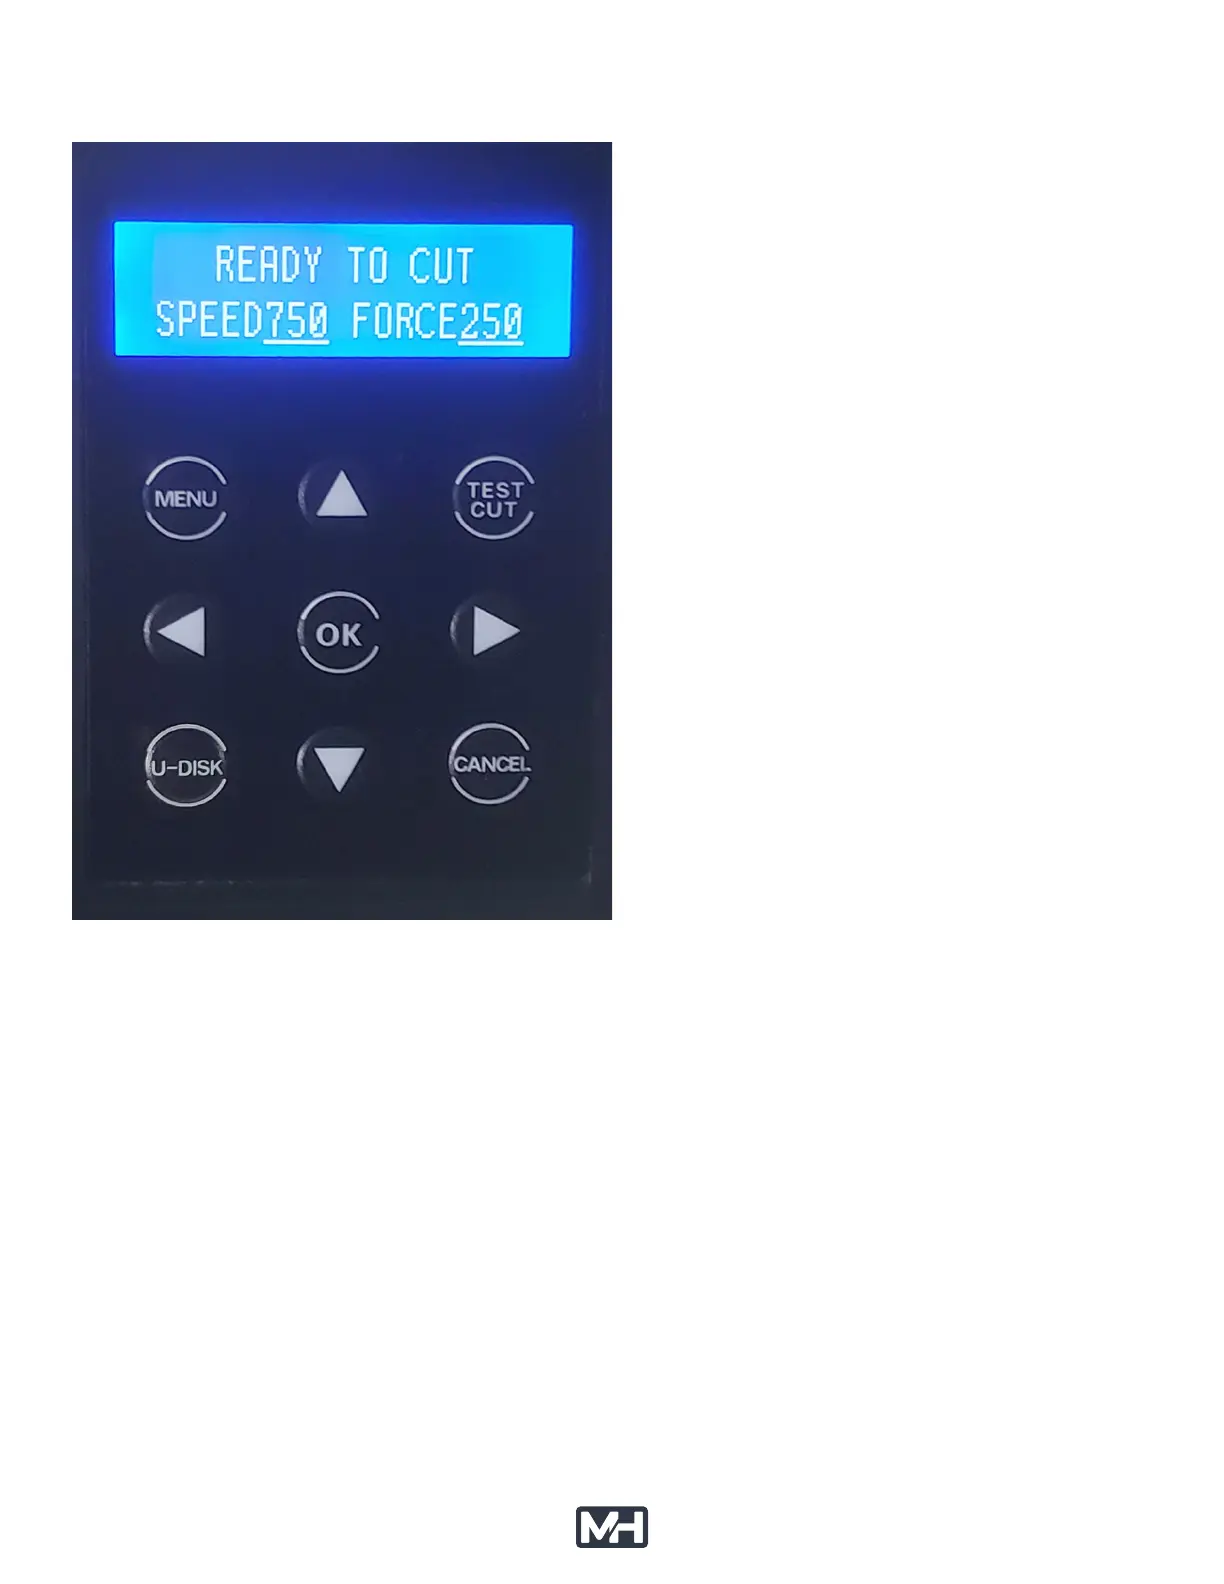
1.3 - CONTROL PANEL OVERVIEW
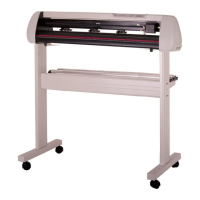
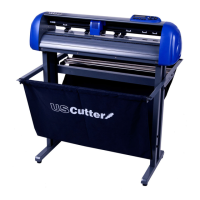
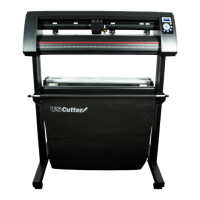
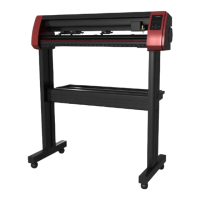
1.4 - SETTING UP THE STAND (For Models That Include A Stand)
width of your cutter:
MH200-28: Mid-tier 28" stand with 2 media rollers and catch basket
MH200-34: Mid-tier 34" stand with 2 media rollers and catch basket
MH200-53: Mid-tier 53" stand with 2 media rollers and catch basket
MH200-64: Mid-tier 64" stand with 2 media rollers & catchbasket
Download stand assembly instructions at mhcutter.com/manuals
You can watch stand assembly videos at mhcutter.com/videos
Use the yellow grounding wire to attach the bottom of the cutter to any part of the stand (see stand
assembly manual)
Note: You can optionally purchase a premium stand for any of the sizes listed above. Also optional
premium wheels can be added to any stand
MENU:
screens.
TEST CUT:
Cuts a small design using the current force
settings and exposes the cut area, Press
TEST CUT again to pull back media.
OK:
Accepts the on-screen setting
(Menu changes to speed/force are retained even
without pressing OK)
U-DISK:
CANCEL:
Pauses, then another press of CANCEL aborts
the current job, resets cutter with carriage
returning to right side of cutter.
ARROW KEYS (▲▶▼◀):
Used to move the cursor while Ready to Cut,
used to adjust speed/force settings within
the MENU.
Note: The cutter has an auto-origin-set feature
so there is no need for an Origin button.



 To Next Page