JSD-80 Instruction Manual
3rd Edition. February, 2006
Loading Confi guration Files
Use the “New” command to create a cus-
tom confi guration fi le starting with factory
Use the “Save” or “Save As” command to
save your custom confi guration fi le to the
You may load a previously saved fi le by us-
ing the “File,” “Open” command and select-
ing the desired confi guration fi le.
connected to the unit, the parameters will
be automatically uploaded.
(See also: System Restore From Personality
Please take the time to familiarize your-
self with the laptop interface controls and
screens. Next establish communication with
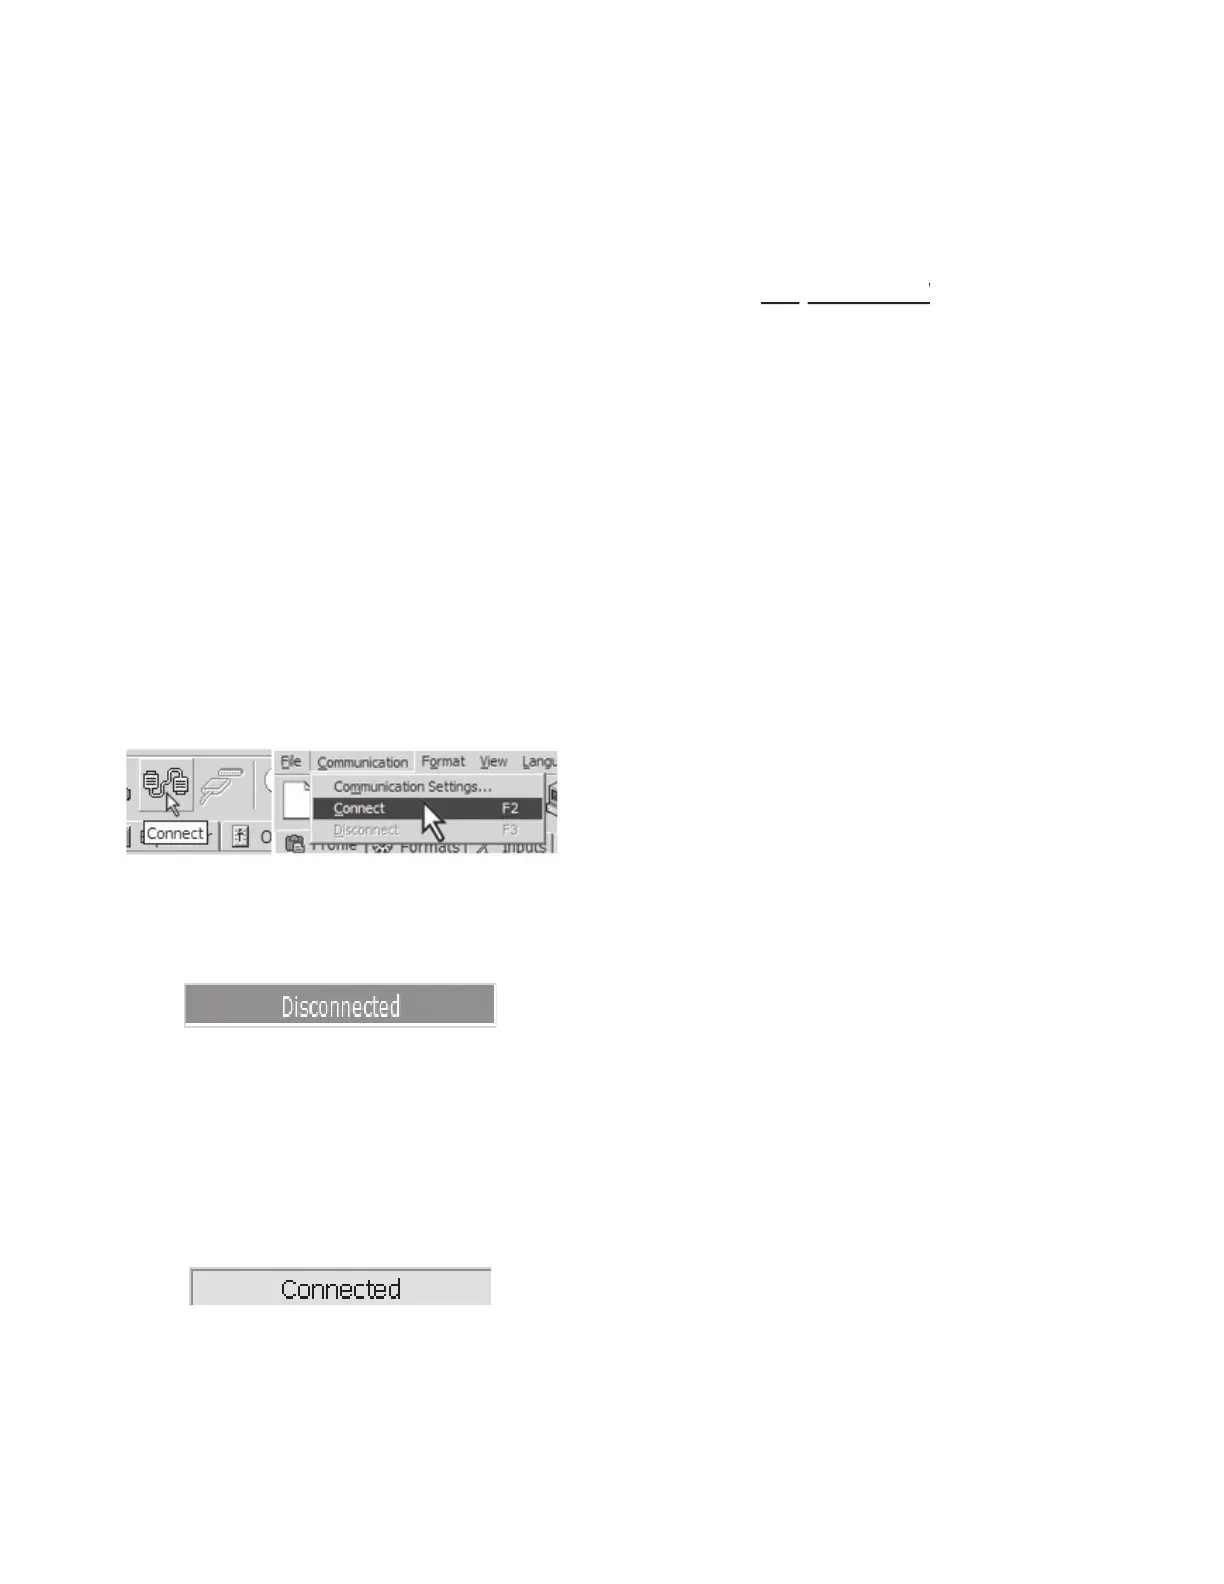
the JSD-80 using a standard RS232 cable. Se-
lect the “Connect” icon on the toolbar and, if
everything is as it should be, the computer
will connect with the JSD-80.
When you fi rst accessed the JSD software,
the small window in the lower right hand
corner of the main window looked like
Once you connect to the JSD, the computer
will download all the data stored on the
JSD-80 to the laptop’s memory. This data
can consist of Preamp Parameters, EQ
Parameters, Front Panel Parameters and
Profi le Information. Once that action has
taken place, the small window will change
You are now ready to set up the JSD-80.
If you are setting up the JSD-80 for the fi rst
time, you may want to fi ll in the particulars
of the venue in the “Theatre Information”
boxes provided in the Profile tab. They
may be fi lled in and edited like a normal
The “Component Information” boxes are
fi lled in at the factory and are not editable
Note: As stated previously, this infor-
functional insofar as the functional
operation of the processor is concerned,
but can aid you greatly in future endeav-
At any time during the Profile entry or
setup procedures, the information from
those tasks may be saved to the laptop’s
hard drive or other convenient data storage
medium by utilizing the “Save” function and
providing a path and fi le name.
After completion of the alignment proce-
dure (see Section 8), the complete system
confi guration may be saved to the laptop’s
hard drive or other data storage medium by
utilizing the “Save” function and providing