12
B-01286 USLR-XLT Maintenance (11-25-19)
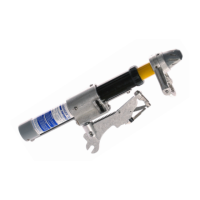
1. Inspect the Black Tube / Can Assembly (XLT-1 P-00323, XLT-2 P-00452) to verify the
reset trigger operates correctly.
2. If necessary clean with warm soapy water.
3. Using a T25 Torx Drive, verify that all three 10-24 x 3/8 Torx PHMS (B-00806) are
secure. DO NOT remove as they are difcult to install. (Older models may require a
#2 Phillips Screwdriver)
4. Inspect the Long Conductor Path (C-00520 XLT-1 or C-00541 XLT-2) and Short
Conductor Path (C-00519) for signs of damage, including gouging or tracking on the
underside. Replace if necessary.
Black Tube Assembly & Conductor Path
Inspection and Cleaning
2. Apply a small amount of Loctite 263 (B-01073) to the 1/4”-20 x 7/8” Cup point
SHSS (B-01268) and fasten using a 1/8” Allen wrench. Continue tightening until the
Overhead Arm Assembly (P-00052) can support itself in the upright position.
3. Continue tightening the set screw 1/4 turn at a time, testing the arms movement in
between turns. Stop tightening when the arm can only move 45 degrees off center in
both directions and the spring force is rm and smooth.
 Loading...