9
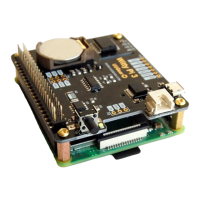
Then you can mount Witty Pi 3’s stacking header on Raspberry Pi’s 2x20 pin male header, and then
tighten the screws.
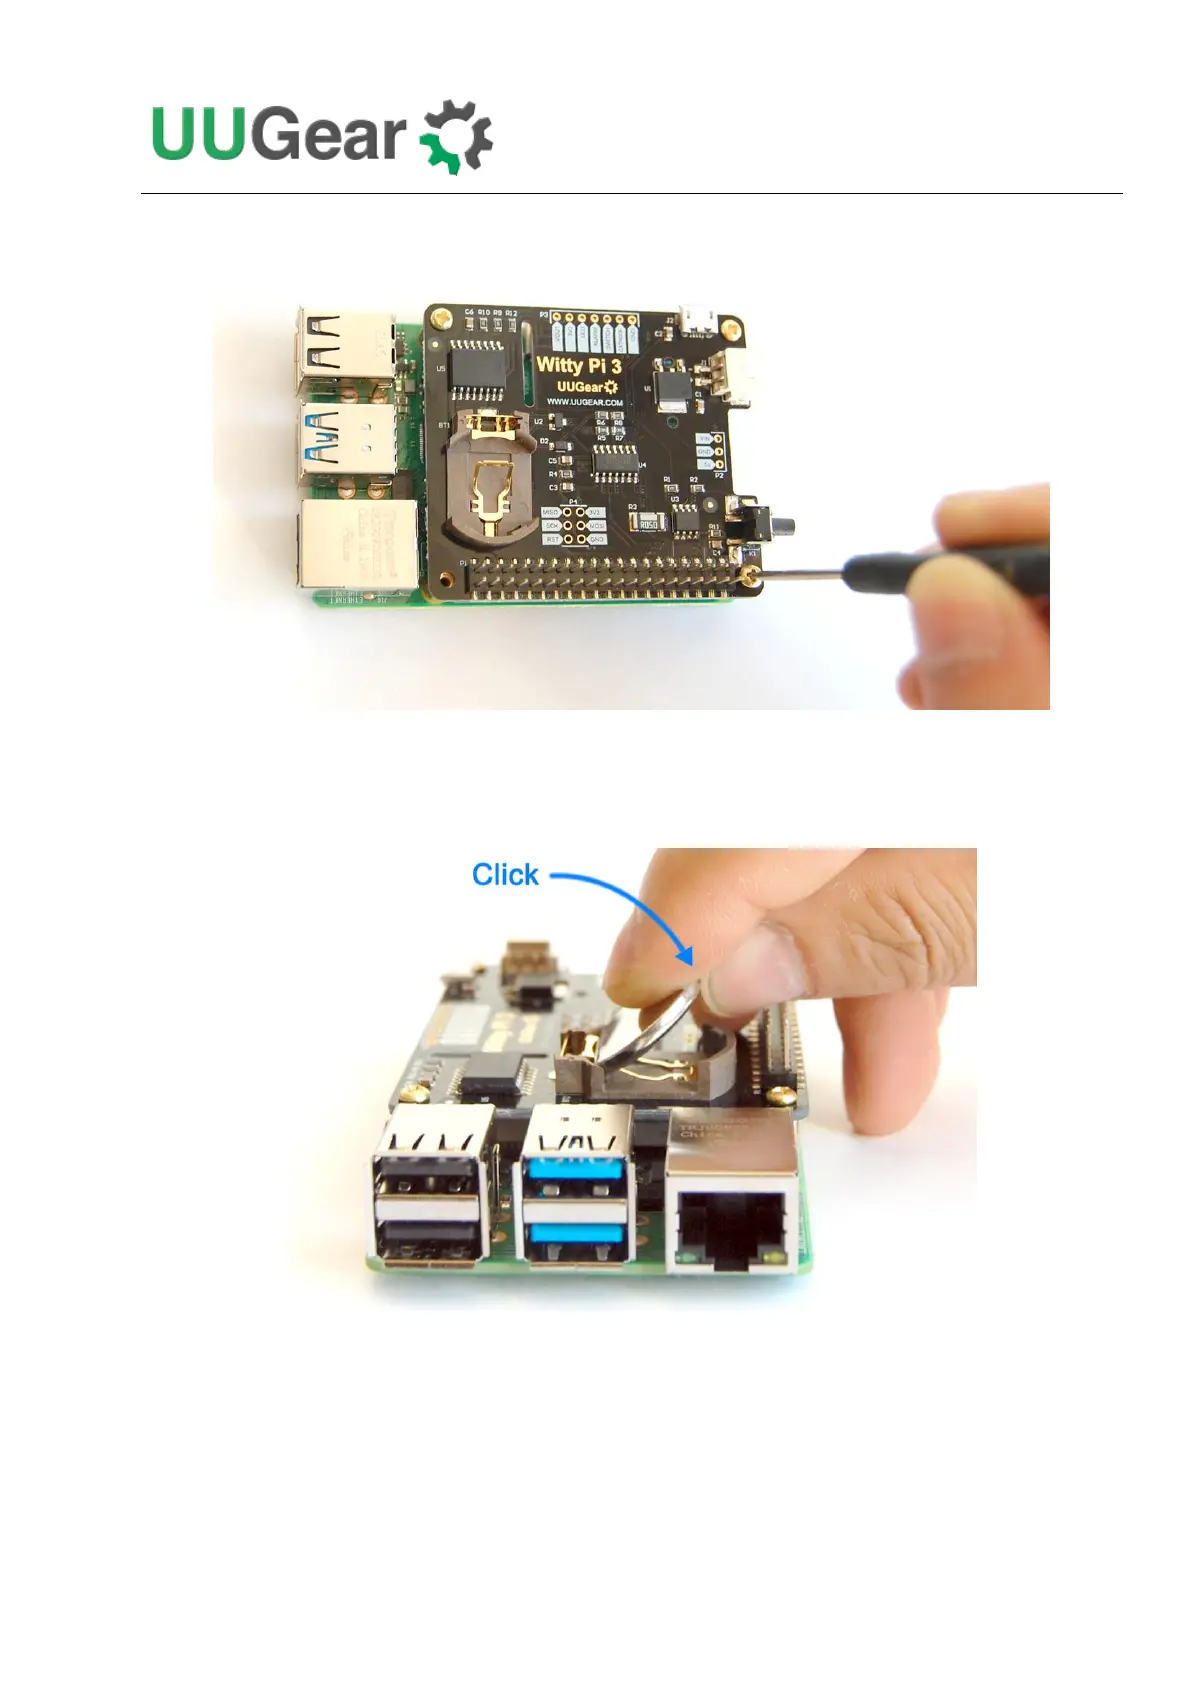
Don’t forget to put the CR2032 button battery into the battery holder, with the battery Witty Pi 3 can
remember the time even after you cut its power. The RTC only draws about 4uA current from the
battery to keep the time, so the battery can last years.
After mounting Witty Pi 3 on your Raspberry Pi, and connect the power supply to Witty Pi 3 (via the
micro USB connector or XH2.54 connector), you can see the white LED blinks for every few
seconds, which means it is standing by.
Now your Witty Pi 3 is ready to go.
 Loading...