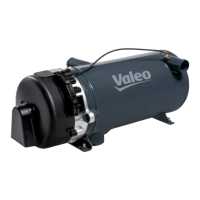
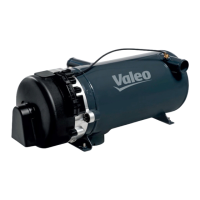
801
Thermo plus 160/230/300/350 8 Repairs
8 Burner head, components and
heater removal and installation
8.1 General
The safety hints and regulations in Chapter 1 (see 1.6)
must be adhered.
ATTENTION:
Prior to disassembling components the heater must
be disconnected from the vehicle electrical system
(Observe 5.2 !).
ATTENTION:
Sealing elements between disassembled compo-
nents must be principally discarded and replaced.
This does not apply to the temperature sensor gasket
ring, as it is permanently attached.
Screws with coated threads must be discarded and
replaced.
It is permitted to remove components from the heater,
while the heater is installed in the vehicle, assuming that
sufficient space is available and no components will be
damaged.
NOTE:
If components are disassembled to a degree not covered
in this workshop manual, any warranty claim shall be
voided.
Only genuine Valeo spare parts should be used.
In the figures of the procedures following icon is used:
Symbol tightening torque:
Features in graphics parts (e.g. nuts, bolts)
that are to be mounted with a specific tigh-
tening torque. The values for the tightening
torque are at the symbol and are binding.
Danger to life and health!
Warning!