803
Thermo plus 160/230/300/350 8 Repairs
8.3 Removal and installation of the
temperature sensor with integrated
overheating protection
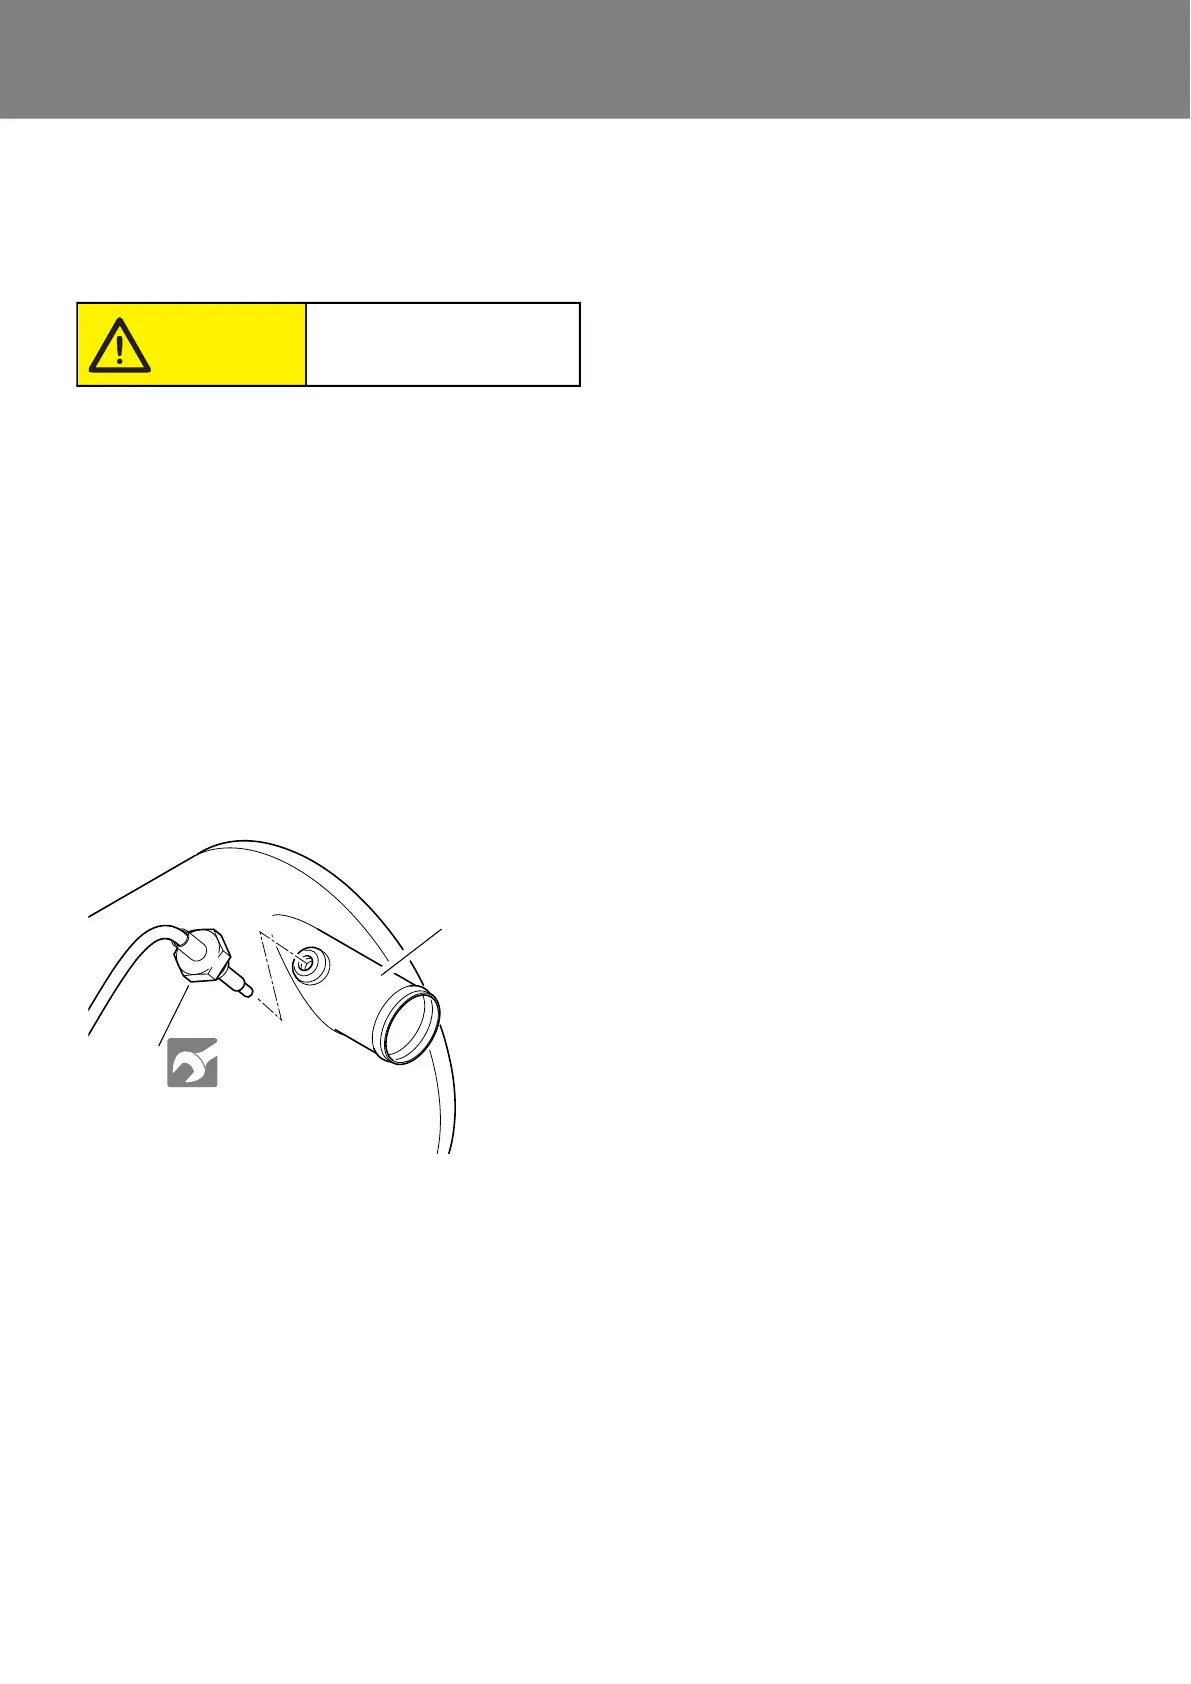
Risk of scalds if coolant temperature is increased.
Removal
1. Disconnect the heater from the vehicle electrical
system (Observe 5.2 !).
2. Disconnect the temperature sensor plug (3, Fig. 801).
3. Unscrew and remove the temperature sensor (1, Fig.
802).
Installation
1. Manually screw the temperature sensor (1, Fig. 802)
into the coolant outlet (2).
2. Tighten the temperature sensor (1).
3. Connect the temperature sensor plug (3, Fig. 801).
4. Connect the heater to the vehicle electrical system.
8.4 Hood removal and installation
Removal
1. Disconnect the heater from the vehicle electrical
system (Observe 5.2 !).
2. Loosen screws (2, Fig. 803).
3. Remove hood (1).
Installation
1. Place hood (1, Fig. 803) in assembly position. Ensure
centre alignment and proper fit.
2. Turn in the screws (2) and tighten them.
3. Connect the heater to the vehicle electrical system.
8.5 Fan wheel removal and installation
NOTE:
For replacement of the combustion air fan wheel the
burner head does not need to be removed.
ATTENTION:
The shaft circlip must always be replaced, after
removal. When installing, do not overstretch the shaft
circlip.
Removal
1. Remove hood (see 8.4).
2. Remove the shaft circlip (3, Fig. 803) from the motor
shaft using suitable pliers.
3. Remove fan wheel (4) from motor shaft.
Installation
1. Put the fan wheel (4) onto the motor shaft.
2. Install the circlip (3) onto the motor shaft using
suitable pliers.
8. Install hood (see 8.4).
Fig. 802 Temperature sensor removal and installation
Risk of scalds!
Caution!
1
2
1 Temperature sensor
2 Coolant outlet
8 ±0.5 Nm
 Loading...