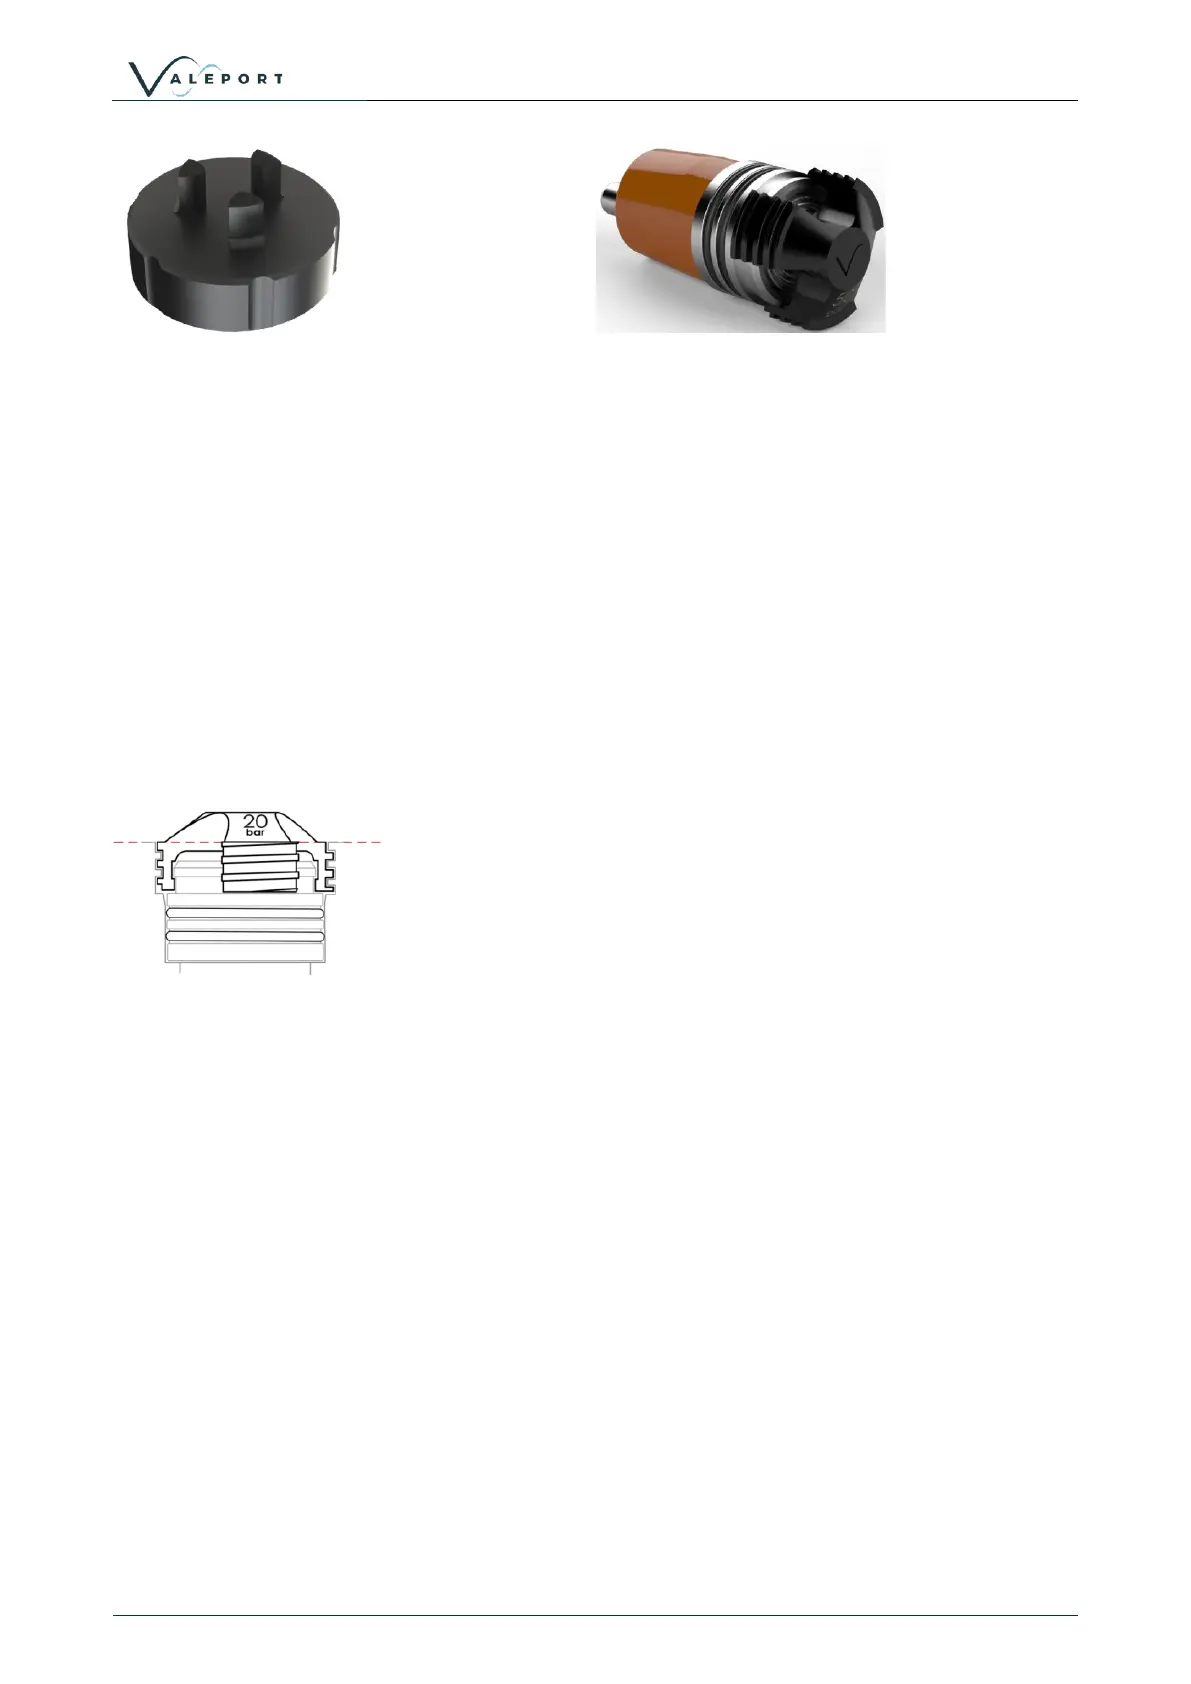
The three prongs should be carefully inserted into the lock screw cap of the Pressure Module and turned
counter-clockwise (when looking directly at the module) to loosen it. Keep turning until the Pressure
Module gently pops out of the socket. The tool will engage with the Pressure Module and allow you to very
gentle pull if required.
Before fitting a replacement Pressure Module check all surfaces for wear - especially the lock screw cap.
Check the O rings are clean and free of any debris, wear or damage. There is no need to grease the O rings.
The closing action of the system does not rely on surfaces sliding over one another and grease might attract
debris that would compromise the seal.
The replacement Pressure Module should be placed into the socket with the connector approximately lined
up with its pair. Fine adjustment is achieved by the shape of the module housing in the socket.
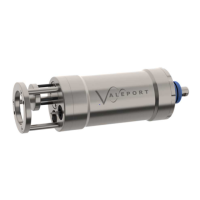
Engage the screw cap into the threads of the socket and then use the tool to tighten the Pressure Module
into place. The module should be screwed down until the shoulder of the lock screw cap is in line with the
shoulder of the titanium end-cap as shown below:
Do not over tighten.
Inside the transit case an additional transit case is provide for the Pressure Module to all it to be sent off for
calibration without the need to send the whole instrument.