Do you have a question about the Vanderbilt ACT365-ACU and is the answer not in the manual?
Details technical specifications for ACT365 controllers including power, dimensions, and environment.
Lists electrical specifications like PoE input, battery charging, and output voltage/current for different models.
Specifies relay load ratings for main and auxiliary relays when used with inductive loads.
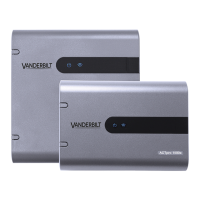
Provides ordering codes and brief descriptions for the ACT365 controller models.
Explains how faults and status indicators are reported on the ACT365 portal.
Covers indoor installation requirements and mounting for the ACT365-ACU controller.
Instructions for securely mounting the ACT365-ACU controller on a wall.
Details connecting the external 12V or 24V DC power supply to the ACT365-ACU.
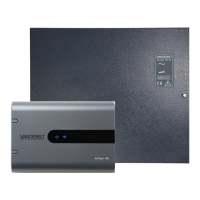
Notes installation suitability, PSU, earthing, and fused spur requirements for ACT365-ACU2A.
Provides mounting instructions and cable routing for the ACT365-ACU2A controller.
Steps for powering up the ACT365-ACU2A, checking LEDs and load outputs.
Verification of load output operation and checking the green Mains LED on ACT365-ACU2A.
Guidance for connecting and testing the standby battery for the ACT365-ACU2A.
Details checking and securing the tamper switch on the ACT365-ACU2A enclosure.
States the requirement for a compliant PoE power source for the ACT365-ACUPOE.
Instructions for mounting the ACT365-ACUPOE module with required clearance.
Steps for powering up ACT365-ACUPOE, including Ethernet and battery connections.
Addresses potential issues with PoE loss, fuses, and battery charging on ACT365-ACUPOE.
Details checking tamper switch functionality for the ACT365-ACUPOE.
Illustrates typical wiring connections for the ACT365-ACU controller, including reader connections.
Explains how to wire exit readers for clock/data and Wiegand connections on ACT365-ACU.
Describes configuring door release on fire alarm activation via the ACT365 customer portal.
Details wiring for interlocks to allow only one door to open at a time.
Guides on wiring an intruder alarm panel for arming/disarming and status monitoring.
Steps to reset the ACT365-ACU controller to factory settings using DIP switch 2.
Instructions for configuring DHCP or static IP addressing using DIP switch 1.
Procedure to reset the static IP address to the default value of 192.168.1.60.
Guide to changing the static IP address via the controller's web interface.
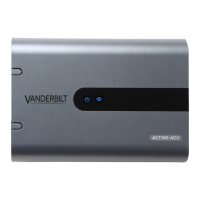
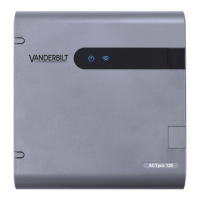
Explains the meaning of status indicators (Power, Communications, Fault) on the ACT365-ACU.
Describes fault indication and mains present status for ACT365-ACU2A and ACT365-ACUPOE.
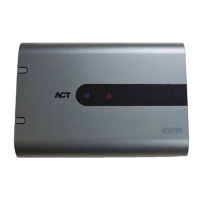
The ACT365-ACU, ACT365-ACU2A, and ACT365-ACUPoE are single-door IP controllers designed for indoor installation as permanently connected equipment. These controllers are part of the ACT365 system, which can be managed via a customer portal.
The ACT365-ACU controllers serve as central units for managing access to a single door within an IP-based security system. They facilitate communication with readers, process access requests, and control door locking mechanisms. The ACT365-ACU requires an external 12V or 24V DC power supply, while the ACT365-ACU2A includes a 12V DC 2A PSU. The ACT365-ACUPoE model is powered over Ethernet (PoE), specifically supporting PoE 802.3bt for 3A output or PoE 802.3at for 1A output. All models integrate with the ACT365 portal for monitoring and configuration, reporting various system faults such as mains presence, tamper events, and break glass activations.
| Brand | Vanderbilt |
|---|---|
| Model | ACT365-ACU |
| Category | Controller |
| Language | English |