-When the camera is recording videos, press the Mode button to
take a photo in 2 million pixels.
4.8 Capture a picture
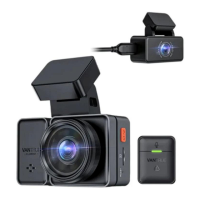
To use the camera’s GPS function, please purchase an external
GPS receiver mount. The external GPS receiver mount could be
purchased from Amazon.
1. Install the external GPS mount onto the camera instead of the
original mount.
2. Plug the mini USB connector to the port on the GPS mount, power it.
3. Once it gets charged, the camera turns on; if it's has microSD
card inserted, it will start recording, press OK button to stop recording
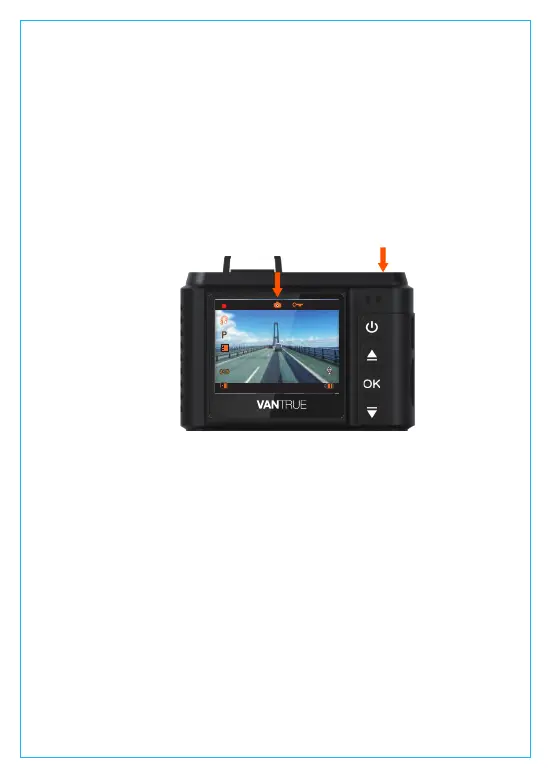
first. Press Power button to enter the setup interface, go to “GPS
Setup”>“GPS” to turn on the GPS function on the camera.
4. The GPS receiver starts to search and receive GPS signal, and the
GPS icon is gray on the screen. Once it gets GPS signal successfully,
the icon will turn orange.
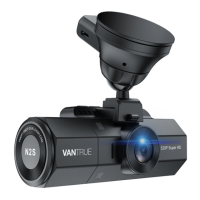
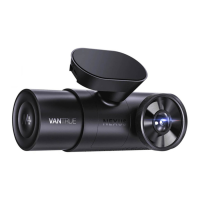
4.9 Connecting external GPS receiver (Optional accessory)
0
2018/05/03
00:00:23
05:00:53
1080FHD
3
- 17 -
NOTE: To keep the camera working in parking mode, please keep
powering it with an extra power bank or hardwire it to the car battery
directly. Don’t recommend to keep the camera working all the time
for over 10 hours.