71
72
The following steps will assume that you have already set up the proper shielding gas.
The following set up is known as straight polarity or DC electrode positive. This is commonly
used for DC LIFT TIG welding on most materials such as steel and stainless steel.
7. Install the tungsten with approximately 1.0mm to 3.2mm sticking out from the gas cup,
ensuring you have correct sized collet.
8. Tighten the back cap.
9. Turn the switch to the “ON” position. The power L.E.D. light should illuminate.
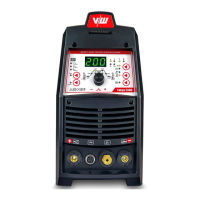
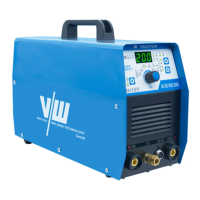
10. Set the welding process to LIFT TIG.
11. Set the Weld Current Control Knob to the desired amperage.
12. You are now ready to begin LIFT TIG Welding.
NOTE
NOTE
1.Switch the ON/OFF switch (located on the rear panel) to OFF.
2.Connect the work earth clamp to the positive output terminal, and the LIFT TIG Torch
cable to the negative output terminal.
3.Connect the gas line/hose to the proper shielding gas source. and connect the aviation
plug for trigger switch to 5 pin control socket. (The device is not equipped with an argon
output interface, Need one external connection).
4.Slowly open the argon cylinder valve to the fully open position.
5.Connect the work earth clamp to your work piece.
6.The tungsten must be ground to a blunt point (similar to a pencil) in order to achieve
optimum welding results. It is critical to grind the tungsten electrode in the direction the
grinding wheel is turning. Grind at a 30 degree angle and never to a sharp point.
2 to 2-1/2 Times Electrode Diameter
Electrode
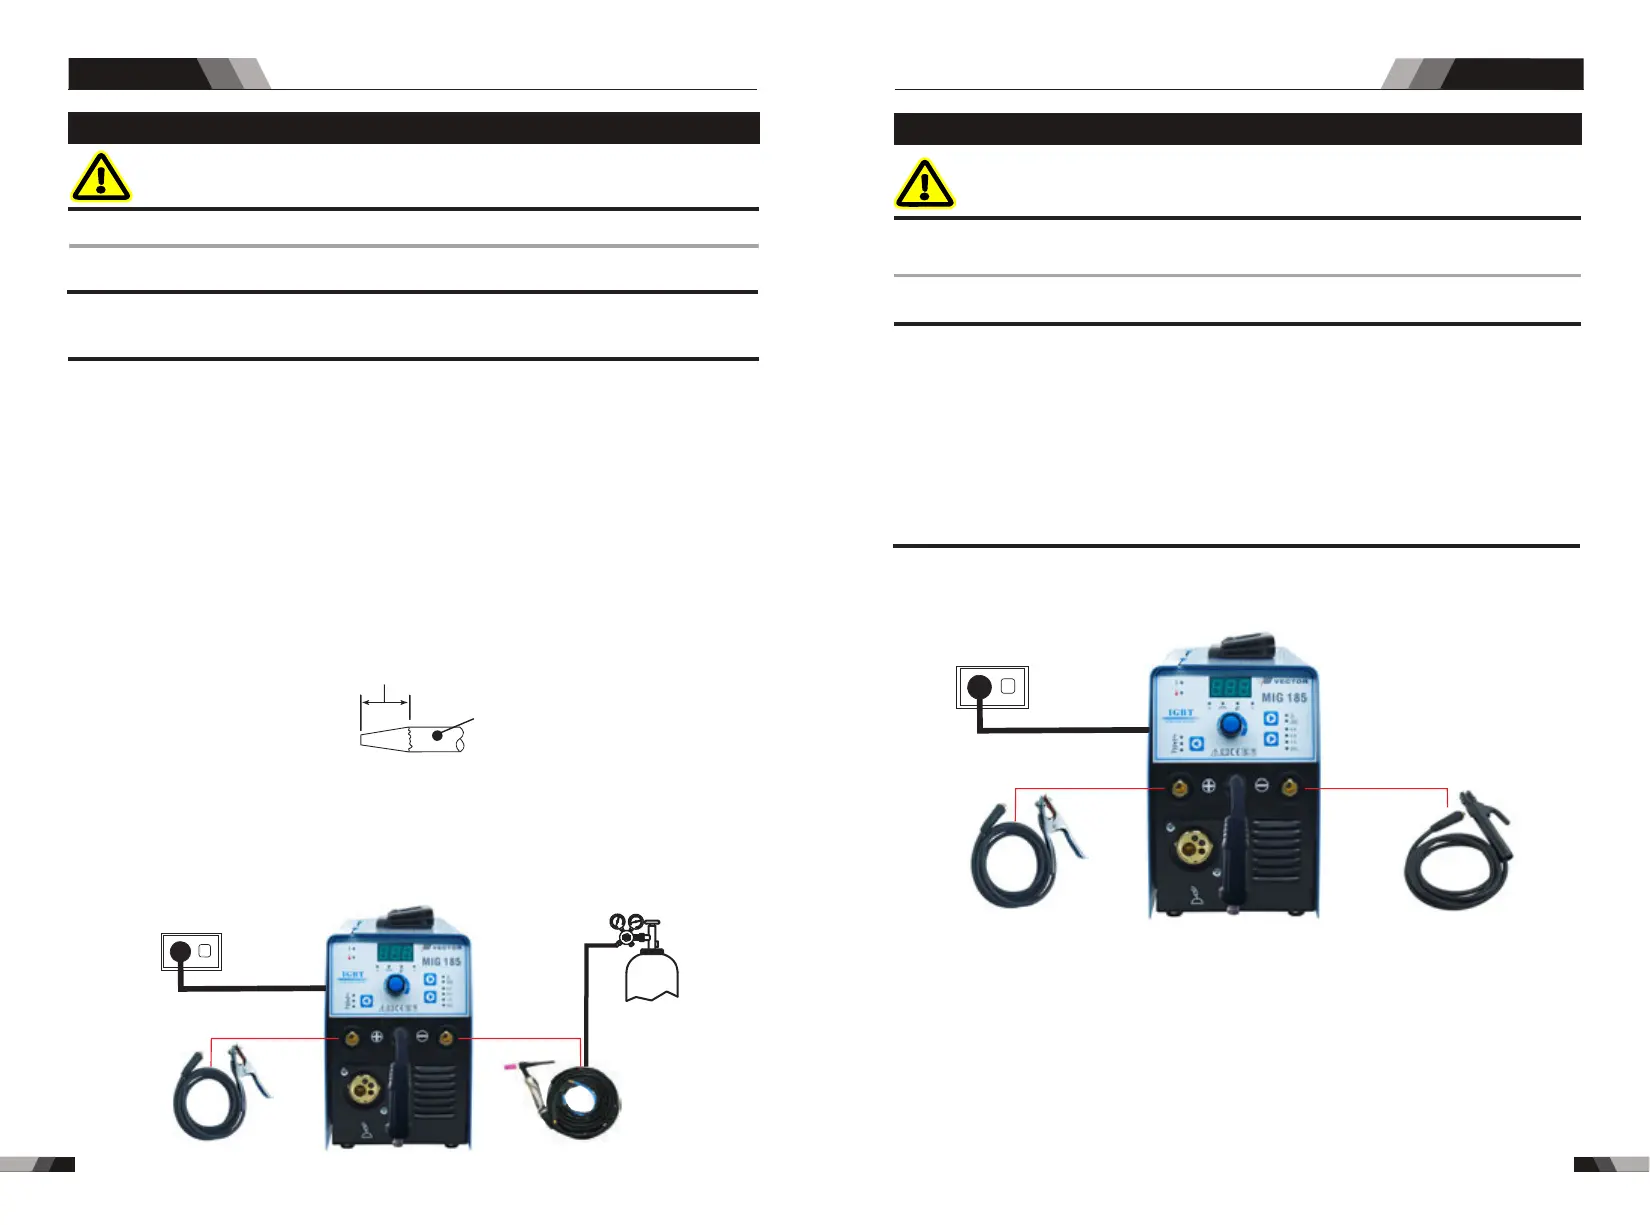
3.10 Set-up for STICK metal arc welding (MMA)
WARNING
Before any welding is to begin, be sure to wear all appropriate and recommended safety
equipment.
The following set up is known as DC Electrode Positive or reverse polarity. Please consult
with the STICK electrode manufacturer for specific polarity recommendations.
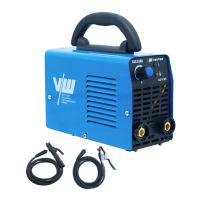
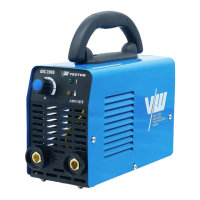
1. Switch the ON/OFF Switch (located on the rear panel) to OFF.
2. Attach the STICK and Work Leads,connection as picture.
3. Set the welding process to STICK.
4. Set the Weld Current Control Knob to the desired amperage.
5. Install a STICK electrode in the electrode holder.
6. You are now ready to begin STICK Welding.
To weld, gently strike the electrode on the work piece to generate a welding arc, and slowly
move along the work piece while holding a consistent arc length above base metal.
NOTE
NOTE
Operation Operation
MIG SERIES EQUIPMENT MIG SERIES EQUIPMENT
3.9 Set-up for LIFT TIG (GTAW) welding
WARNING
Before any welding is to begin, be sure to wear all appropriate and recommended safety equipment
GAS
power supply
Argon need
external
connections.
Earth Clamp
TIG torch
Electrode holdder
power supply
Earth Clamp