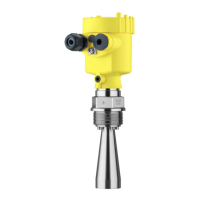
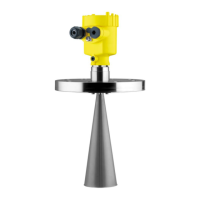
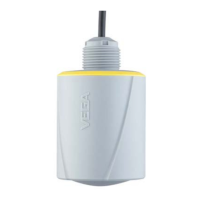
10
4 Connecting to the bus system
VEGAPULS 66 • Foundation Fieldbus
47141-EN-180226
8. Connect the screen to the internal ground terminal, connect the
externalgroundterminaltopotentialequalisation
9. Tighten the compression nut of the cable entry gland. The seal
ring must completely encircle the cable
10. Reinsert the display and adjustment module, if one was installed
11. Screw the housing lid back on
Theelectricalconnectionisnished.
4.2 Wiring plan, single chamber housing
1
2
( )
(-)
1
5
0
1
0
1
+
678
Bus
3
4
5
Fig. 4: Electronics and terminal compartment - single chamber housing
1 Voltage supply, signal output
2 Contact pins for the display and adjustment module or interface adapter
3 Simulation switch ("1" = mode for simulation release)
4 For external display and adjustment unit
5 Ground terminal for connection of the cable screen
4.3 Wiring plan, double chamber housing
Bus
5
1
2
+
( )
(-)
678
3
4
1
Fig. 5: Terminal compartment - double chamber housing
1 Voltage supply, signal output
2 For display and adjustment module or interface adapter
3 For external display and adjustment unit
4 Ground terminal for connection of the cable screen
Information:
Paralleluseofanexternaldisplayandadjustmentunitandadisplay
and adjustment module in the terminal compartment is not supported.
Electronics and terminal
compartment
T
erminal compartment
 Loading...