52 53
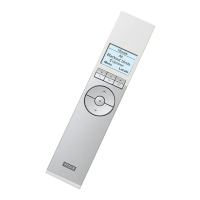
The remote control is provided with a wall-mounted
holder, which can be fitted anywhere in your
home.
Note: Check that the remote control can operate
the relevant products from the proposed position
before it is fastened to the holder.
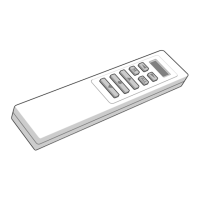
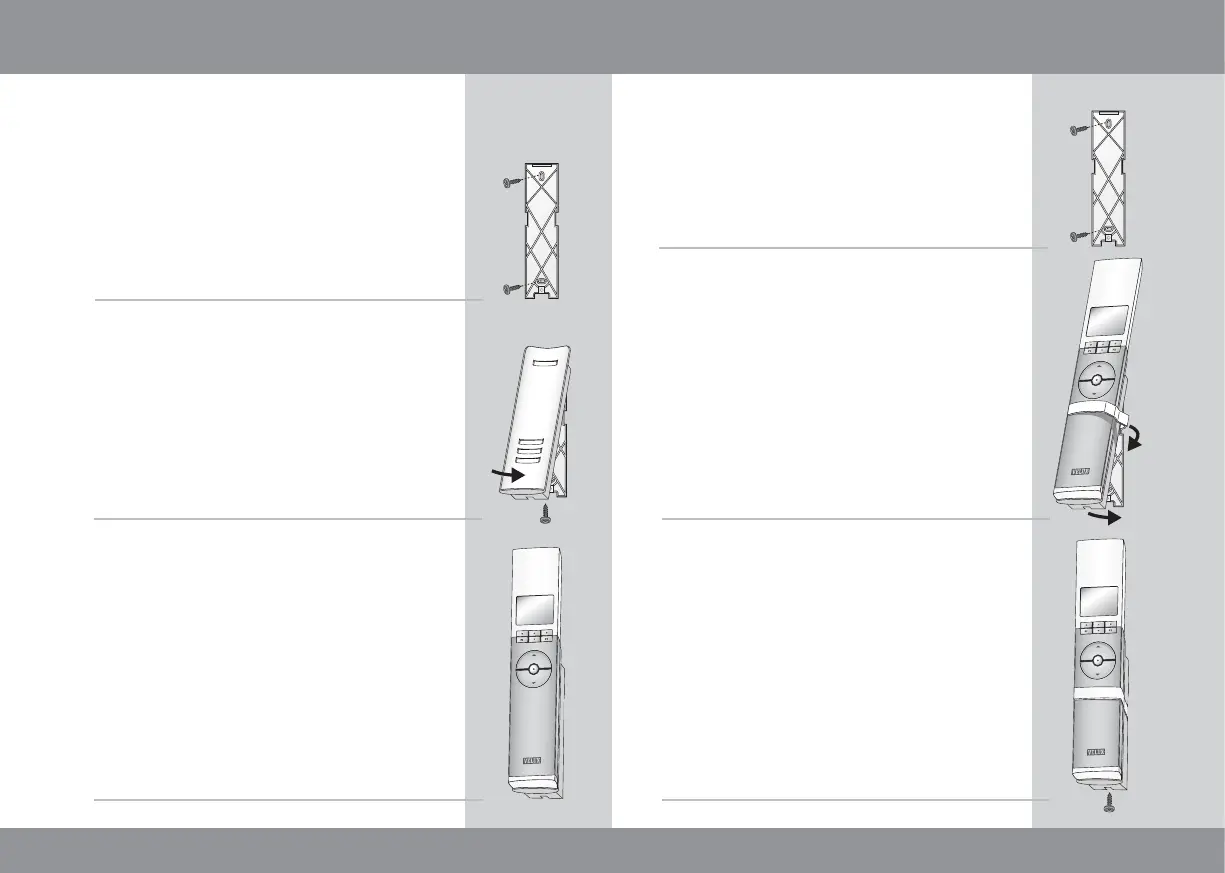
Fit the back section to the wall with the two screws
supplied.
Hook the front section onto the back section at the
top, click it into place at the bottom and fix it with
a screw.
Place the remote control in the holder. It is secured
by means of built-in magnets.
Fitting of holder for remote control
1
2
3
1
2
3
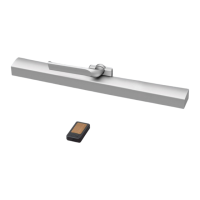
If required, the remote control can be fastened
with screws to the holder.
Fit the back section to the wall with the two screws
supplied.
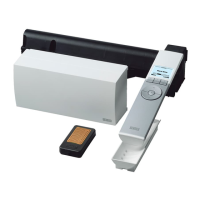
Place the remote control in the front section. Clip
the white strap around the assembled unit. Hook
the assembled unit to the back section at the top.
Ensure that the strap fits into the openings in the
sides of the back section. Lock the unit into place
at the bottom.
Fix the unit with screw at the bottom.

 Loading...