6. Cleaning ROBOT HP7C / HP10C / HP15C / HP17C
6-2 © VEMAG 2004
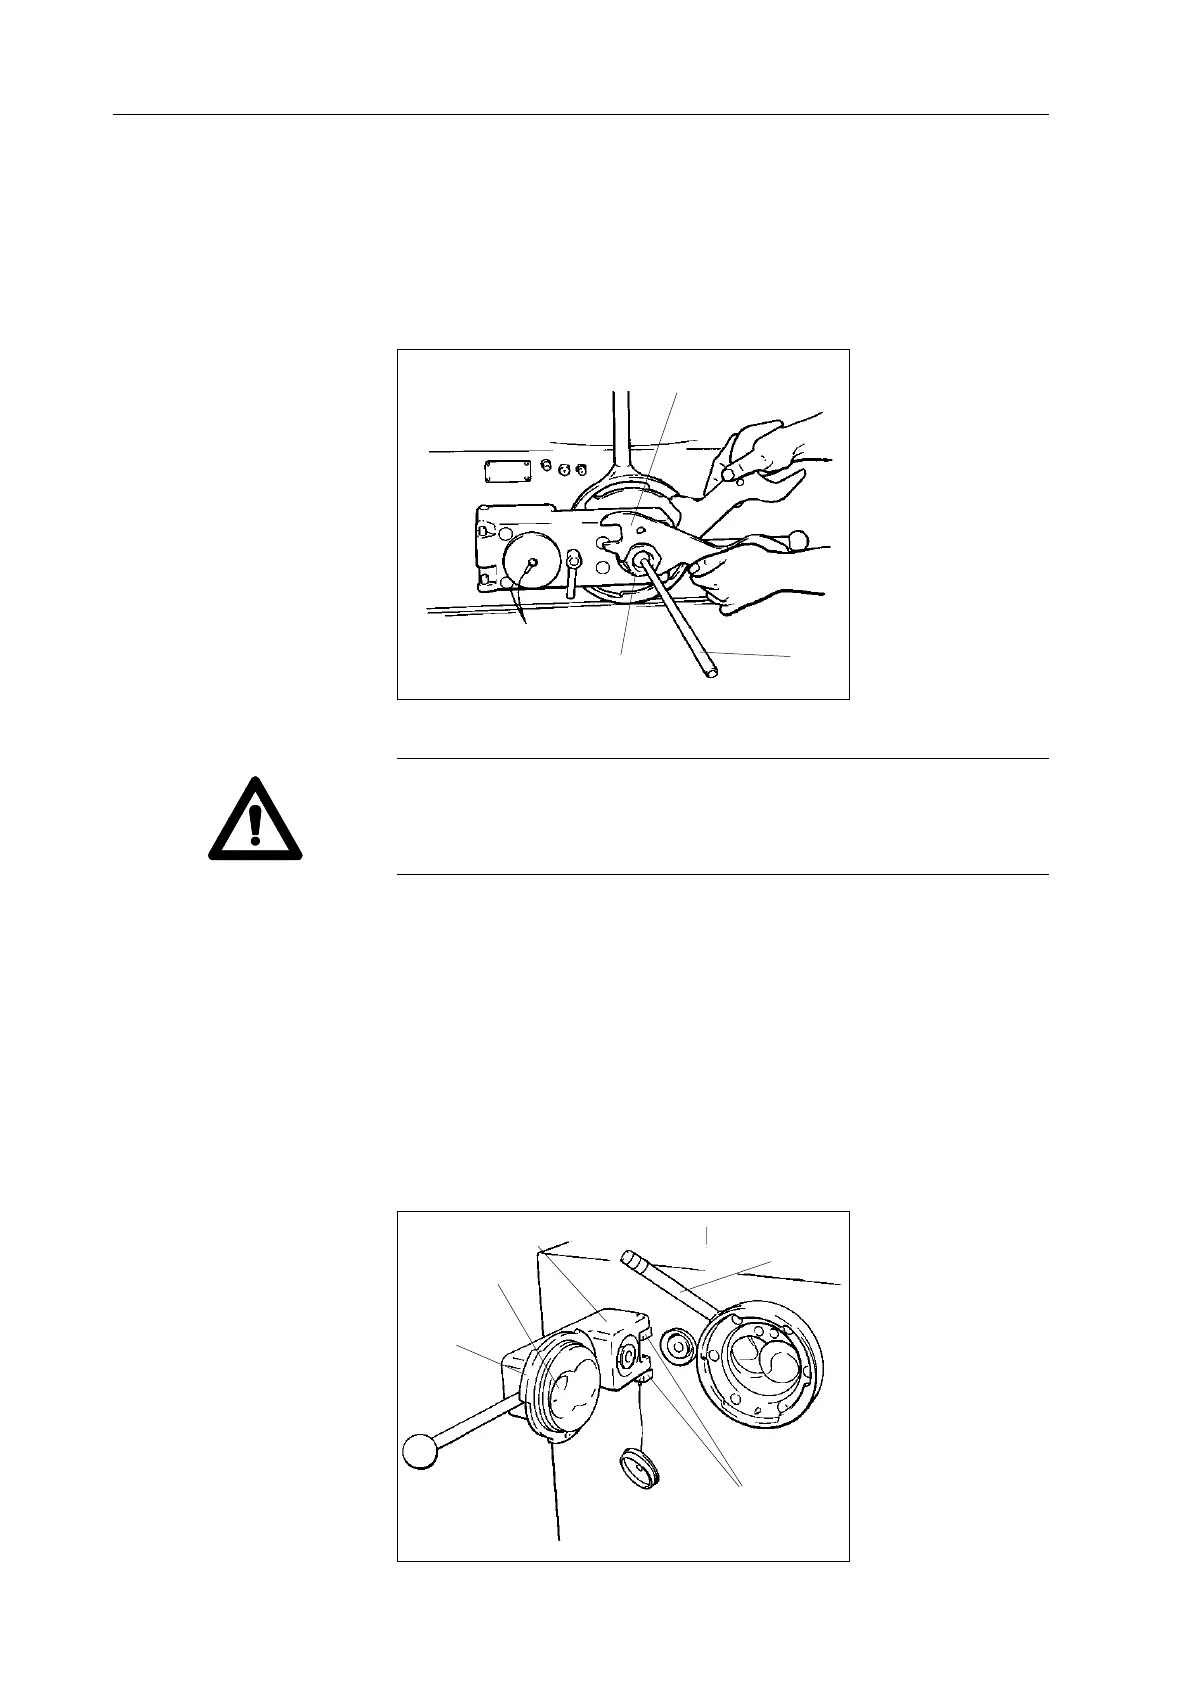
6.2.2 Linking horn (optional)
• Undo linking nut (1) with the universal spanner (2) and remove linking
horn (3). Hold the linking head steady with the second universal
spanner as you do so.
Warning!
The linking head has a left-hand thread.
• To tighten up: turn anti-clockwise.
• To undo: turn clockwise.
6.2.3 Linking gear (optional)
• Undo locking nut (1) with the handle anticlockwise until the bayonet
lugs (2) come free.
• Swing linking gear (3) to the side.
• Remove filler cone (4) from the linking gear if present. To do so, use
the appropriate ejector.
• Lift the linking gear off the bearing journals (5) on the machine
housing.
2
1
1 Locking nut
2 Bayonet lugs
3 Linking gear
4 Filler cone
5 Bearing journals
Fig. 6-3
Removing the linking gear
(optional)
5
4
3
1 Linking nut
2 Universal spanner
3 Linking horn
Fig. 6-2
Removing the linking horn
(optional)
1
3
2
 Loading...