6. Cleaning ROBOT HP7C / HP10C / HP15C / HP17C
6-12 © VEMAG 2004
6.5 Lubrication and assembly
• Thoroughly lubricate all dismantled, cleaned and dried parts (apart
from vacuum system parts) with a corrosion-inhibiting oil which is safe
for food use.
Section 9
• Refit the dismantled parts after cleaning and lubrication.
Warning!
Parts which have been removed should be left overnight and not re-fitted
until the shift starts the next morning.
6.5.1 Hopper
• Carefully press the sealing rings into the appropriate grooves in the
hopper flange and hopper insert. Fit the sealing rings without greasing
them.
Section 6.2.6
• Lubricate the sealing rings and the sliding ring in the hopper flange by
hand before the feed screw is fitted. Use a grease for this which has
been approved for contact with foodstuffs.
Sections 7 and 9
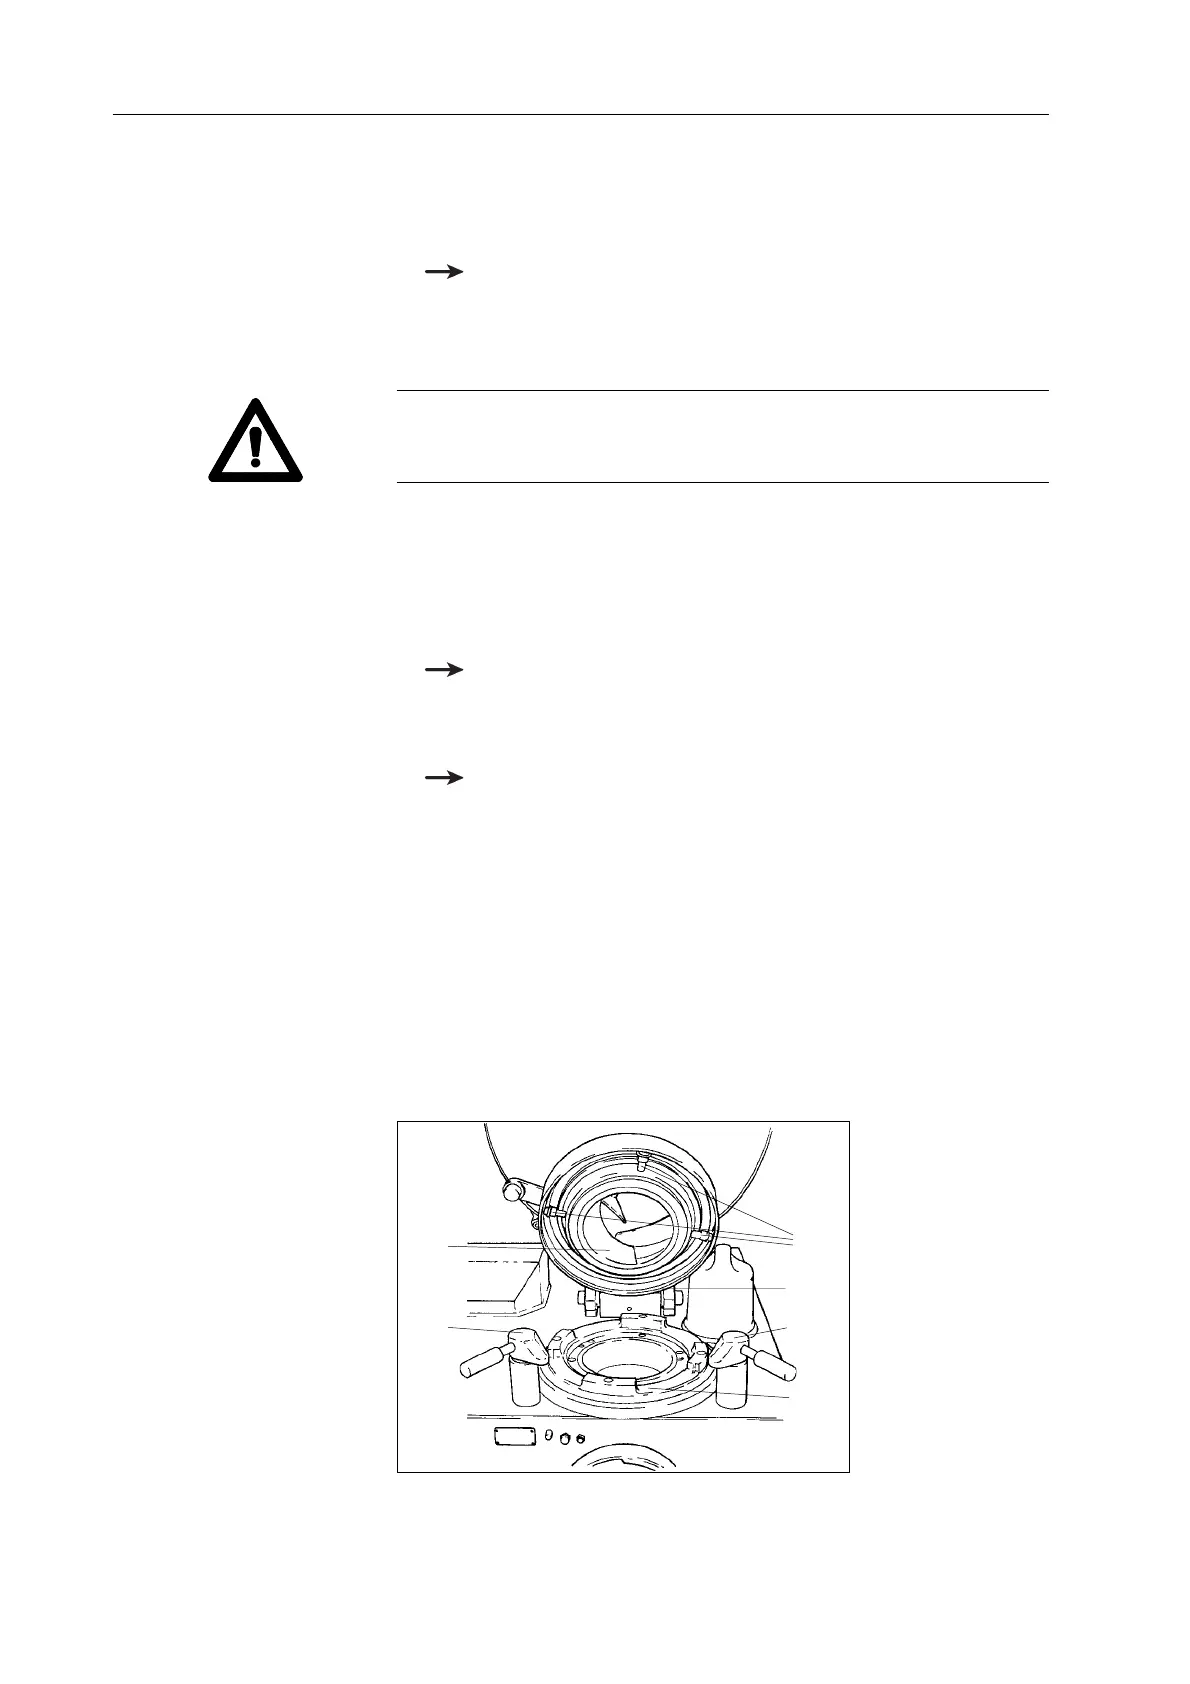
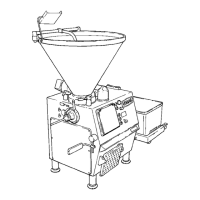
• Guide the feed screw (1) into the hopper so that the three sliding
sleeves (2) are located behind the shoulder (3) of the hopper flange.
• Push the sliding sleeves outward so that they engage behind the
shoulder, holding the feed screw steady with the other hand.
• Turn the feed screw so that the sliding sleeves can latch in the
recesses of the catch ring (4).
• Close the hopper and lock the two locking levers (5) on the hopper
housing.
1 Feed screw
2 Sliding sleeves
3 Shoulder
4 Catch ring
5 Locking lever
Fig. 6-17
Hopper
4
2
5
5
1
3


 To Next Page