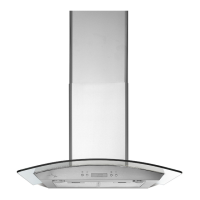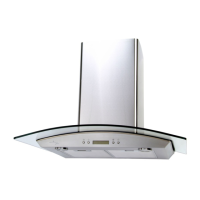
Do you have a question about the Venmar EuroDesign EDJDN1 Series and is the answer not in the manual?
| Brand | Venmar |
|---|---|
| Model | EuroDesign EDJDN1 Series |
| Category | Ventilation Hood |
| Language | English |
Key safety precautions to prevent fire, electric shock, or injury during operation and installation.
Instructions to prevent range top grease fires and actions to take if a fire occurs.
Important cautions for safe operation, including motor protection and installation clearances.
How to operate blower speed, activate Heat Sentry, and reset the filter cleaning reminder.
Instructions for activating the delay off function and controlling light intensity and master on/off.
Guidelines for maintaining the motor, fan wheels, and cleaning grease filters.
Instructions for cleaning stainless steel and painted finishes, including what to avoid.
List of tools and accessories required for installing the range hood.
Steps for connecting ductwork for ducted installations, including duct routing and connections.
List of included components for the range hood installation.
Steps to prepare the hood by removing protective film and components.
Further steps to prepare the hood, including removing parts bag and knockouts.
Steps for preparing the hood for a non-ducted installation by removing cover plates.
Steps for preparing the hood for ducted installation, including knockout plate removal and damper assembly attachment.
Guidelines for identifying cabinet type and preparing the location for hood installation.
Instructions for EZ1 installation, including template use and marking for ductwork and wiring.
Steps to drill holes and install mounting brackets for framed cabinets in EZ1 installation.
Steps to mark, drill, and install mounting brackets for frameless cabinets in EZ1 installation.
Procedure for hanging the hood onto the EZ1 brackets for horizontal and vertical exhaust.
Securing the hood to EZ1 brackets using screws for framed and frameless cabinets.
Diagrams and instructions for preparing the location for standard installation, including duct and electrical cutouts.
Steps to hang and secure the hood using rear mounting screws and cabinet screws.
List and diagram of replacement parts with corresponding part numbers and quantities.
Policy on using genuine replacement parts and recommendations for service.
Terms, exclusions, and duration of the limited warranty for the range hood and its components.
Procedure for contacting the company to request warranty service and required documentation.

