Do you have a question about the Venmar VCS500 SERIES and is the answer not in the manual?
Instructions to reduce the risk of fire, electric shock, and injury during operation.
Guidelines to prevent and manage range top grease fires, including actions to take.
Important cautions regarding indoor use, hazardous materials, motor protection, and installation clearances.
Recommends wearing safety glasses and gloves when performing installation or servicing.
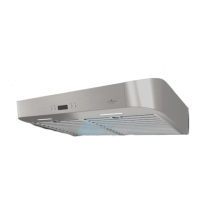
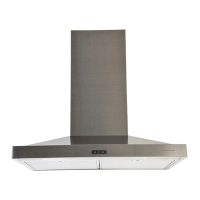
Lists all included hood and accessory components for installation verification.
Instructions to remove the grey shipping bracket and retaining screws before installation.
Details ductwork requirements and minimum/maximum hood clearances above cooktops.
Explains duct size options for vertical and horizontal discharge installations.
Step-by-step guide on how to remove grease filters from the range hood.
Instructions on how to remove the knockout for the vertical discharge opening.
Steps to unplug and remove the blower for horizontal discharge configuration.
Instructions for installing 6" round or 3½" x 10" adapters for vertical discharge.
Instructions for installing 3½" x 10" adapter for horizontal discharge.
Emphasizes proper grounding to prevent electric shock and details outlet positioning.
Guidelines for constructing wood framing and securely mounting the bracket to the wall.
Instructions for centering, marking, drilling, and securing the upper flue mounting bracket.
Steps to align, lower, and securely engage the hood onto the mounting bracket.
How to mark wall holes, drill, insert anchors, and secure the hood with screws.
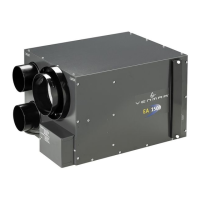
Steps to position the blower on the inner back of the hood and secure it with screws.
Connect the blower connector and plug the hood power cord into the outlet.
Slide ductwork over the adapter/damper and seal the joint with metal foil duct tape.
Guidance on using optional extension flues for 10-foot ceilings.
Carefully slide the decorative flue base into the groove behind the exterior wall.
Slide the upper flue until aligned and secure it to the mounting bracket with screws.
How to install micromesh filters into the VCS500 range hood.
How to install hybrid filters into the VCS550 range hood.
Instructions for installing shielded halogen bulbs (120V, 50W, GU10) in the VCS500.
Information on the LED modules used for lighting in the VCS550 range hood.
Monthly cleaning procedure for hybrid and micromesh filters using detergent.
Recommended methods and disallowed cleaning agents for maintaining the hood's finish.
Explanation of the blower and light switches for the VCS500 model.
Details on how to operate the blower and light buttons on the VCS550 model.
Provides the wiring diagram for the VCS500 model, showing component connections.
Presents the wiring diagram for the VCS550 model, illustrating its electrical layout.
Outlines the terms, duration, exclusions, and coverage of the Venmar Chef warranty.
Lists and illustrates all serviceable parts for the VCS500 model with part numbers.
Advises using only genuine Venmar replacement parts for unit longevity and safety.
Lists and illustrates all serviceable parts for the VCS550 model with part numbers.
| Brand | Venmar |
|---|---|
| Model | VCS500 SERIES |
| Category | Ventilation Hood |
| Language | English |