Page 3
Remove the cover of the old thermostat.
If it does not come off easily check for
screws.
Loosen the screws holding the thermostat
base or subbase to the wall, and lift away.
Disconnect the wires from the old
thermostat. Tape the ends of the wires
as you disconnect them, and mark them
with the letter of the terminal for easy
reconnection to the new thermostat.
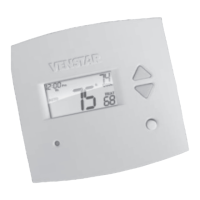
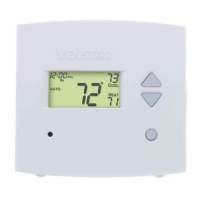
STEP #2
REMOVE & REPLACE OLD THERMOSTAT
Keep the old thermostat for reference
purposes, until your new thermostat is
functioning properly.
Remove the white plastic wire connector
from the rear of the thermostat. Install
wires as directed. Press the wired
connector on the back of the thermostat.
Lift Connector straight up
to remove.
For best operation, install
the thermostat in a junction
box that is free from drafts
that originate inside the wall.

 Loading...