SETUP
Contactless Support
12 UX401 INSTALLATION GUIDE
3 Screw in the SMA connector to the ports of the UX401 and UX301.
Contactless
Support
This device supports the global contactless program specifications from American
Express, MasterCard, Visa, Discover, ISIS SmartTap, and Google Wallet with
virtually no changes to existing payment hardware or software.
Mounting the
Reader
The UX401 is designed to be flush-mounted to the mounting surface, without
further need for any external mounting devices.
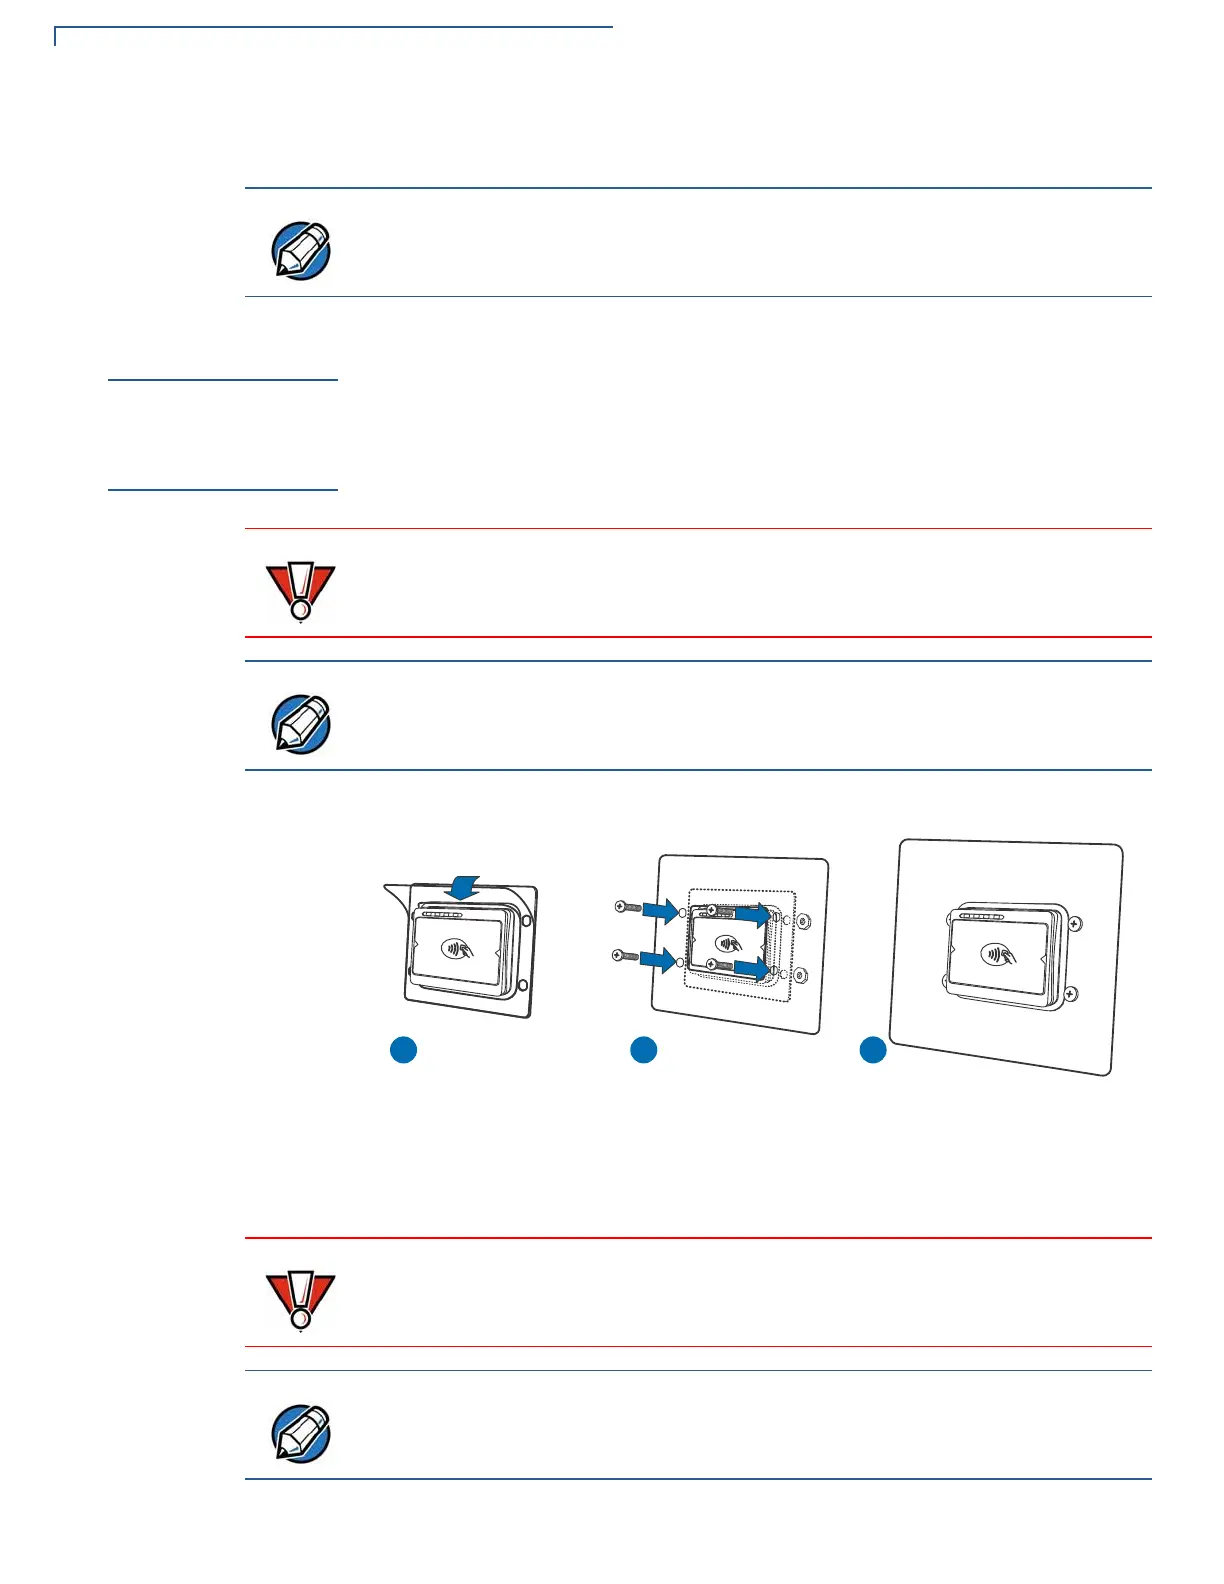
To mount the UX401
1 Peel off the plastic liner from the front of the unit.
Figure 4 Mounting the UX401
2 Align the unit’s stud holes with the stud holes of your mounting surface.
3 Flush-mount the reader and secure the unit with M5 nuts.
To disconnect cables, use the same steps described above in reverse. If
exchanging cables, use a Verifone-approved cable. See Accessories and
Documentation for cable ordering information.
Ensure that your mounting frame has a thickness of 2 mm.
Your mounting surface may have different installation instructions. Refer to your
mounting device’s user guide for further instructions.
Avoid placing metallic objects at the front of the card reader.
Use M5 mounting studs with a minimum length of 12 mm.
Tighten the nuts using a recommended tightening torque of 7.0 kgfcm.
 Loading...