1 — Installation of the VX-MD4024
1.2.2 Factory Default Management IP Addresses
⚫ Management Out-of-band IP-Address, Subnet Mask
192.168.1.1, 255.255.255.0
⚫ Management Out-of-band Default Gateway
192.168.1.254
⚫ Management In-band IP-Address, Subnet Mask
192.168.5.3, 255.255.255.0
1.2.3 Installation Overview
The installation consists of the following procedures. Each procedure will be explained in detail in
the following sections:
Mount the system into the desired location of a rack.
Wire electrical ground for the system and connect the cables between system
and MDF.
Please check the cable connection robustness and correctness.
Check the voltage of the DC power supply, and then connect the system DC
inputs to the power source outputs.
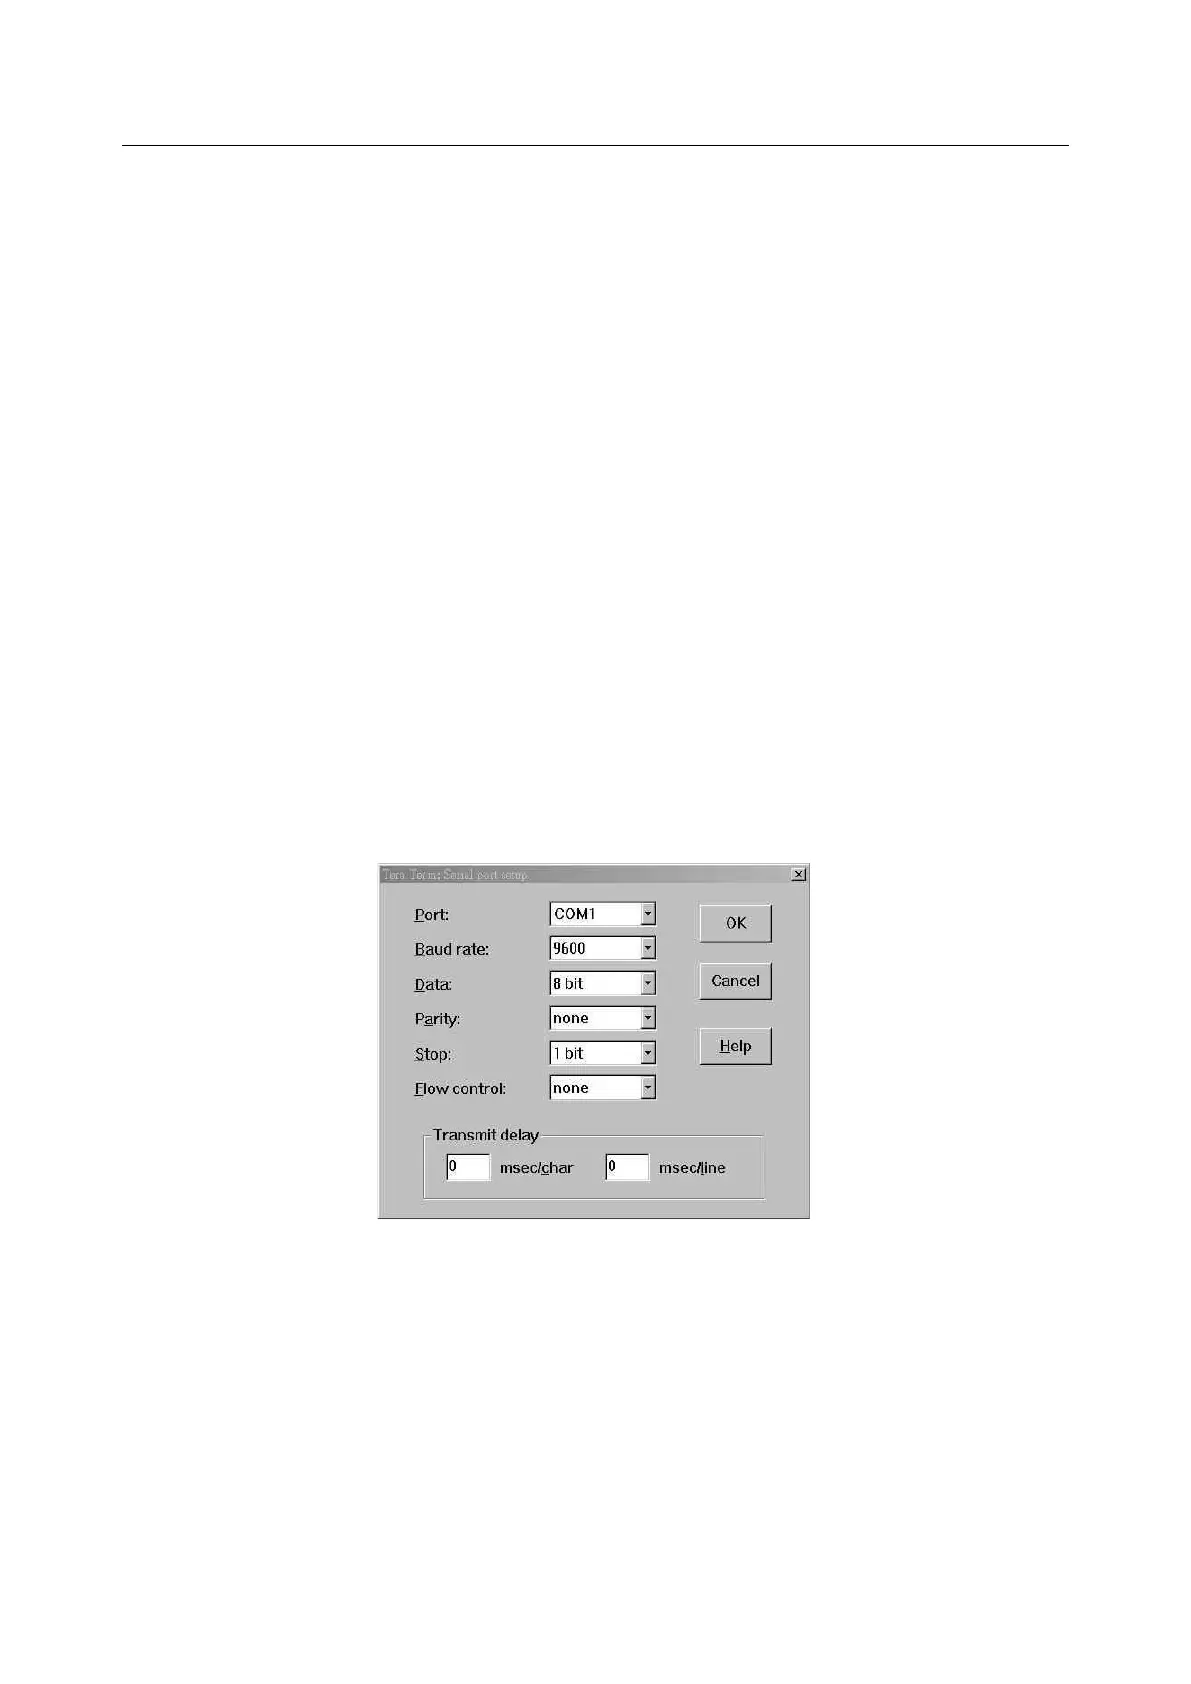
Connect Console cable to COM port of a computer. Then run the terminal
program with the setting shown below:
Figure 1-5 Console Setting
Users can also access the DSLAM via Ethernet. Refer to section 1.2.2 for the
factory default IP settings of the DSLAM. Users can modify the IP address
by using the CLI commands or Web Configuration Tool (refer to section 1.3).
It’s possible to access the DSLAM with telnet on port 23.