6
beFore You begin
r
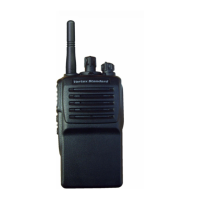
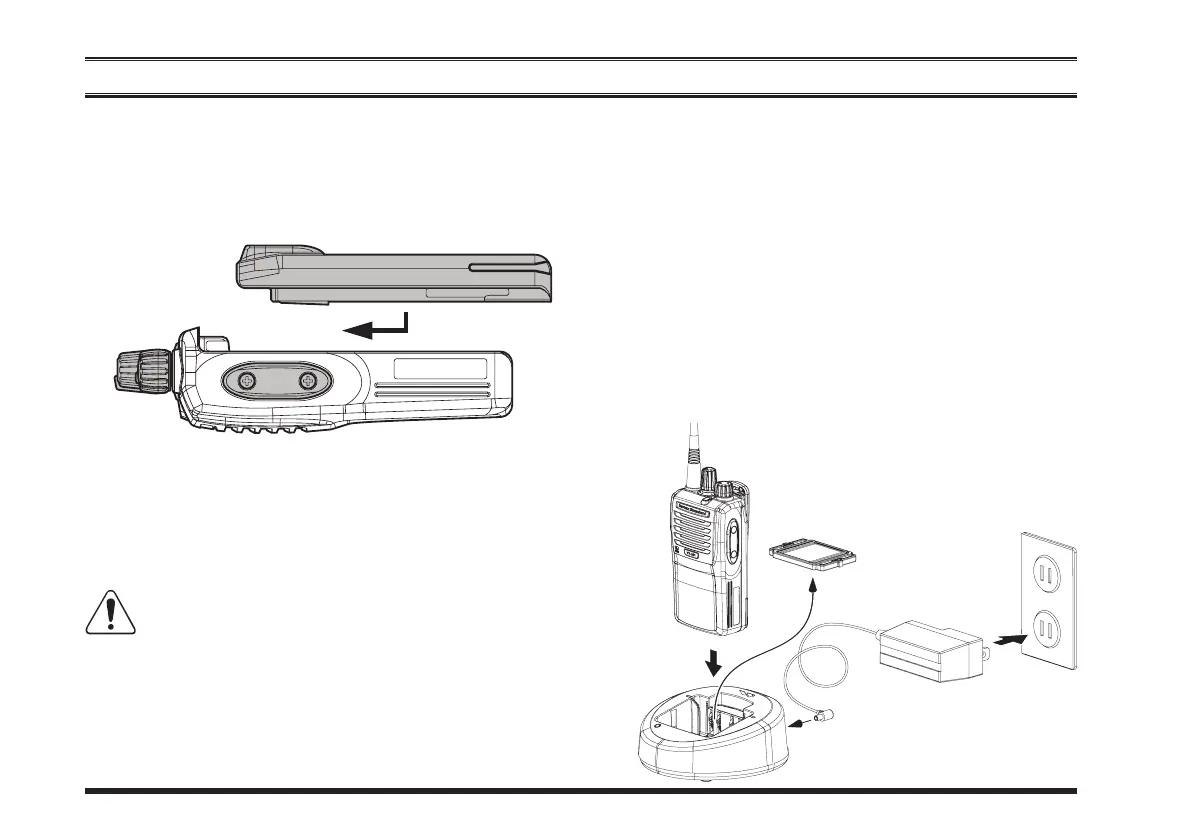
Toremove thebattery, turnthe radiooffand remove
anyprotectivecases.SlidetheBatteryPackLatchon
the bottom of the radio toward the front panel while
slidingthebatterydownabout1/2inch(1.5cm).Then
liftthebatteryoutfromtheradio.
r
Toinstallthebatterypack,alignthebatterypacktothe
radiowithanoffsetabout1/2inch(1.5cm)fromthe
topedgeofbatterycompartment,thenslidethebattery
packupwarduntilitlocksinplacewitha“Click.”
r
RemovetheSpacerPlatefromthenestoftheoptional
CD-58
Desktop Charger, if theBattery Spacer is in-
stalled.
r
Insert the DC plug from the optional
PA-55
AC
AdapterintotheDCjackontherearpaneloftheop-
tional
CD-58
DesktopCharger, andthen connectthe
PA-55
ACAdaptertotheAClineoutlet.
r
Insertthebatterypackintothe
CD-58
DesktopChar-
gerwhilealigningtheslotsofthebatterypackwiththe
guides inthe nest ofthe
CD-58
; referto the follow-
ingillustrationfordetailsonproperpositioningofthe
PA-55
CD-58
SpacerPlate
ACLineOutlet