2
vertilux.com
© 2019. Vertilux, Ltd. All Rights Reserved. Last revised: February 2019.
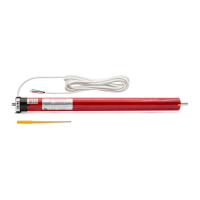
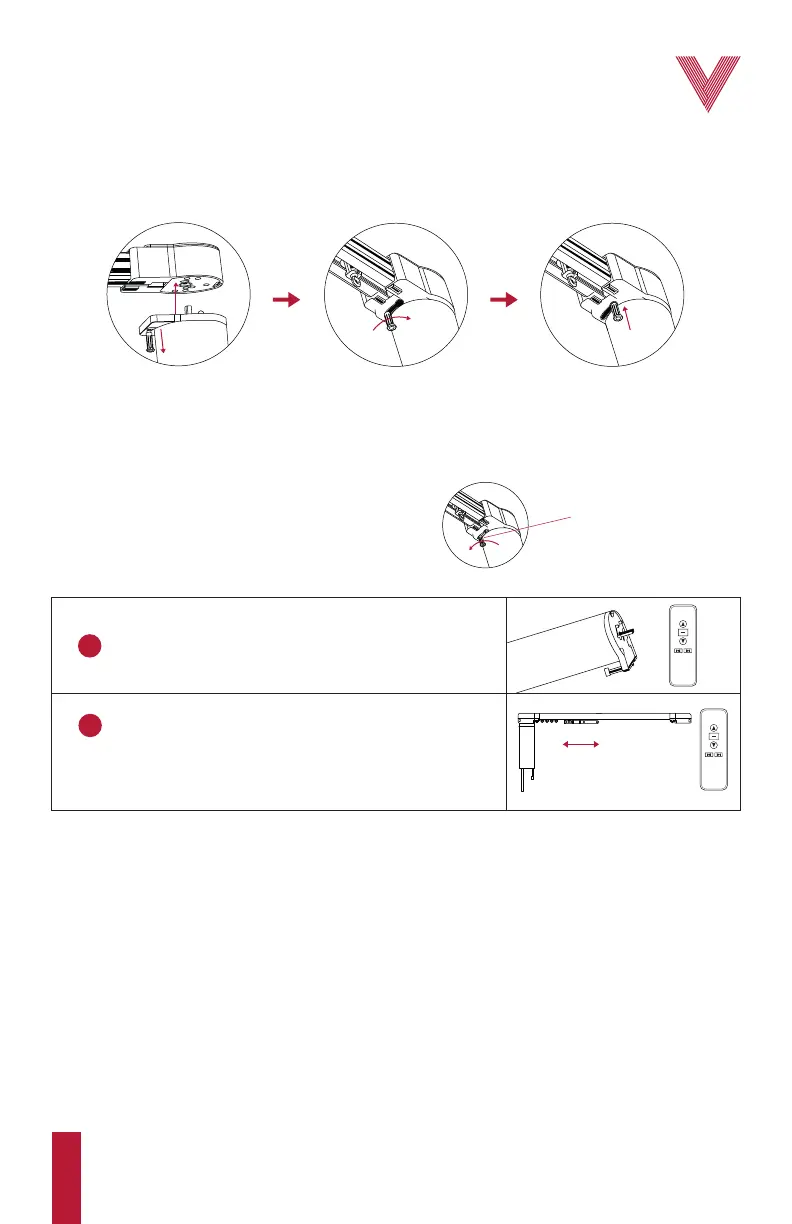
Check that the motor is compatible with the associated track and accessories and that it is correctly
installed into the end adapter (fig. 1). Be aware that the motor can be installed in any of the 2 track
end adapters that come with the motor, also known as main and secondary control.
Initial programming sequence
Before starting…
Optional functions
• Checking the traversing direction
• Adding an additional remote control or “cloning” a channel
• Deleting a single motor or channel
• Deleting the motor from all channels
• Resetting the motor to factory default
1
Pair the motor with the remote control.
2
Operate the motor in both directions until the main
carrier reaches one end side of the track, and then
the opposite one, allowing the motor to automatically
self-adjust its electronic limits.
Note: to remove the motor from the main control
pull the LOCKING BAR and push it to the left side.
Fig. 1. Sequence to install the motor into the main control
Place the motor shaft into the control and
pull the safety locking bar downwards.
While downwards, move the
safety locking bar to the right.
Then, release the safety locking bar
to secure the motor in the control.
LOCKING BAR
 Loading...