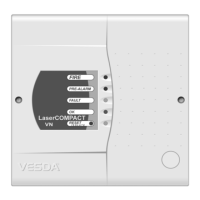
LaserSCANNER Installation Manual VESDA
®
18 Version 1.3
6.16 Closing Up the LaserSCANNER
a) Tie all wires together into neat looms using cable ties.
b) If the front cover was removed do the following:-
i) Reattach the plastic straps to the front cover.
ii) Re-connect the removed cable loom to the Term socket located on the rear of the
display or programmer module.
c) Perform the power up as per section 7 and preliminary checks as per section 8.
d) Close up the LaserSCANNER and secure the cover with the four screws.
e) Re-attach the blank plate and screw covers to its location.
6.17 Pipe Bonding Check
(a) Check all the pipe joints are fully sealed and bonded to eliminate unwanted air leaks.
(b) Check the pipe joints at the air inlet ports of the LaserSCANNER
ARE NOT
bonded and the
pipe fits firmly into the air inlet socket.
(c) Check all pipes are securely attached to a mounting surface with the proper fasteners.
(d) Check the number and sizes of the sampling air holes on the pipes are correct.
(e) Check the routing of the pipes is correct with reference to the site plan.

 Loading...