OLTS-85/OLTS-85P 97
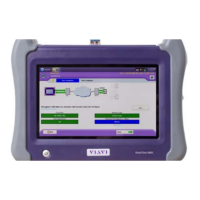
11 PROBE/PCM OPERATION
SAVING PROBE/PCM RESULTS
To return to the live image:
J Press the QuickCapture™ key.
– or –
Press the
[A] key and tap the [Live] button.
Saving Probe/PCM results
Images can easily be saved by pressing the [G] key. Each time
the key is pressed, the results will be stored.
NOTE: Instruments with an integrated patch cord microscope (“PCM”)
use a specific app, also called “PCM”, to operate that microscope.
Therefore, images taken by the PCM can easily be distinguished
from images taken by an external digital probe.
NOTE: If the instrument with integrated patch cord microscope is
connected to a Digital Probe, the images for the PCM and the
Digital Probe will be stored in different folders.
NOTE: Saved image and overlay data (JPEG, XML, PGM files) can be
transferred, displayed and managed via the Smart Reporter
software.
1. Select the desired overlay mode.
2. Press the
[G] key.
In live view this action triggers the snapshot.
Background
Every saving covers the complete image and overlay data
available, regardless of the current screen contents:
• Two JPEG files for high and low magnification
• One XML file for test result description
• One PGM file (compressed) for failed locations
• One container file
When data is requested by the user (e.g. using SCPI), the
provided jpg-file is created just in time by the software. This
concept helps to save memory space and allows to maintain
sharp zone rings for all resolutions (VGA, QVGA and QQVGA).
 Loading...