Performing an Inspection with the Pb200i
Pressing the trigger initiates the measurement. As the reading is taken, you will see the results on the
screen change to reflect the measurement data (Fig. 21 and 22).
Once the reading is recorded, scrolling from the bottom up will allow the user to view the GPS
coordinates (Fig. 23) and spectrum of the reading taken (Fig. 24).
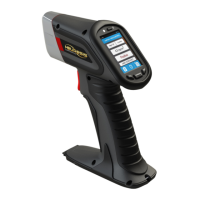
Action Level indicates “Positive”
or “Negative” result. “NULL”
indicates the reading was
terminated before a
determination could be made.
time in nominal
equipped with the internal
read through adaptor
(iRTA), it will display either
RTA: Positive or RTA: