9
Fill the Water Reservoir. Before brewing, ensure there’s enough water in the Water Reservoir.3.
WARNING: Be careful not to overfill the Water Reservoir.
NOTE: When the water in the reservoir is less than 12oz, the blue water droplet will illuminate
and flash on the Control Panel. If this happens in mid-brew cycle, do not operate on the button
and add water immediately.
INITIAL CLEANING CYCLE
Make sure the Pod Brew Area is completely shut. To secure, pull the Top Lid Handle down until
the lid is tightly fastened. Do not insert a *K-Cup® or **NESPRESSO® pod.
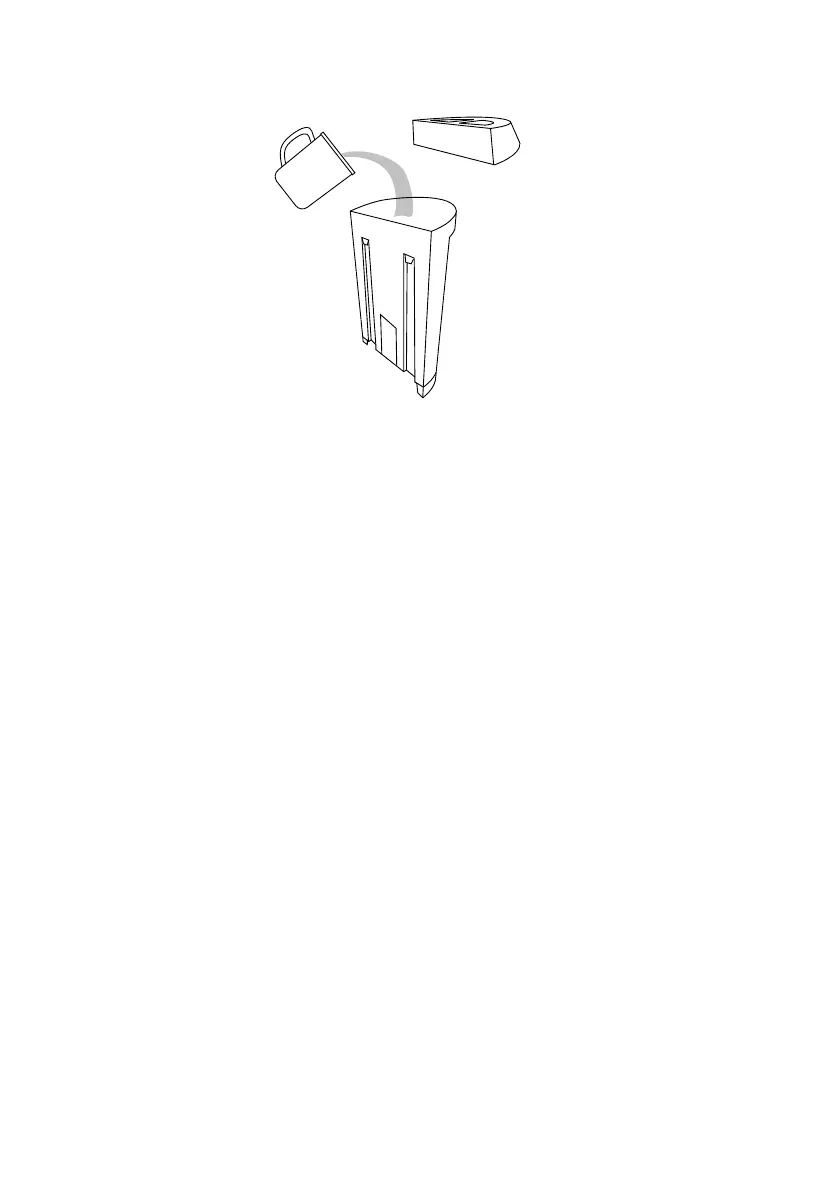
Place a cup on the Mug Platform beneath the coffee spout.
BREWING WITH A *K-CUP®POD: Select maximum brewing capacity button on the left side of
the control panel, then push the Brew Button to begin your cleaning brew cycle.
BREWING WITH A **NESPRESSO® POD: Select maximum brewing capacity button on the right
side of the control panel, then push the Brew button to begin your cleansing brew cycle.
After the cleaning cycle is complete, carefully remove your cup from the Mug Platform and
pour the hot water into the sink.
1.
2.
3.
4.
5.
Before indulging in your first brew, be sure to run an initial cleaning cycle through your brewer.
NOTE: This initial cleansing brew cycle may take a few minutes longer than an average brew
cycle, as the brewer is just heating up for the first time.
*Keurig® and K-Cup® are registered trademarks of Keurig Green Mountain, Inc.
**Nespresso® is a registered trademark of Societe des Produits Nestle S.A. and Nestlé Nespresso S.A.
Use of the Nespresso® trademark does not imply any affiliation with or endorsement by Societe des Produits Nestle S.A.
or Nestlé Nespresso S.A.