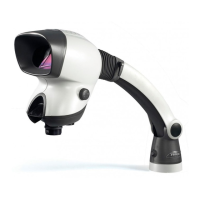
Replacing Mantis Elite pivot/tilt assembly
Note: Read all the following instructions before commencing work.
u Isolate the Mantis from mains power.
u Unscrew the left-hand side handle u and discard.
u Release the rubber gaiter v from the groove in the head unit and peel back to
expose the head mounting screws.
u Using a flat-bladed screwdriver, remove the lower head mounting screw w
completely.
u Whilst holding the head, back off the upper head mounting screw x by exactly 2
complete revolutions. Remove the head by lifting it upwards and outwards.
u Remove the right-hand side handle and retain it for later reinstallation.
u Peel of the rubber gaiter and let it hang by the plug cable y.
u Gently push down on the arm z to expose the head pivot nut and bolt.
Noting the approximate right to left tension, use a 10mm socket/nutdriver {
to remove the nut and bolt.
u Remove the old pivot/tilt assembly and attach the new one (using the same
hardware and tool) to the same tension as previously noted.
u Remove handle from the new pivot/tilt assembly and carefully fit the rubber
gaiter back into place on the stand whilst lining up both handle bolts and
pulling the slack out of the head power cable (moving the arm up and down
will help).
u Reinstall the handle.
www.visioneng.com/support Mantis Service Manual
MAINTENANCE & SPARE PARTS
9
u
v
w
x
y
z
{