5
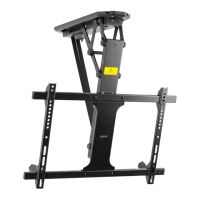
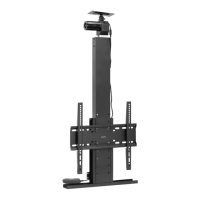
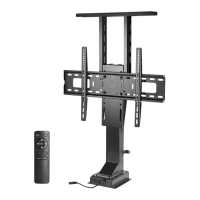
STEP 1: Installing the Mount
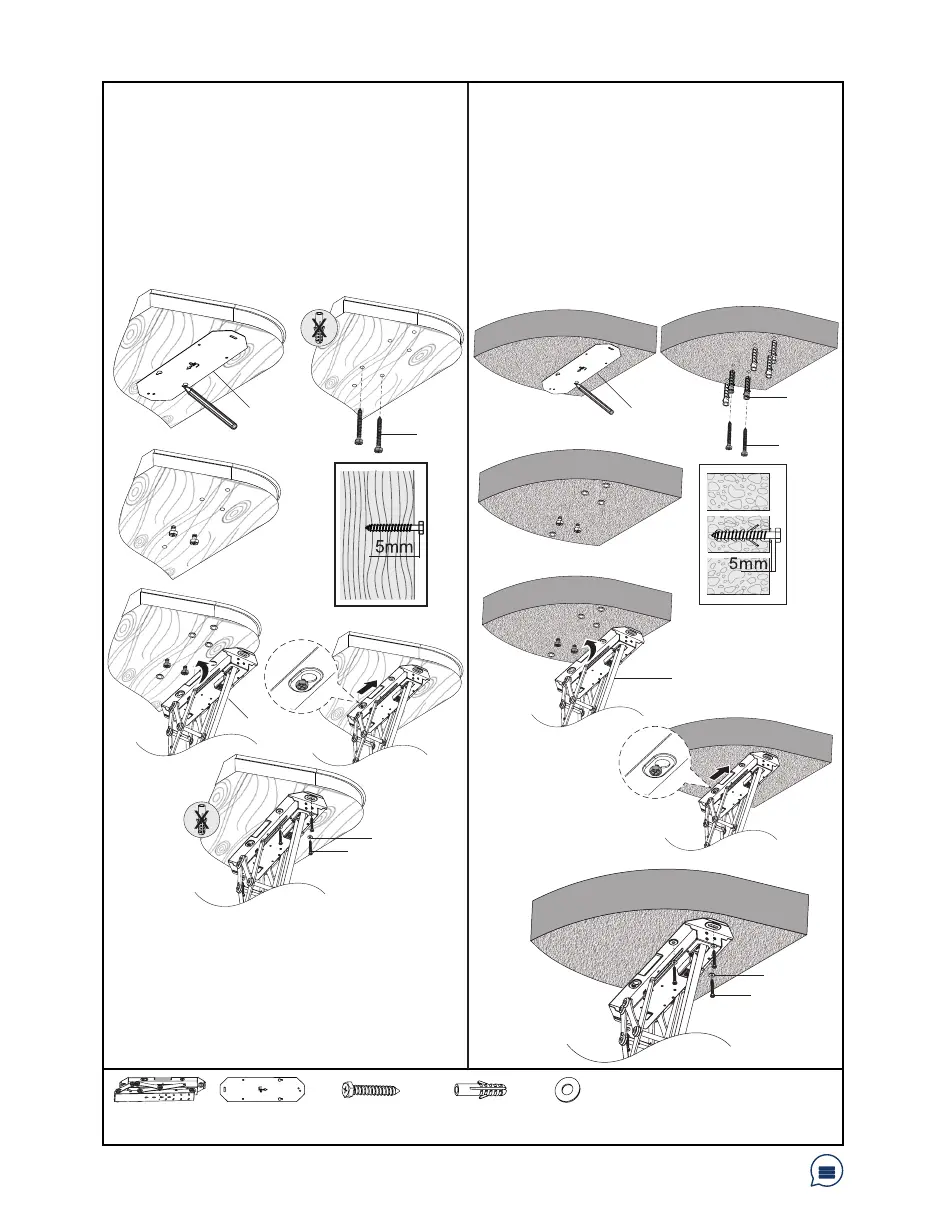
OPTION A: Wood Ceiling
Using Ceiling Template (C), mark exact location
of mounting holes. Drill pilot holes 2.2” deep
using a 4.5mm drill bit. Insert two ST6.3x55mm
Screws (W-A), leaving a 5mm gap from ceiling.
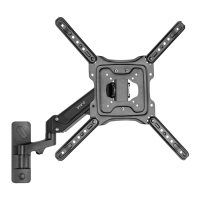
Hang Mount (A) so that the screws fit into the
keyhole openings. Slide Mount (A) backward,
then secure using additional ST6.3x55mm
Screws (W-A) with Washers (W-C).
W-A (x6)
ST6.3x55mm Screw
W-B (x6)
Concrete Anchor
Have a question? Give us a quick call / chat!
309-278-5303 or vivo-us.com
ASSEMBLY STEPS
W-C (x4)
Washer
NOTE: If mounting to a wood beam ceiling,
ensure the front and back holes are used
for the main support if mount is in line with
the beam. If perpendicular to the beam, use
keyhole openings for the main support. Do
NOT use included Concrete Anchors (W-B) for
wood or drywall.
OPTION B: Concrete Ceiling
Using Ceiling Template (C), mark exact location
of mounting holes. Drill pilot holes 2.4” deep,
using a 10mm drill bit. Insert six Anchors (W-B),
then tighten two ST6.3x55mm Screws (W-A),
leaving a 5mm gap from ceiling. Hang Mount (A)
so that the screws fit into the keyhole openings.
Slide Mount (A) backward, then secure using
additional ST6.3x55mm Screws (W-A) with
Washers (W-C). Tighten all screws.
C (x1)
Template
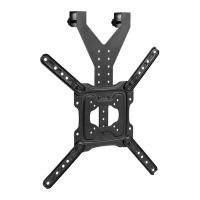
A (x1)
Mount
C
C
W-A
W-A
W-B
A
A
W-C
W-C
W-A
W-A